Pothos Propagation: How to Grow Pothos Cuttings
If there’s one plant I recommend to gardening beginners above the sea of other options, it’s the pothos plant. Commonly known as Devil’s Ivy, this plant isn’t just easy to care for, it’s also easy to propagate!
Pothos propagation via pothos cuttings is both easy and fun and if you’ve never propagated a plant before, I think you’re going to love it.
Some people propagate to make new plants out of one or to help their current pothos achieve a fuller look.
The pothos plant is one the easiest houseplants you can grow and it’s famous for being low-maintenance. It can withstand some serious neglect, especially the golden pothos variety!
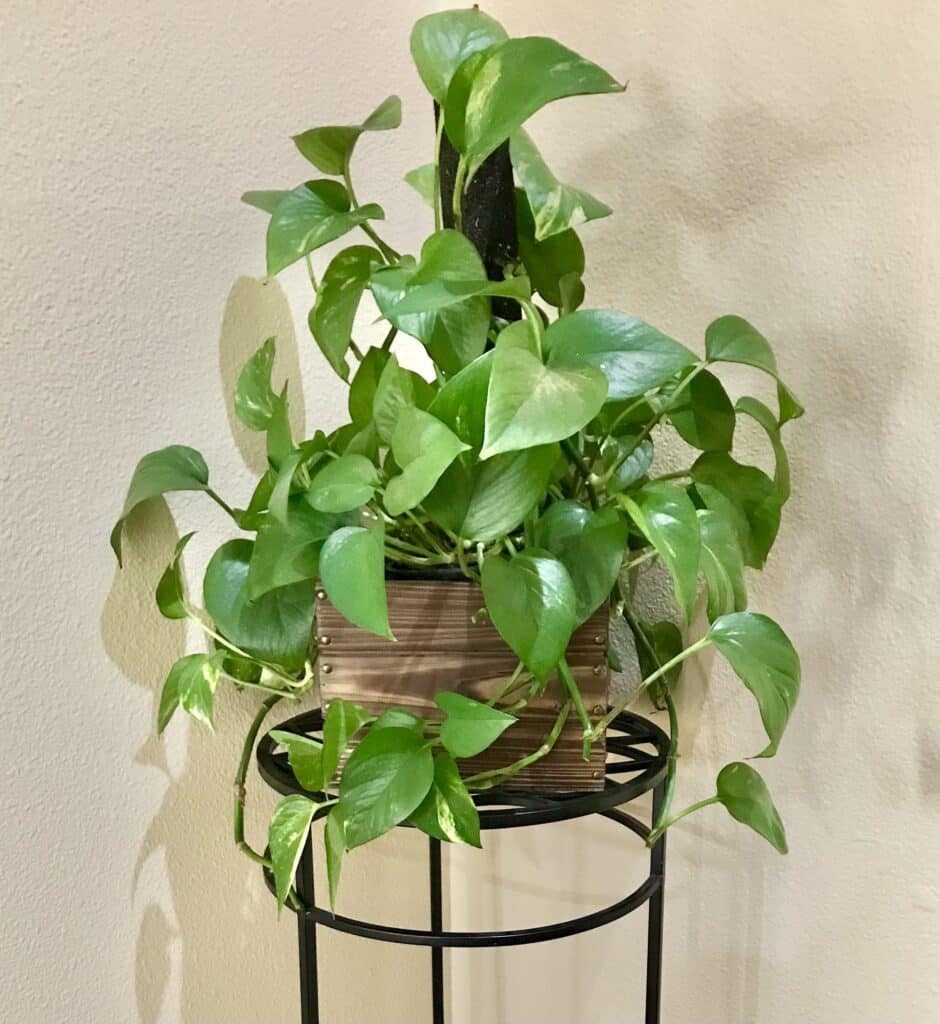
Propagating pothos requires sniping off a few vines aka cuttings and giving it some time before root growth starts to take place.
In just a few simple steps, you’ll start to see results and in a few weeks, you’ll see new roots.
There are different propagation methods but I think water propagation is the easiest way and it’s also my personal preference, but soil propagation is another great option.
If you’re ready to prune your pothos plant and multiply your pothos plant collection, I’ll share my step-by-step guide, below!
Why You Should Prune and Propagate a Pothos Plant
Before jumping into the tutorial, let’s talk about why you should prune your pothos plant.
Aside from the obvious reason of getting more plants out of one, another reason to prune your pothos plant has to do with appearance and rejuvenation.
After you prune your plant in the right places, new growth will start to sprout from the crown of the plant, which will give it a fuller, bushier look.
While care and maintenance of a pothos houseplant is low-key, people sometimes have trouble keeping their plants looking full.

It’s actually one of the most common frustrations when it comes to houseplants.
The spindly look in a vining plant happens when the plant uses all of its energy into producing more leaves on the cascading vine instead of producing new growth near the crown and base of the plant.
You see, pothos plants love to cascade out of their pot due to their vining nature, so a bare crown isn’t uncommon.
Even though it’s one of the easiest plants, you may need to train it a bit so that it grows the way you want it to.
Thankfully, pruning it is a quick and easy solution.
With proper propagation, you can trim off vining leaves, wait for them to grow roots, and then plant them back into the pot with the original parent plant to achieve a bushier look.
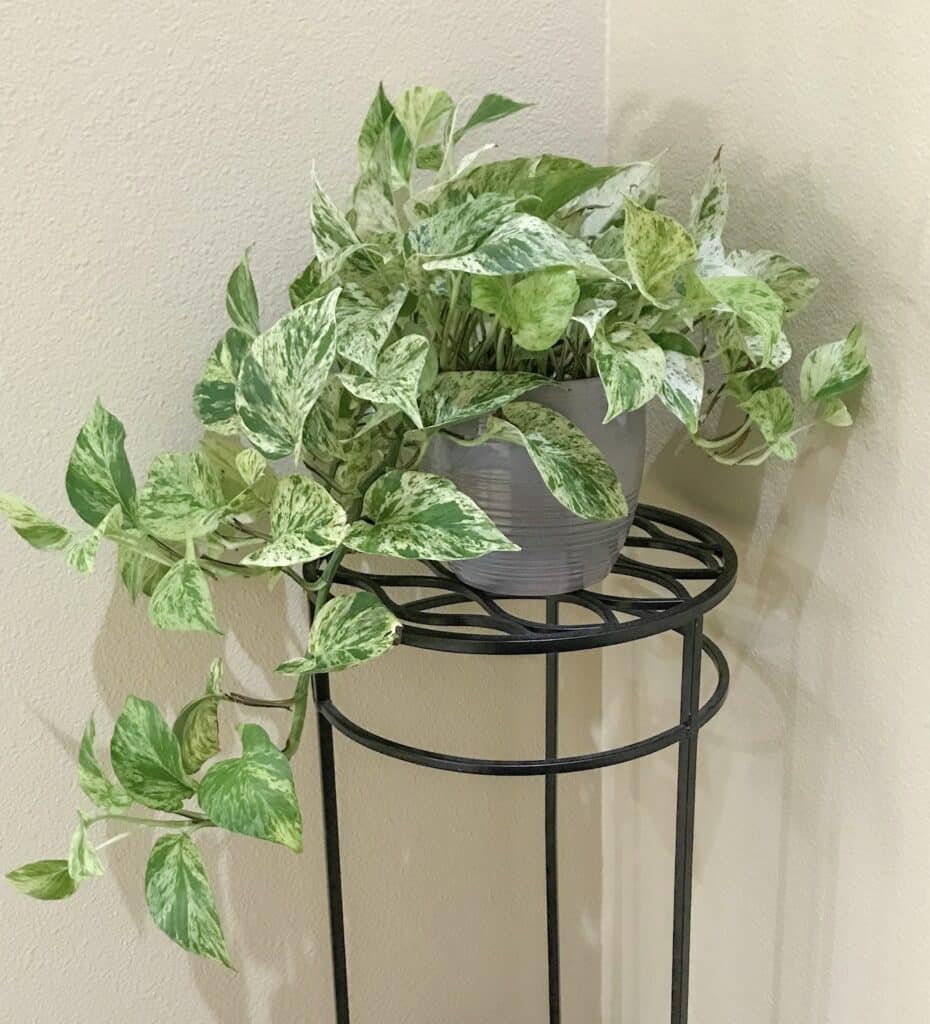
To do this, all you’ll need the following supplies:
-mother plant
-pruning shears or sharp scissors
-a glass jar or a glass of water (some people use test tubes)
-clean water
-bright indirect light and a warm spot in your home
Also, the best time to do this is the warmer months of the year because there are more sunlight hours, which the plant needs to grow roots.
Avoid doing this during the colder months if you can as you might not get enough indirect sunlight to work with.
Where to Cut the Vine When You Propagate a Pothos Plant
Cutting your pothos leaves is a quick and simple process as long as you know EXACTLY where to cut on the vine.
Remember, you can’t just cut it anywhere and expect results. Follow the photos and the instructions below.
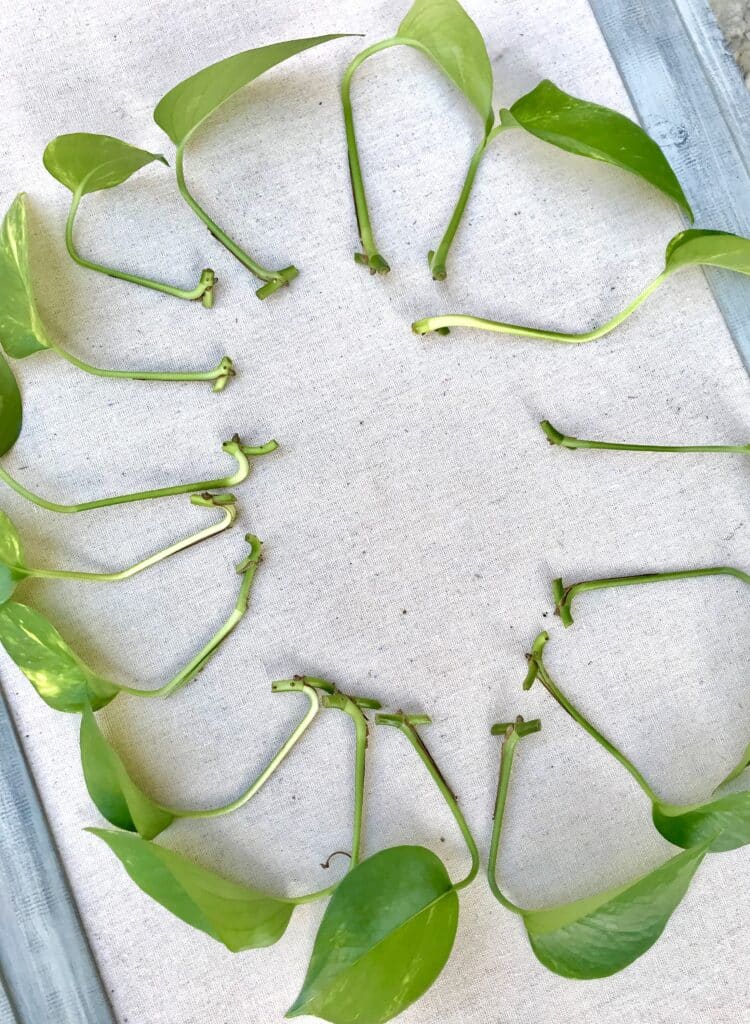
First, cut off a long vine using your scissors and try to do so at a 45-degree angle. It should be a clean cut, with no jagged edges.
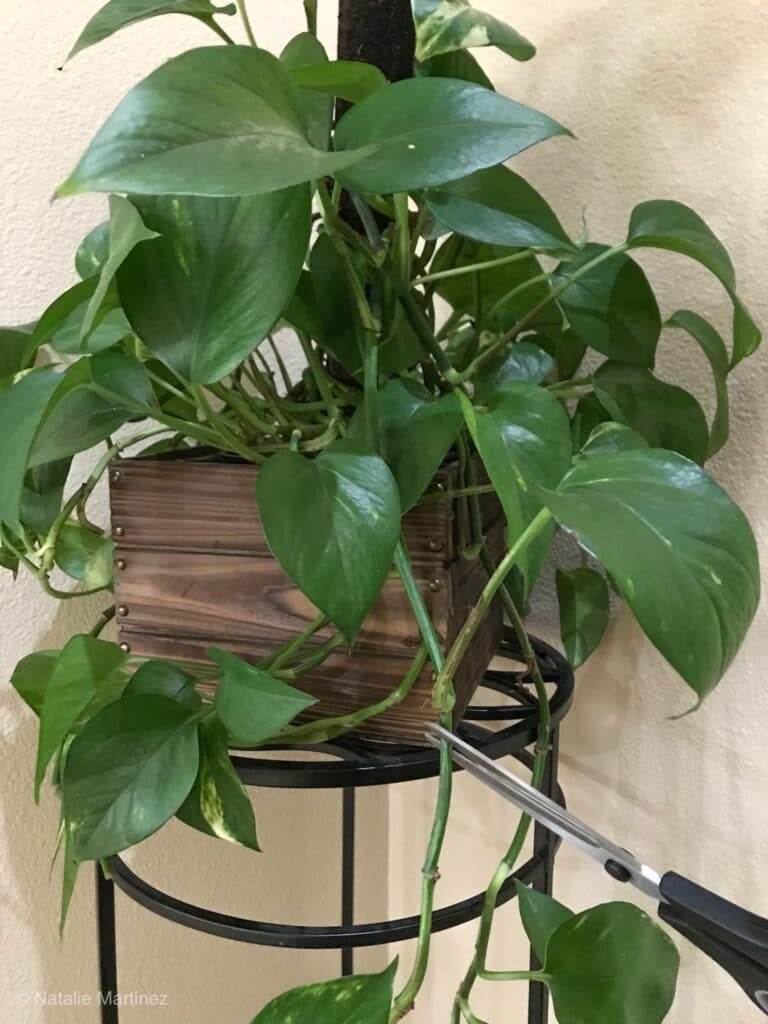
If your pothos does not have long vines, cutting a shorter stem will also work.
Once you cut off a few cascading vines, you’re going to take it apart. This is the fun part!
- Cut the vine on both the left and right side of the leaf’s node (the node looks like tiny brown bumps or mounds)
- Repeat step #1 for every leaf on your vine. You should end up with several new cuttings, which will give you a greater chance of success
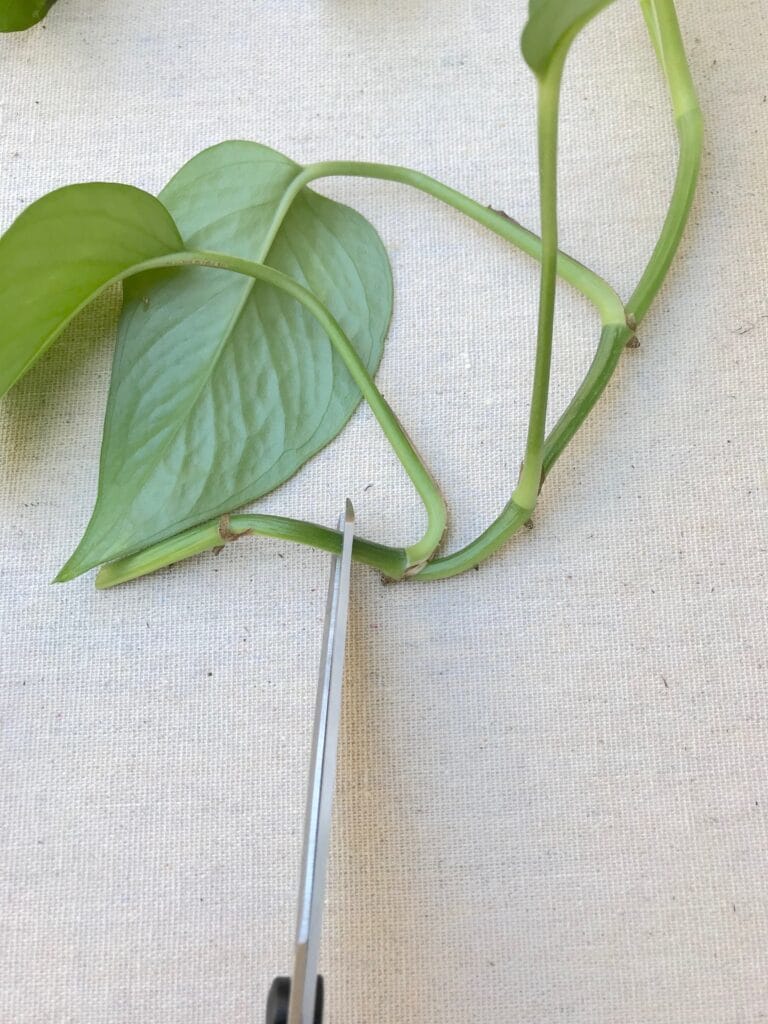
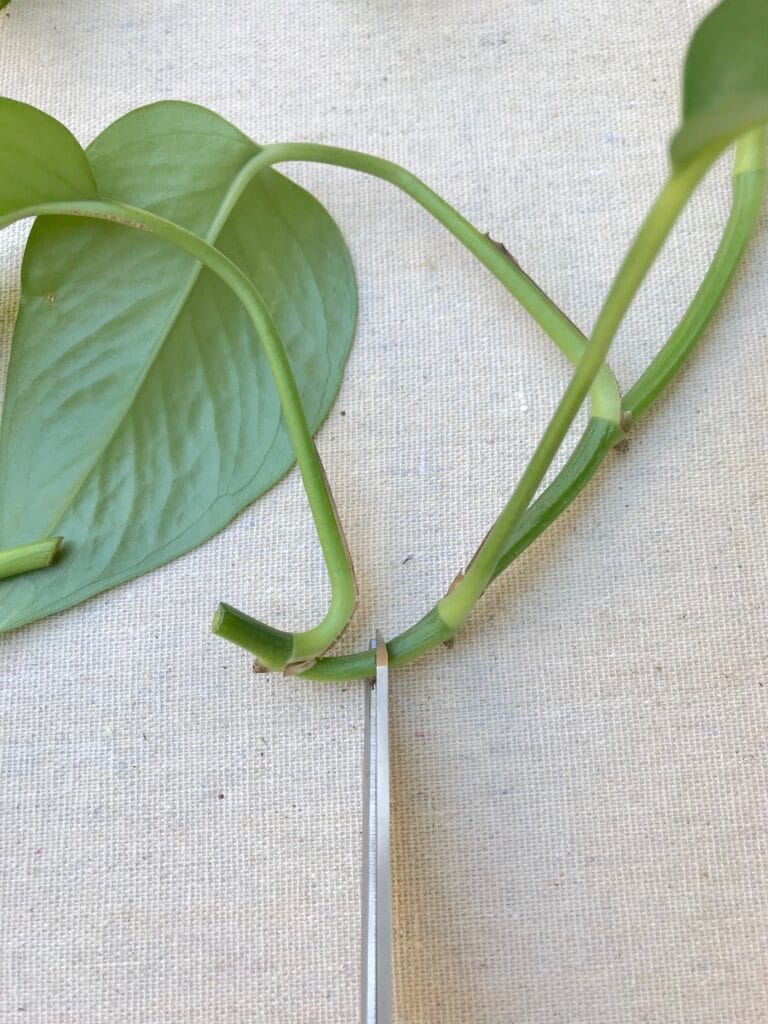
Cutting the vines of a pothos plant above and below the leaf node is what kicks off the plant propagation process.
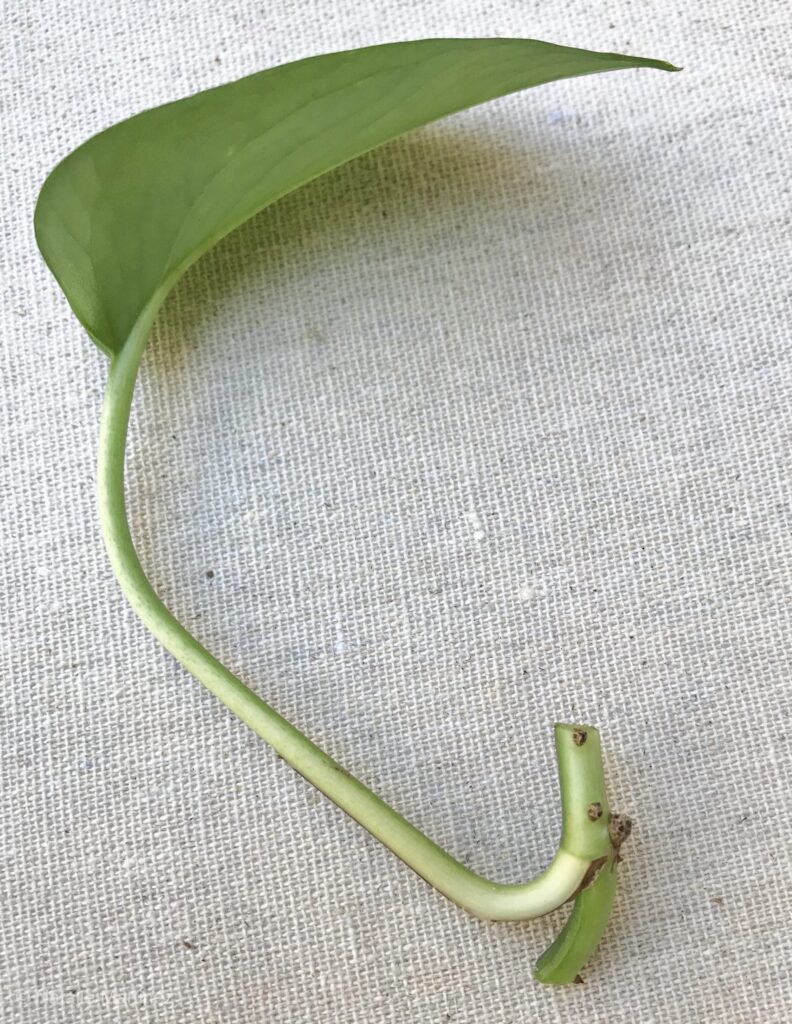
Water Propagation Method for Pothos Plants
Now that you have your fresh cuttings, it’s time to put them in a jar of water as shown below. Tap water is just fine for this process.
The following step is VERY important and cannot be skipped:
You must replace the water in the jar with fresh water every day or at least every other day because the cuttings need plenty of oxygen in the water to produce roots.
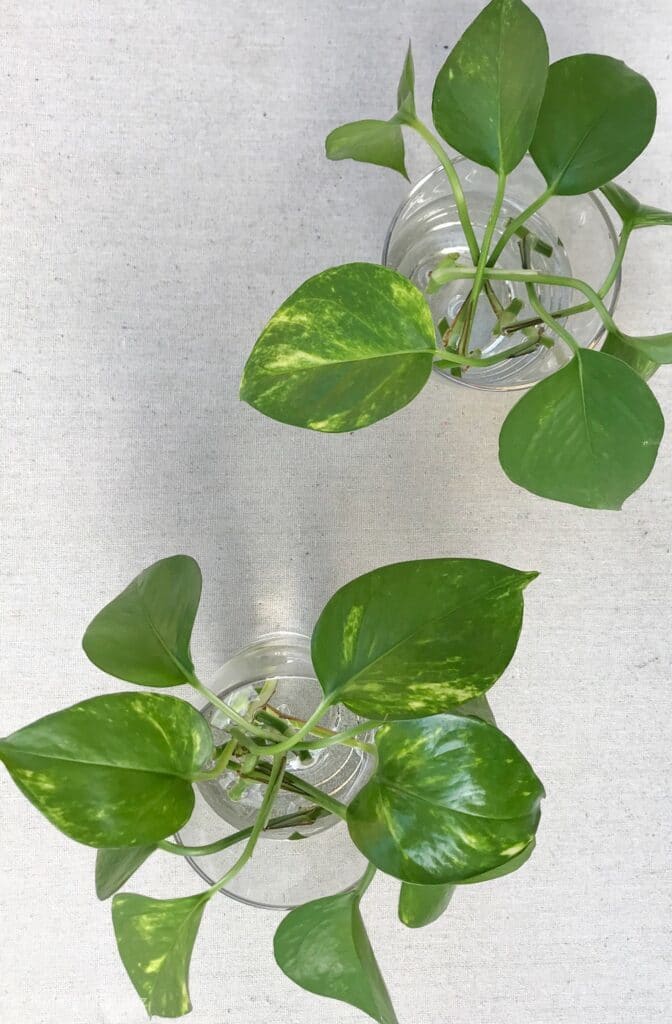
Water starts to lose oxygen after days of just sitting there which is not good for propagation.
Also, make sure to keep the glasses in a warm room of your house (at least 70 degrees F).
How Long Does It Take to Propagate a Pothos Plant
You’ll start to see tiny roots spouting from the leaf nodes in about 2 to 3 weeks; they’ll appear white in color.
It might feel like a long time while you’re waiting, especially if this is your first time – but the end result is worth it!
Like anything with gardening, it takes time!
In a couple of weeks, you’ll begin to see tiny formants of pothos roots coming from the nodes. They’ll look like pale little spikes!
They won’t look exactly like the roots you’re used to seeing but they’ll grow a few inches more in the weeks that follow.
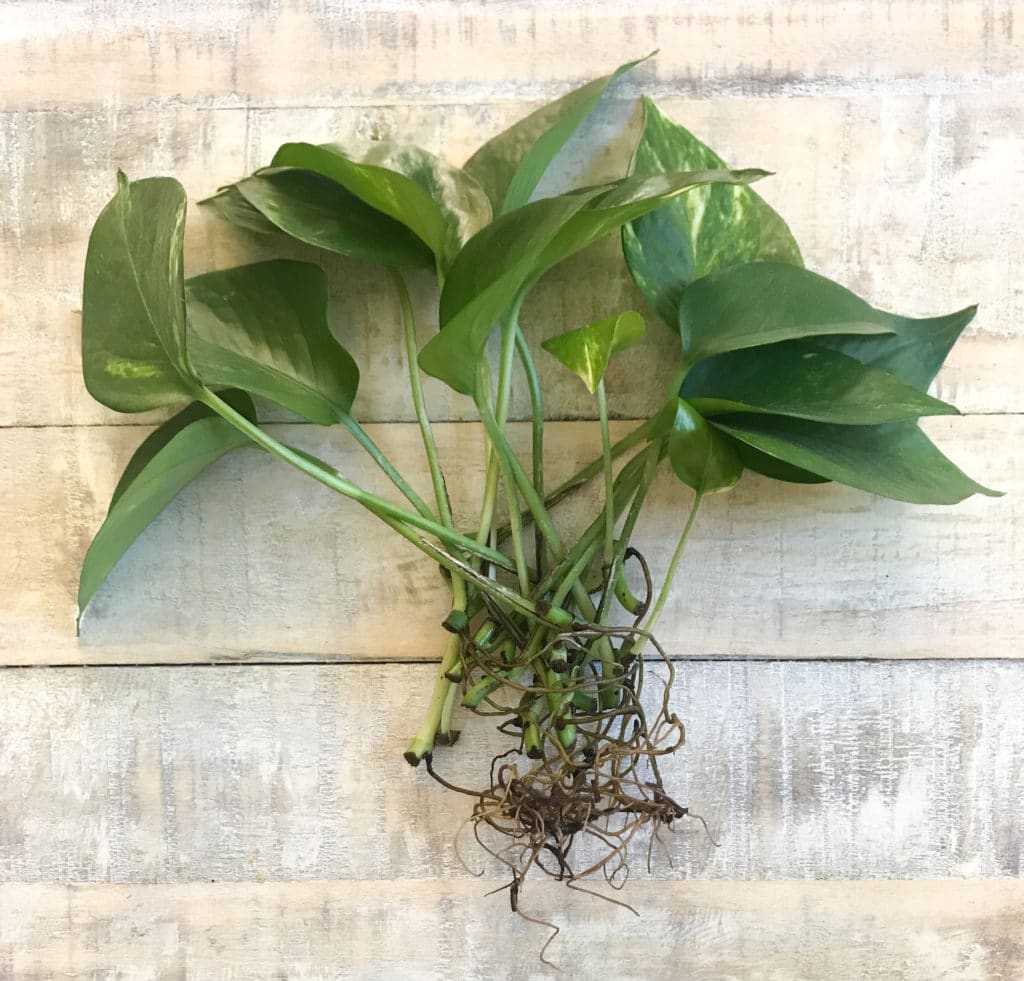
Please note that not all leaves will root. If it’s been several weeks and some of your leaves haven’t started rooting, just take them out of the glass and discard them.
Transfer the Leaves from Water to Soil To Successfully Propagate a Pothos Plant
Once you have roots that are a few inches long, you can plant them in potting mix. To do this, simply stick the pothos stems into fresh potting soil either in a small pot or with the parent plant.
It may take a while for the leaf to adjust to its new environment, so be patient.
Sometimes, roots that have formed in water can experience transplant shock, which is why you shouldn’t wait too long to transfer your rooted cuttings from water to soil.
You don’t want the new root system to get too comfortable living in the water.
Propagating a Pothos Plant Using the Soil Method
I think this second propagation method is the easy way and it also has the least steps.
You’re going to follow the steps above but instead of placing the stems in water, you’re going to stick them straight into a pot filled with fresh soil and plant them towards the bottom of the pot, like in the photo below.
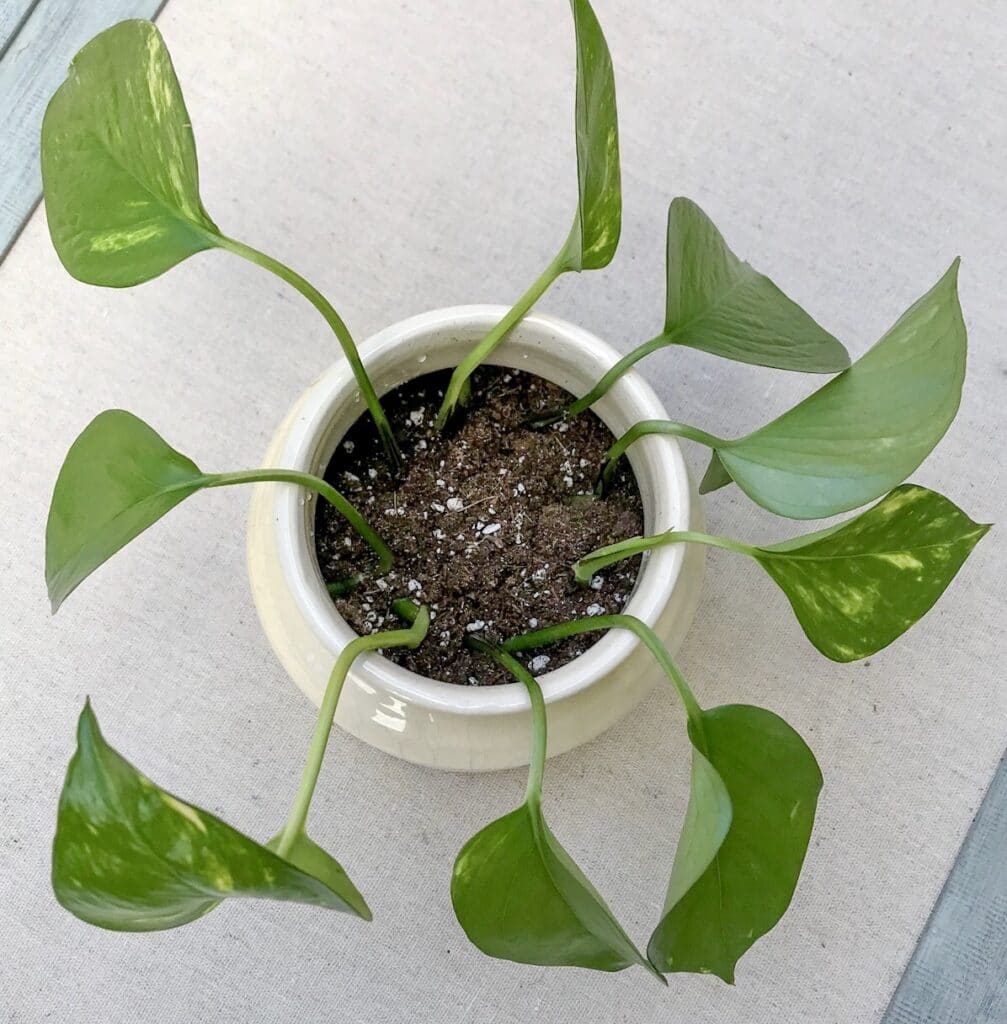
As always, make sure the pot has good drainage via drainage holes so you can avoid root rot from excess water.
Then, you need to cover the pot with a large plastic bag or Ziploc bag to form a dome over it. This plastic dome is going to create a humid environment and encourage the stems to start rooting in the soil.
This is easiest to do with a small pot. Roots will start to form in about a week, and that’s when you’ll be able to take the plastic bag off the plant.
And that’s it!
Since you’re propagating in soil, your pothos roots won’t have to get accustomed to a new growing medium like they do with the water propagation method.
You’ve just learned two super-simple ways of propagating pothos plants via stem cuttings.
The best way will depend on what you prefer but both are effective at producing new roots!
While propagating using the water method is more commonly seen these days, propagating directly in the soil gives the stem the advantage of adjusting to its new soil-rich environment.
Keep in mind that pothos plants can thrive in low light but this process needs a bright spot in your home for the best results.
WANT TO LEARN MORE ABOUT HOUSEPLANT CARE?
Check out these posts for more information about how to grow healthy plants:
How to Care for a Peperomia Plant
Succulent Leaves Falling Off When Touched: Top Causes and Solutions
DIY Side Yard Ideas for Transforming a Small Space
How to Care for a Pothos Plant
How to Care for a Jade Plant
Do Succulents Die After Flowering?
Why Are My Succulents Shriveling?
How to Water Succulents the Right Way
FOR FLOWER GARDEN INSPIRATION:
Best Heat-Tolerant Annuals for Beautiful Flower Blooms
16 Annuals that Bloom All Summer
18 Low-Maintenance Perennials
Happy Gardening!
I discovered that my wife received one of these years ago. Time to propagate it.
Thank you for the information,
Matt