How to Winterize Your Succulents
Succulents may be known for thriving in heat and sunshine, but when cold weather arrives, even the toughest varieties can struggle.
Frost and freezing temperatures can damage their tender leaves, cause rot, and even kill your favorite plants overnight.
The good news? With just a few simple steps, you can help your succulents survive the chilly months and stay vibrant all year long.
Whether you grow them outdoors in pots, tucked into a garden bed, or displayed indoors on a windowsill, preparing succulents for cold weather is essential.
This guide will walk you through how to protect your plants from frost, reduce watering safely, and transition them indoors for the season—so they’ll be healthy, happy, and ready to thrive again come spring.
Understand How Cold Affects Succulents
Succulents store water in their leaves and stems, which makes them especially vulnerable to freezing temperatures.
When the water inside their cells freezes, it expands—causing those soft, fleshy leaves to burst or turn mushy. Once this happens, the plant tissue can’t repair itself.
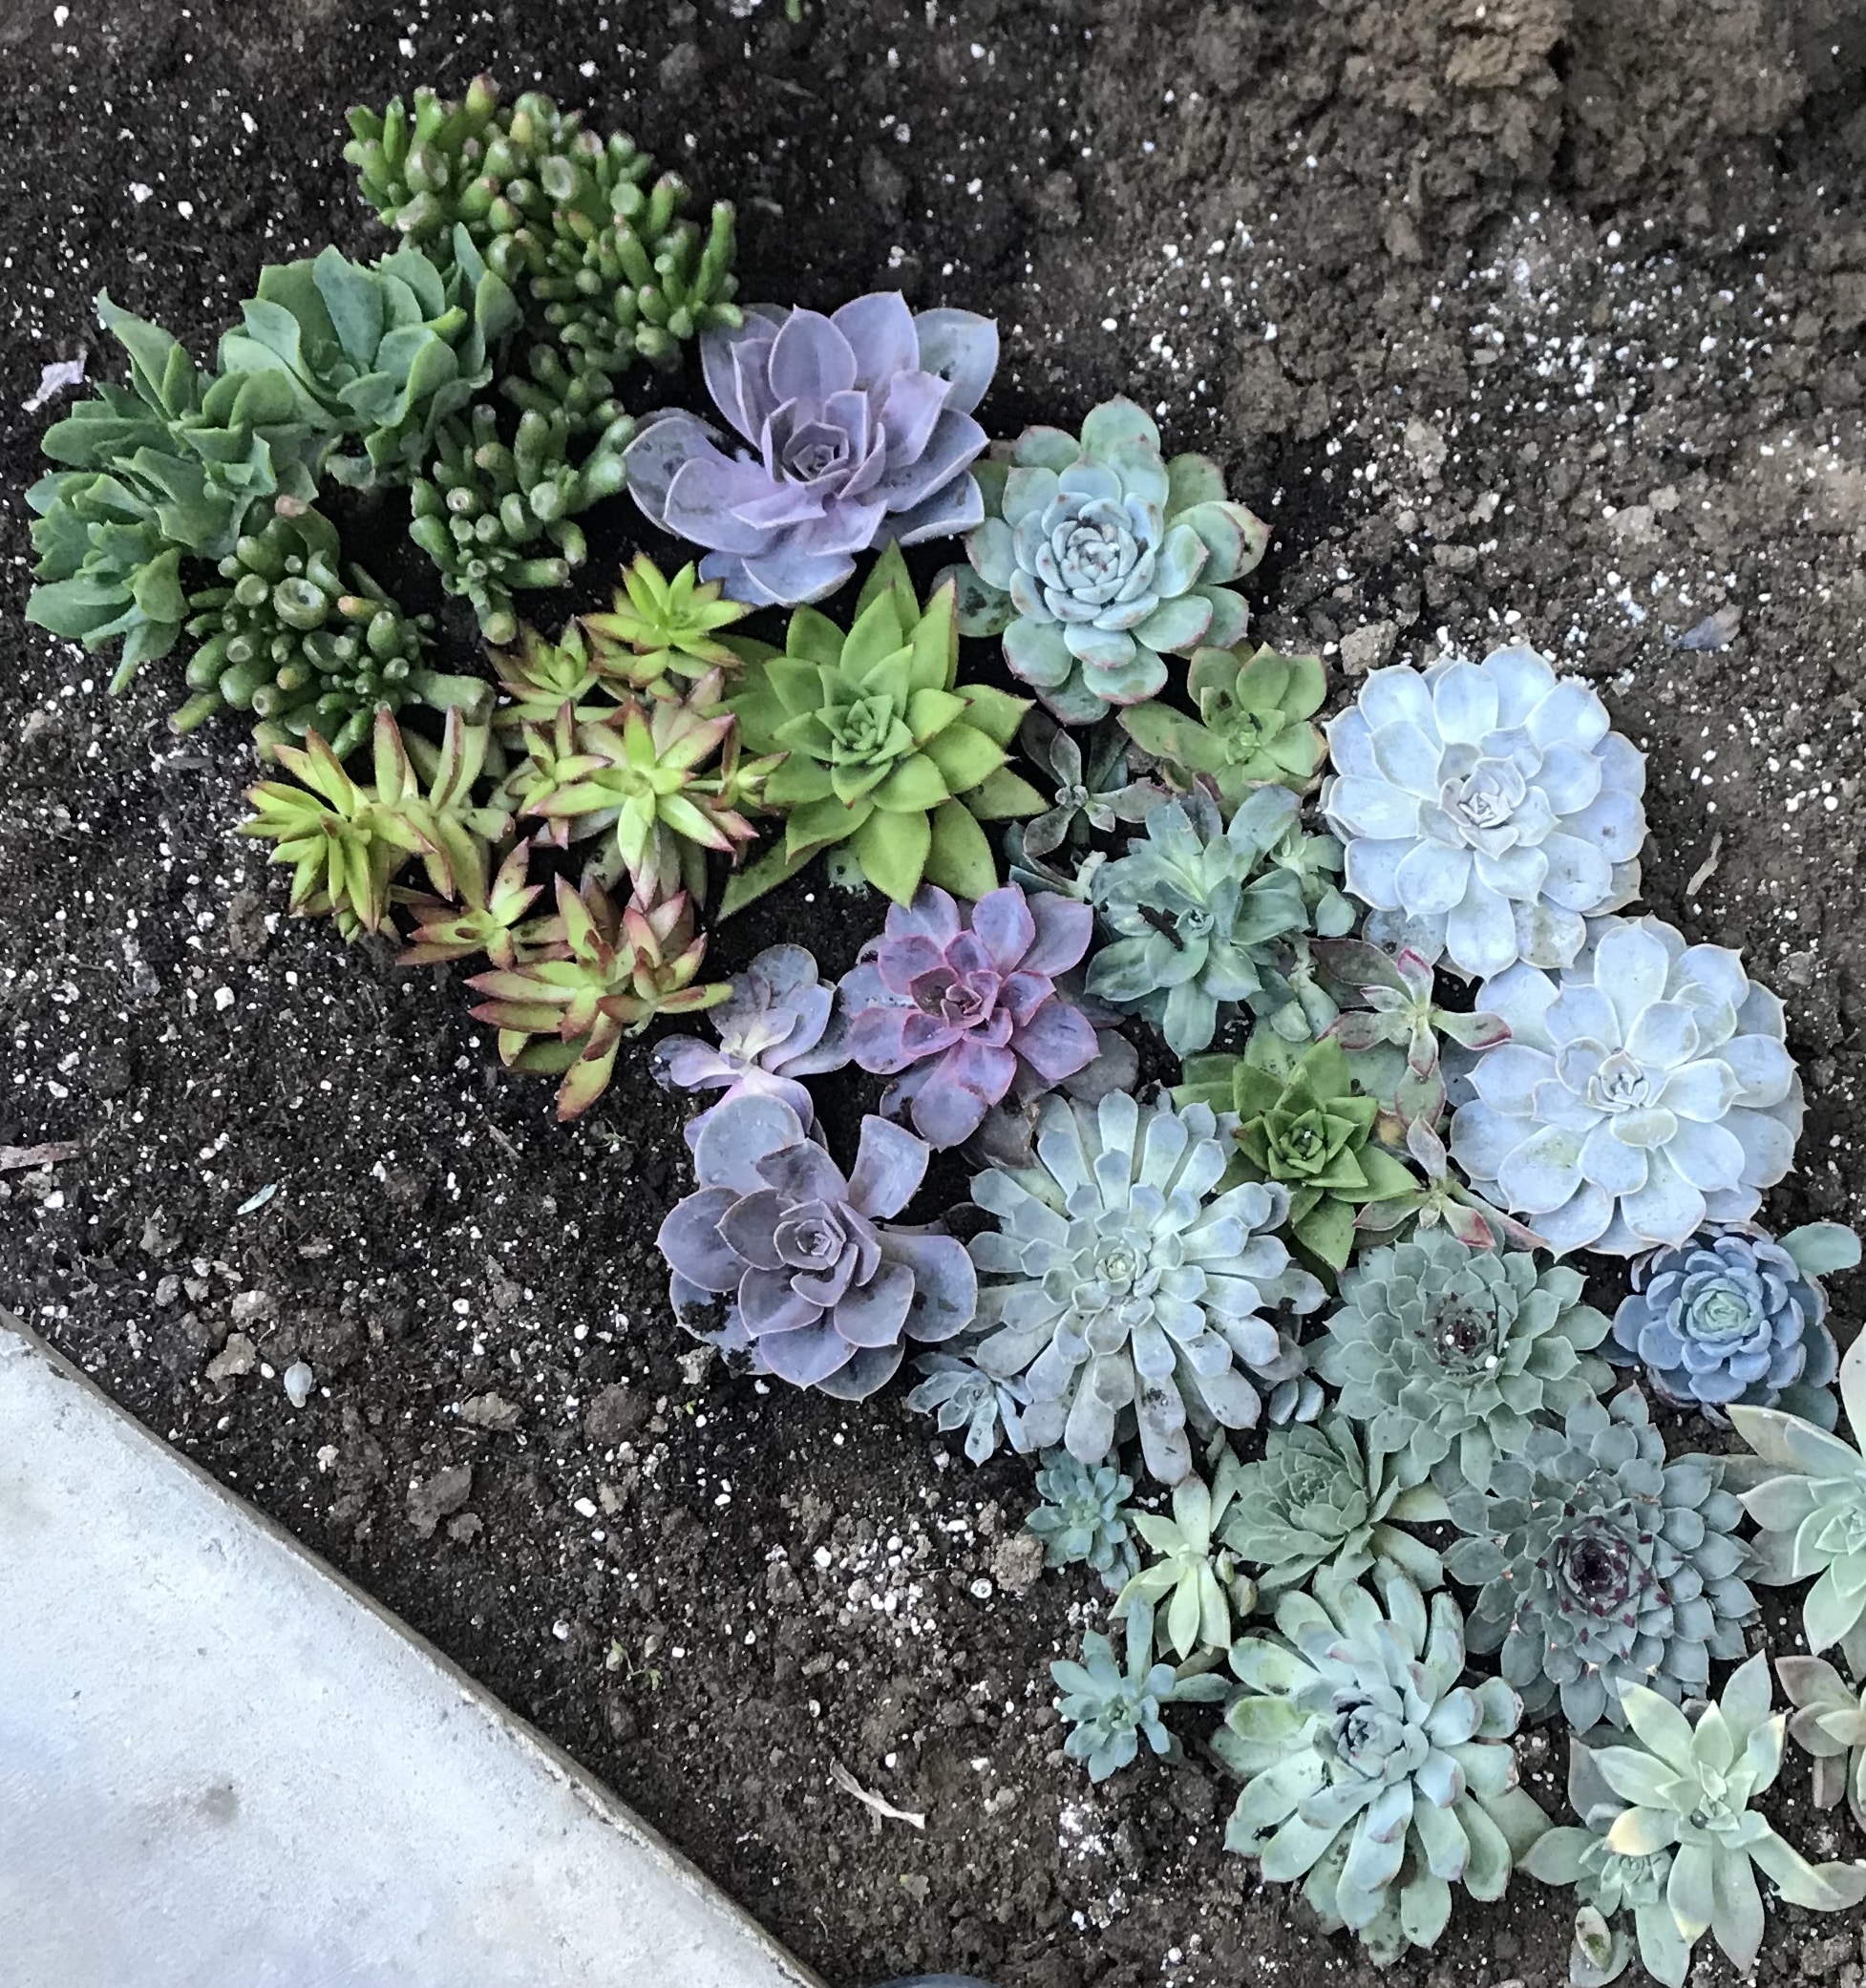
Different succulents tolerate the cold in different ways:
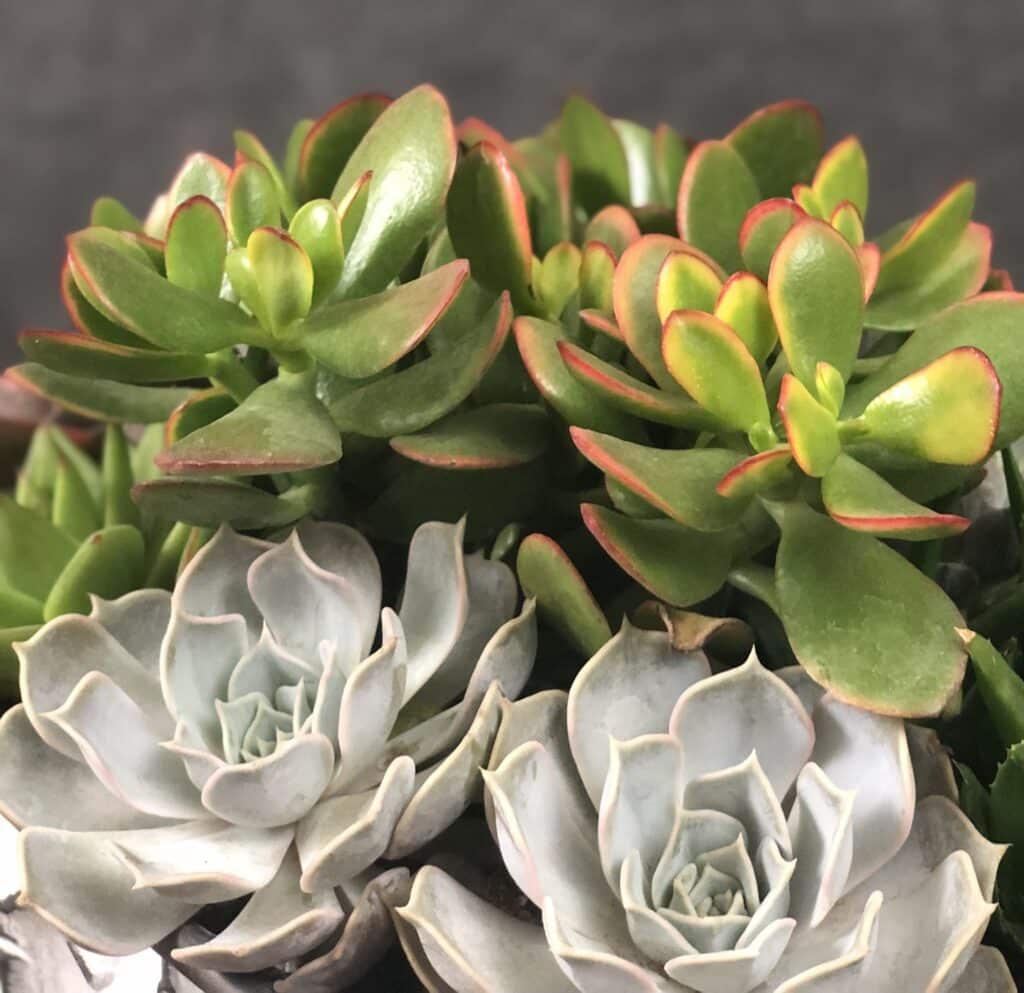
- Tender succulents such as echeveria, jade, string of pearls, aloe, and kalanchoe prefer temperatures above 50°F. These are the ones you’ll want to bring inside before frost hits.
- Hardy succulents like hens and chicks (sempervivum) or stonecrop sedum can handle light freezes and even short periods of snow if they’re planted in well-draining soil.
The first step to prepping for cold weather is knowing which kind of succulents you have. If you’re not sure, err on the side of caution—treat your plants as tender and protect them before the temperature drops.
Step 1: Bring Tender Succulents Indoors
As soon as nighttime temperatures start to fall below 45°F, it’s time to move your tender succulents indoors. Cold snaps can happen suddenly, so don’t wait for frost warnings.
Transition gradually. Sudden changes in light can shock your plants, so give them a few days to adjust. Start by placing them in a shaded area outdoors for a couple of days before bringing them inside.
Find a bright spot. Once indoors, place your succulents near a south- or west-facing window where they’ll get at least six hours of indirect sunlight per day. Avoid placing them near heating vents or drafty windows, which can cause stress or dryness.
Keep them at a steady temperature. Aim for indoor temperatures between 60–75°F—comfortable for both you and your plants.
Step 2: Check for Pests Before Moving Them
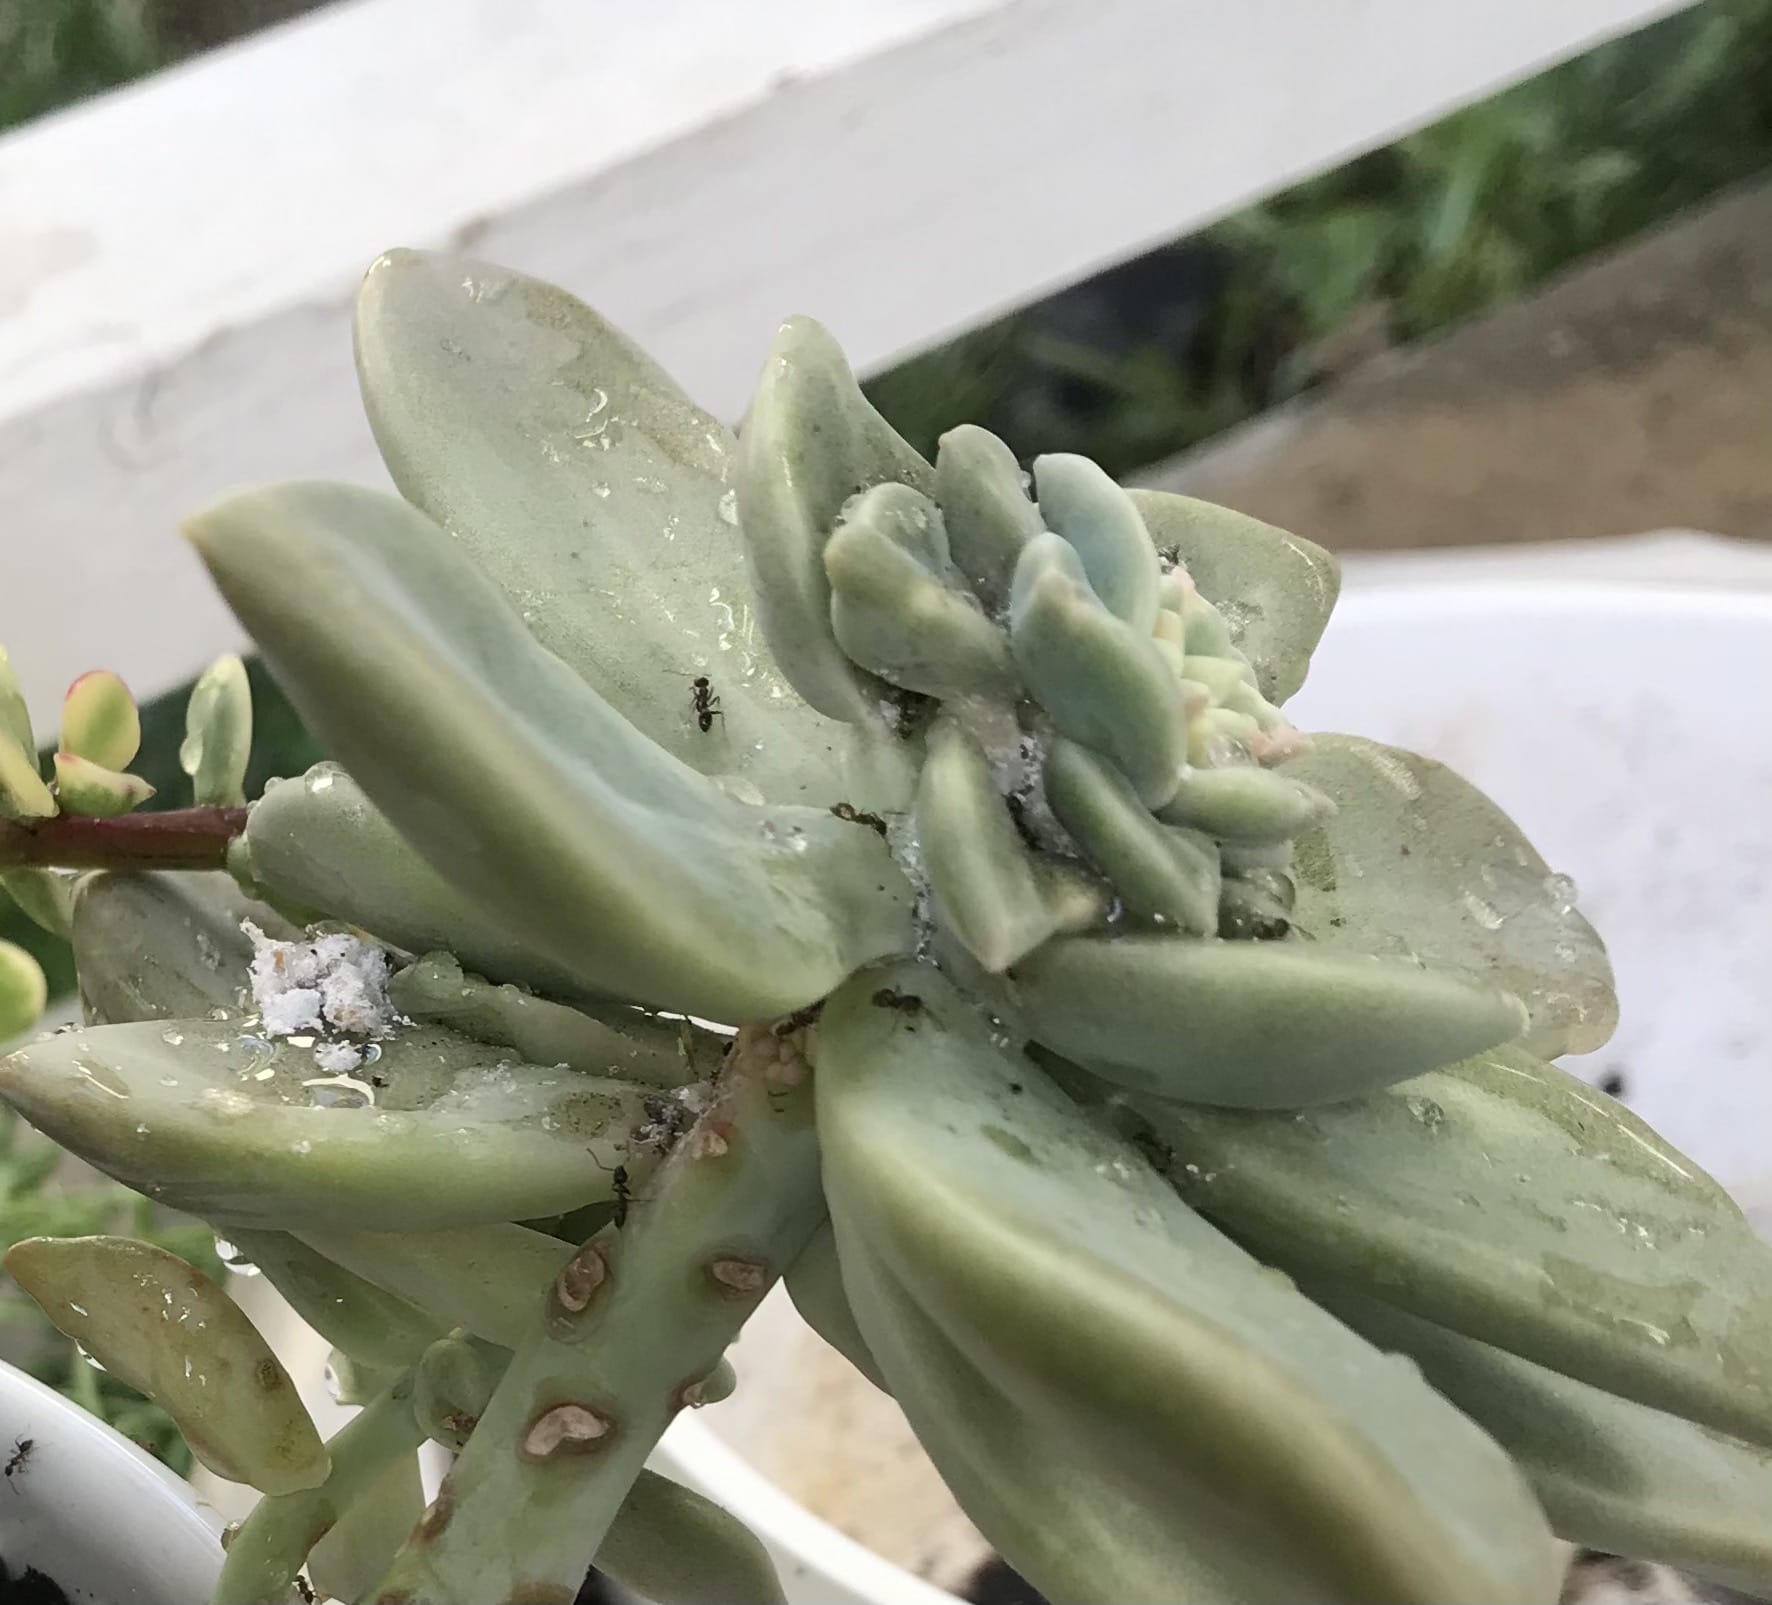
Before bringing any outdoor plant inside, inspect it carefully for pests like mealybugs, fungus gnats, or aphids. These tiny hitchhikers can spread quickly to your other indoor plants.
Here’s what to do:
- Gently turn over the leaves and look for white fuzz (mealybugs) or small dots.
- Check the soil surface for gnats or larvae.
- Wipe down leaves with a damp cloth or spray lightly with a mixture of water and neem oil.
- If you suspect a bigger infestation, repot the succulent in fresh, sterile soil before bringing it indoors.
This step only takes a few minutes but can save your indoor garden from major headaches later.
Step 3: Adjust Your Watering Schedule
One of the biggest mistakes people make in winter is watering their succulents too often. When temperatures drop and light levels decrease, succulents enter a rest period—using far less water than they do in summer.
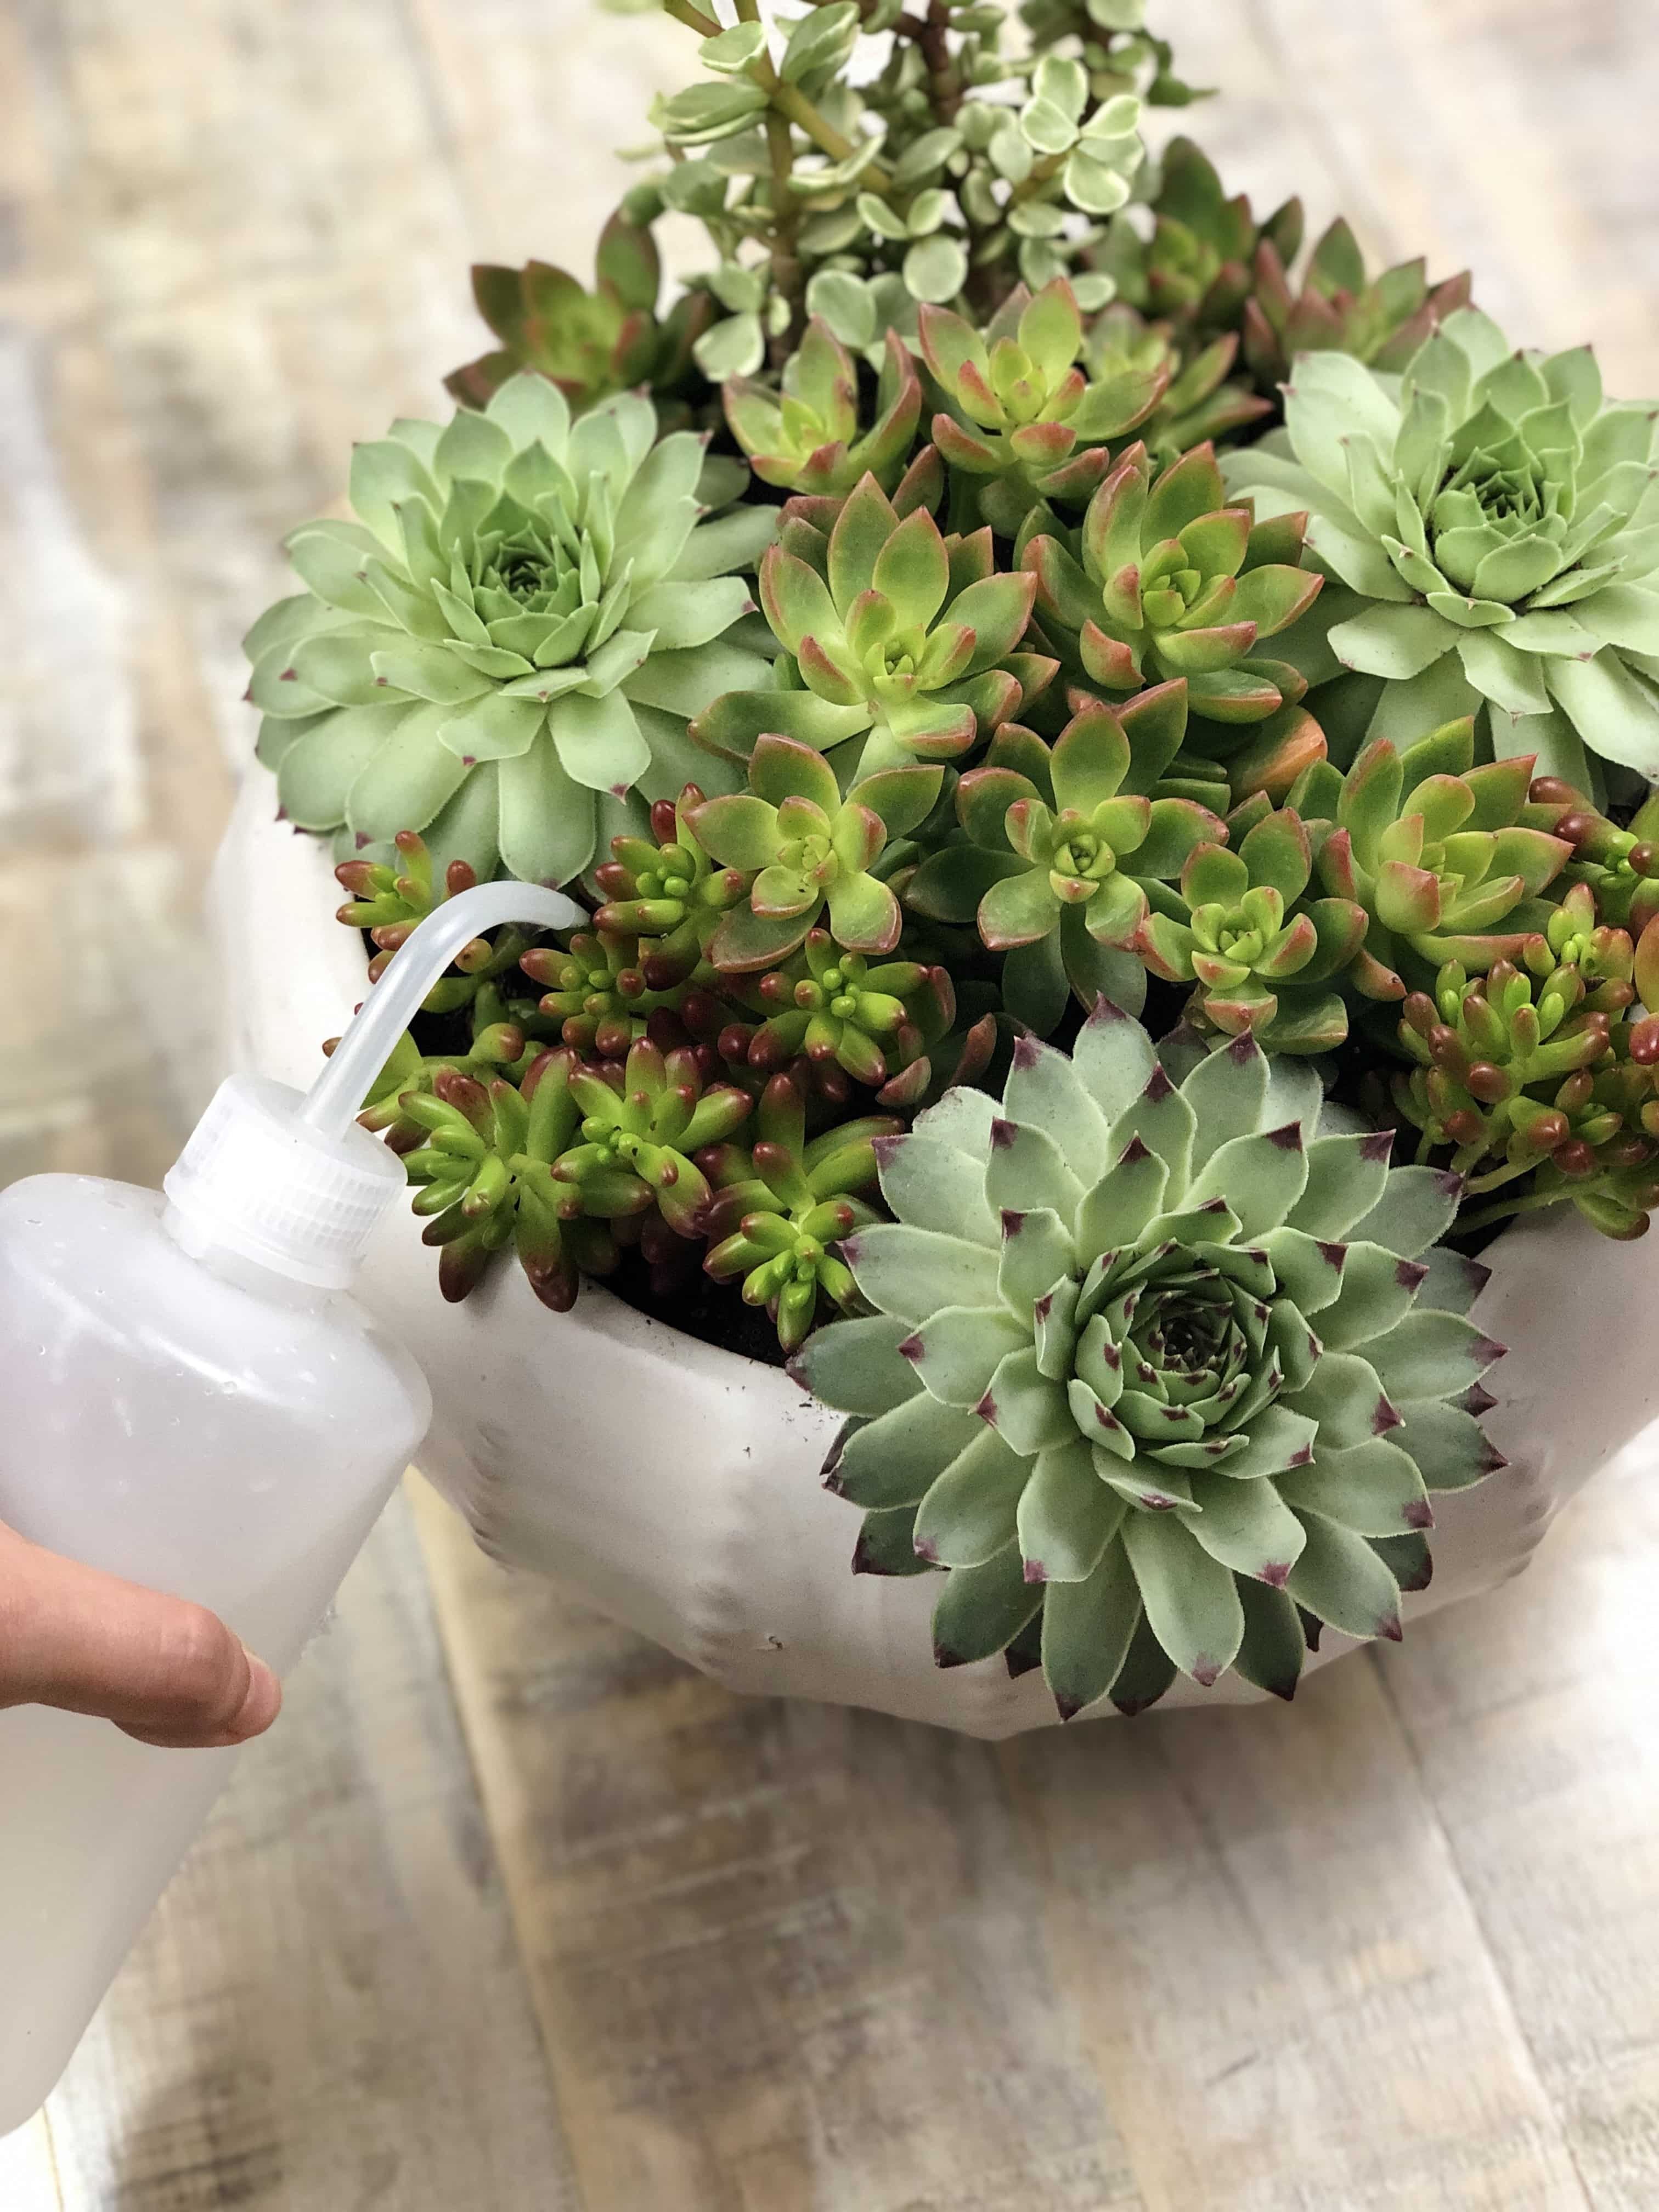
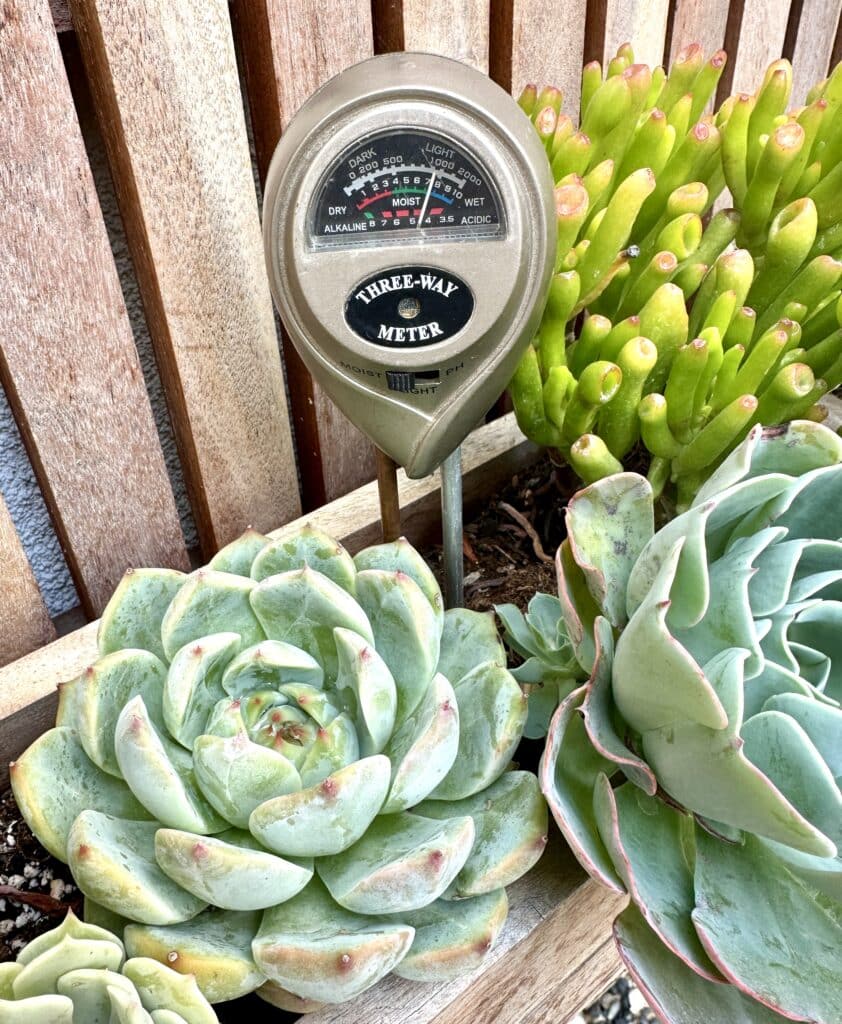
Rule of thumb: only water when the soil is completely dry. Depending on your indoor humidity, this might mean once every 3–4 weeks.
Always check the soil with your finger before watering, and empty any saucers underneath pots to prevent root rot.
Signs of overwatering include:
- Mushy or translucent leaves
- Blackened stems
- Leaves falling off easily
A little neglect during winter is often better than too much care.
Step 4: Improve Drainage & Soil Conditions
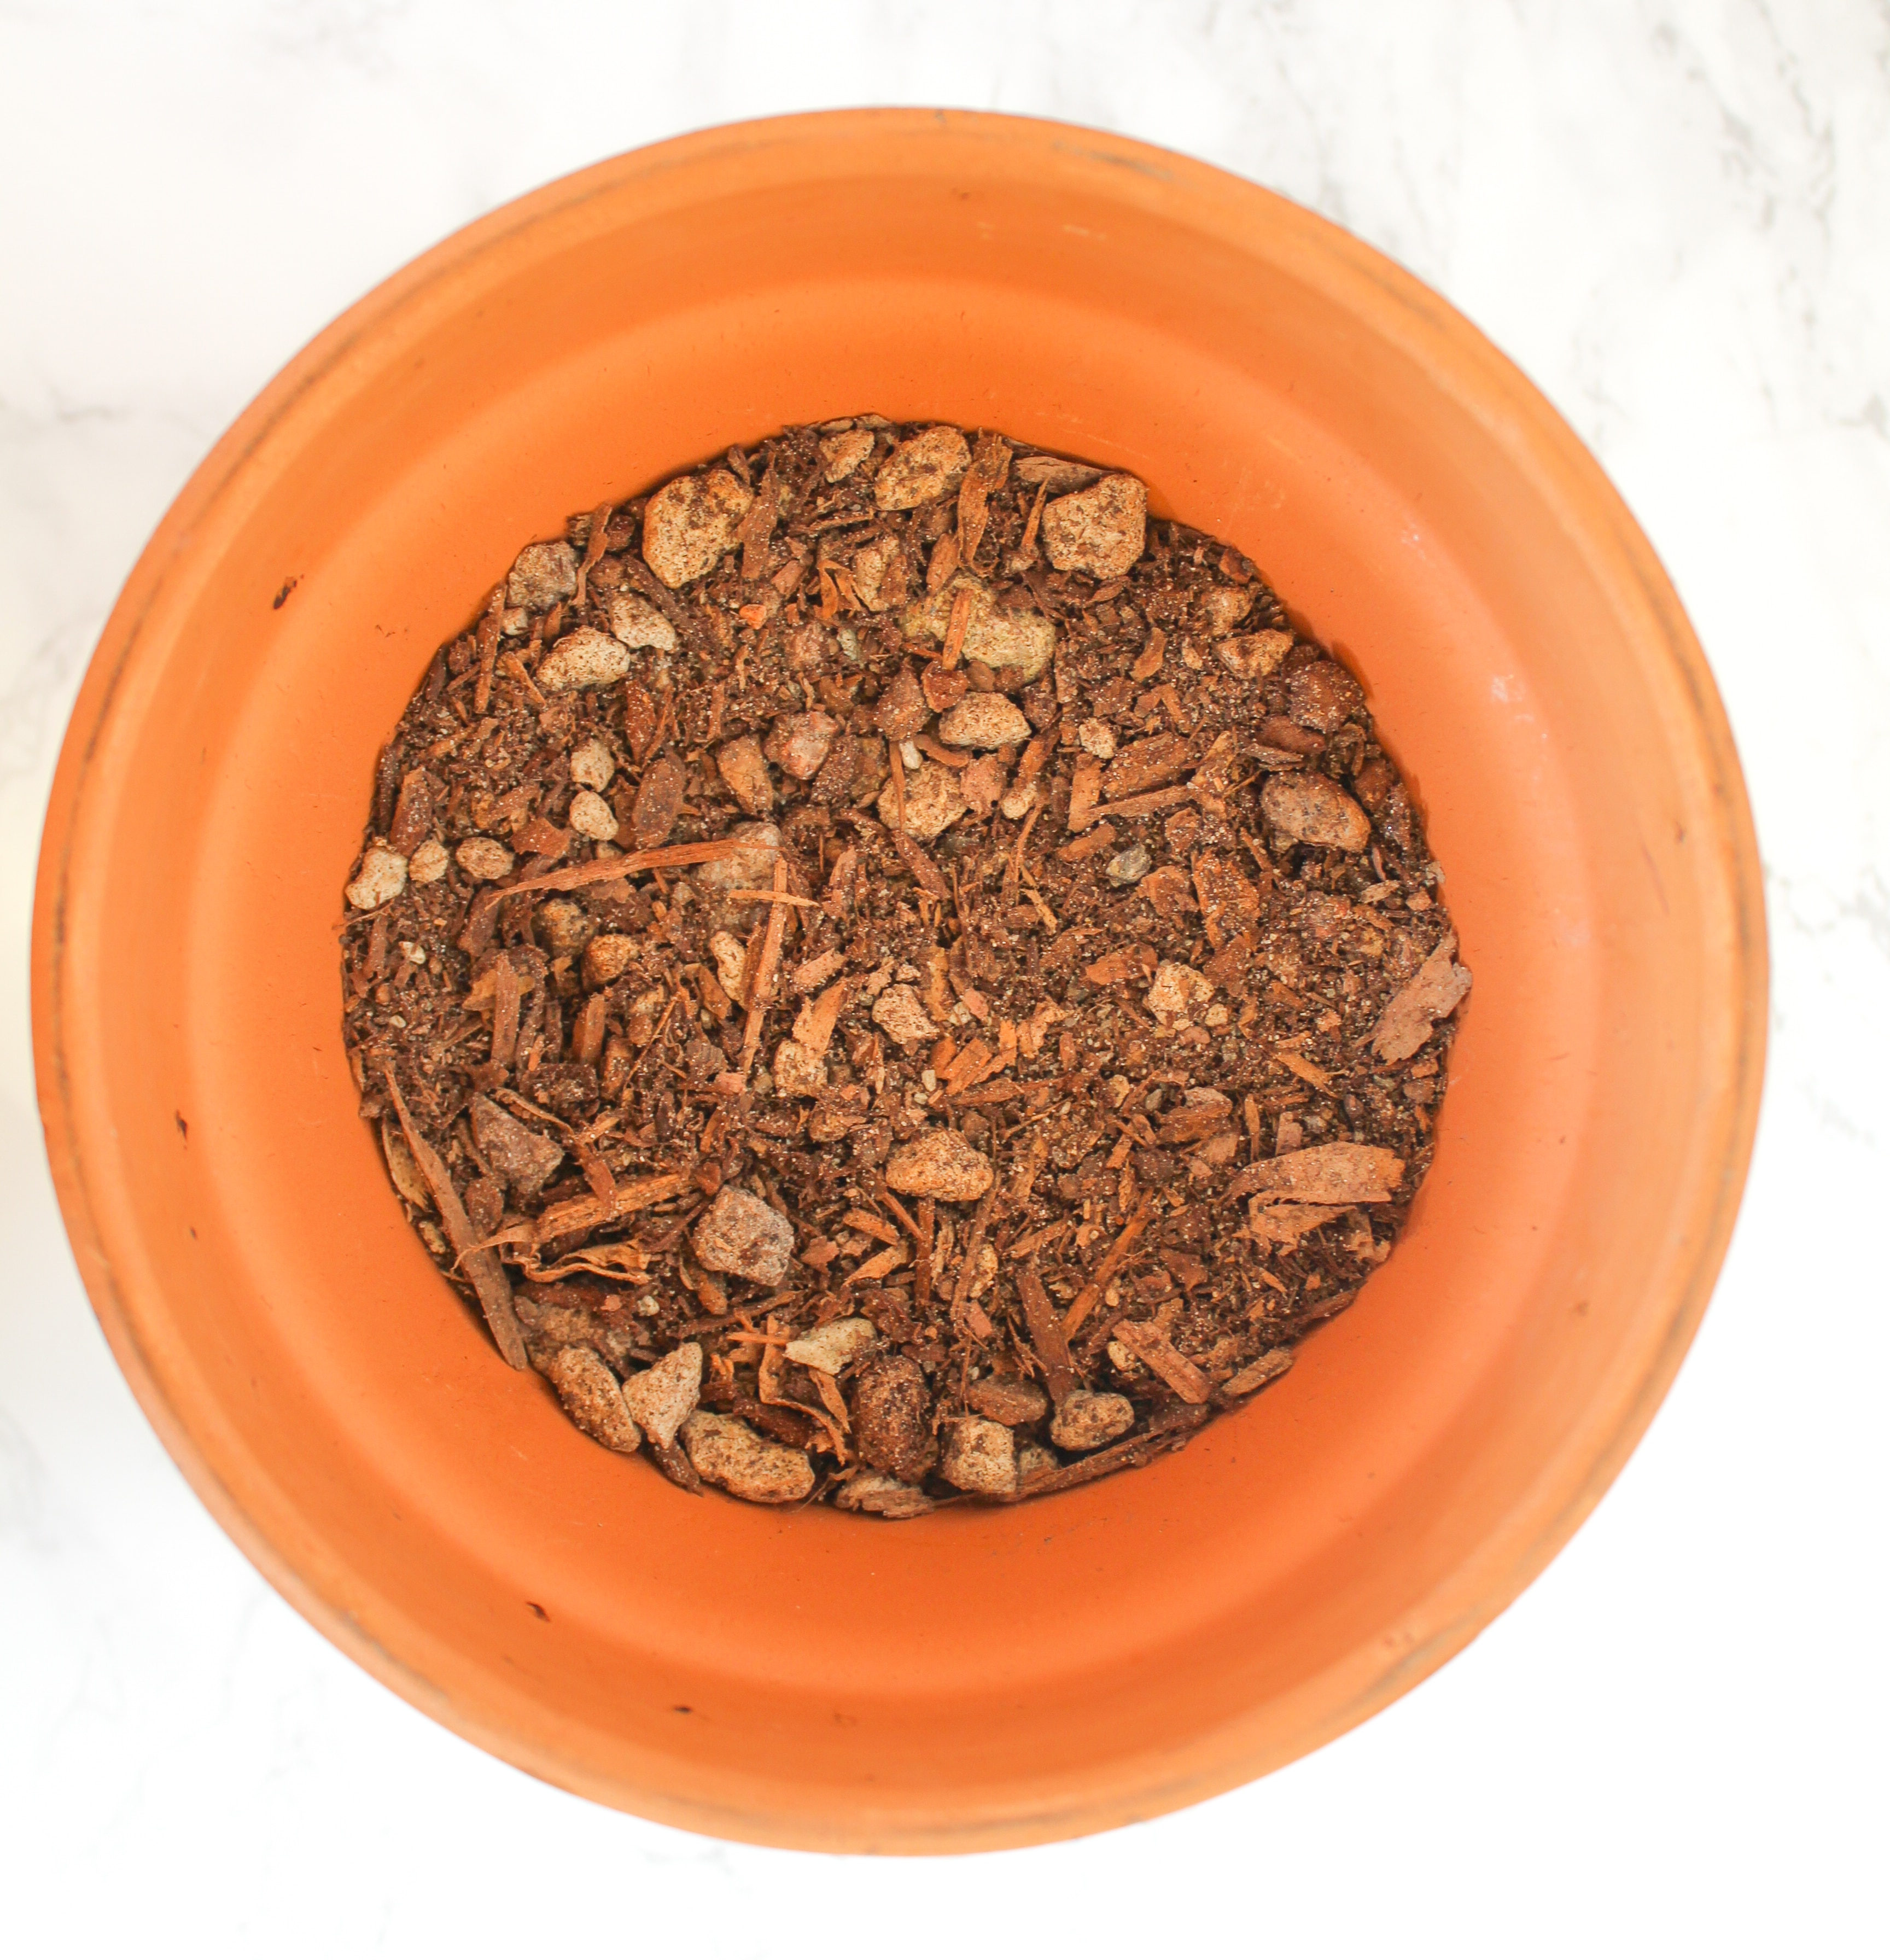
Succulents hate sitting in soggy soil—especially in cold weather. If you haven’t already, make sure your plants are in pots with drainage holes and soil that allows water to flow through easily.
Tips for better drainage:
- Use a cactus or succulent mix, or make your own by combining two parts potting soil, one part sand, and one part perlite or pumice.
- Avoid decorative pots without drainage holes (or use them as cachepots by placing a draining pot inside).
- Never let succulents sit in standing water.
If your succulents are planted outdoors in the ground, make sure the soil doesn’t stay waterlogged after rain. You can add gravel or coarse sand to the top layer to encourage faster drying.
Step 5: Protect Outdoor Succulents During Mild Winters
If you live in a region where winters are mild—say, where temperatures occasionally dip into the 30s—you might not need to bring all your succulents inside. Instead, give them some protection outdoors.
Cover them on frosty nights. Use a frost cloth, old bedsheet, or lightweight row cover to trap warmth overnight. Avoid using plastic directly on plants—it can trap moisture and cause damage.
Move pots to sheltered spots. Group containers together against a wall, under an awning, or on a covered porch where they’ll be shielded from cold wind.
Mulch around the base. A layer of pea gravel, wood chips, or even straw can insulate roots and regulate soil temperature.
This combination of protection and insulation can make all the difference for borderline-hardy succulents.
Step 6: Skip Fertilizer Until Spring
During the colder months, most succulents enter dormancy and stop growing. Feeding them now can do more harm than good, as they won’t absorb the nutrients efficiently.
Instead, wait until early spring—when you see new growth—to resume fertilizing. Then, use a diluted succulent fertilizer or a balanced 10-10-10 formula once a month through summer.
Step 7: Keep Light Levels Strong Indoors
Succulents kept indoors during winter can quickly become leggy if they’re not getting enough light. To prevent this:
- Place them near the sunniest window in your home.
- Rotate the pots every week to encourage even growth.
- If natural light is limited, use a small grow light for 10–12 hours per day.
Stretching (etiolation) isn’t fatal, but it can make your plants lose their compact, attractive shape—so a little extra light makes a big difference.
Step 8: Watch for Stress Signs
Even with the best care, succulents may show signs of stress during the winter months.
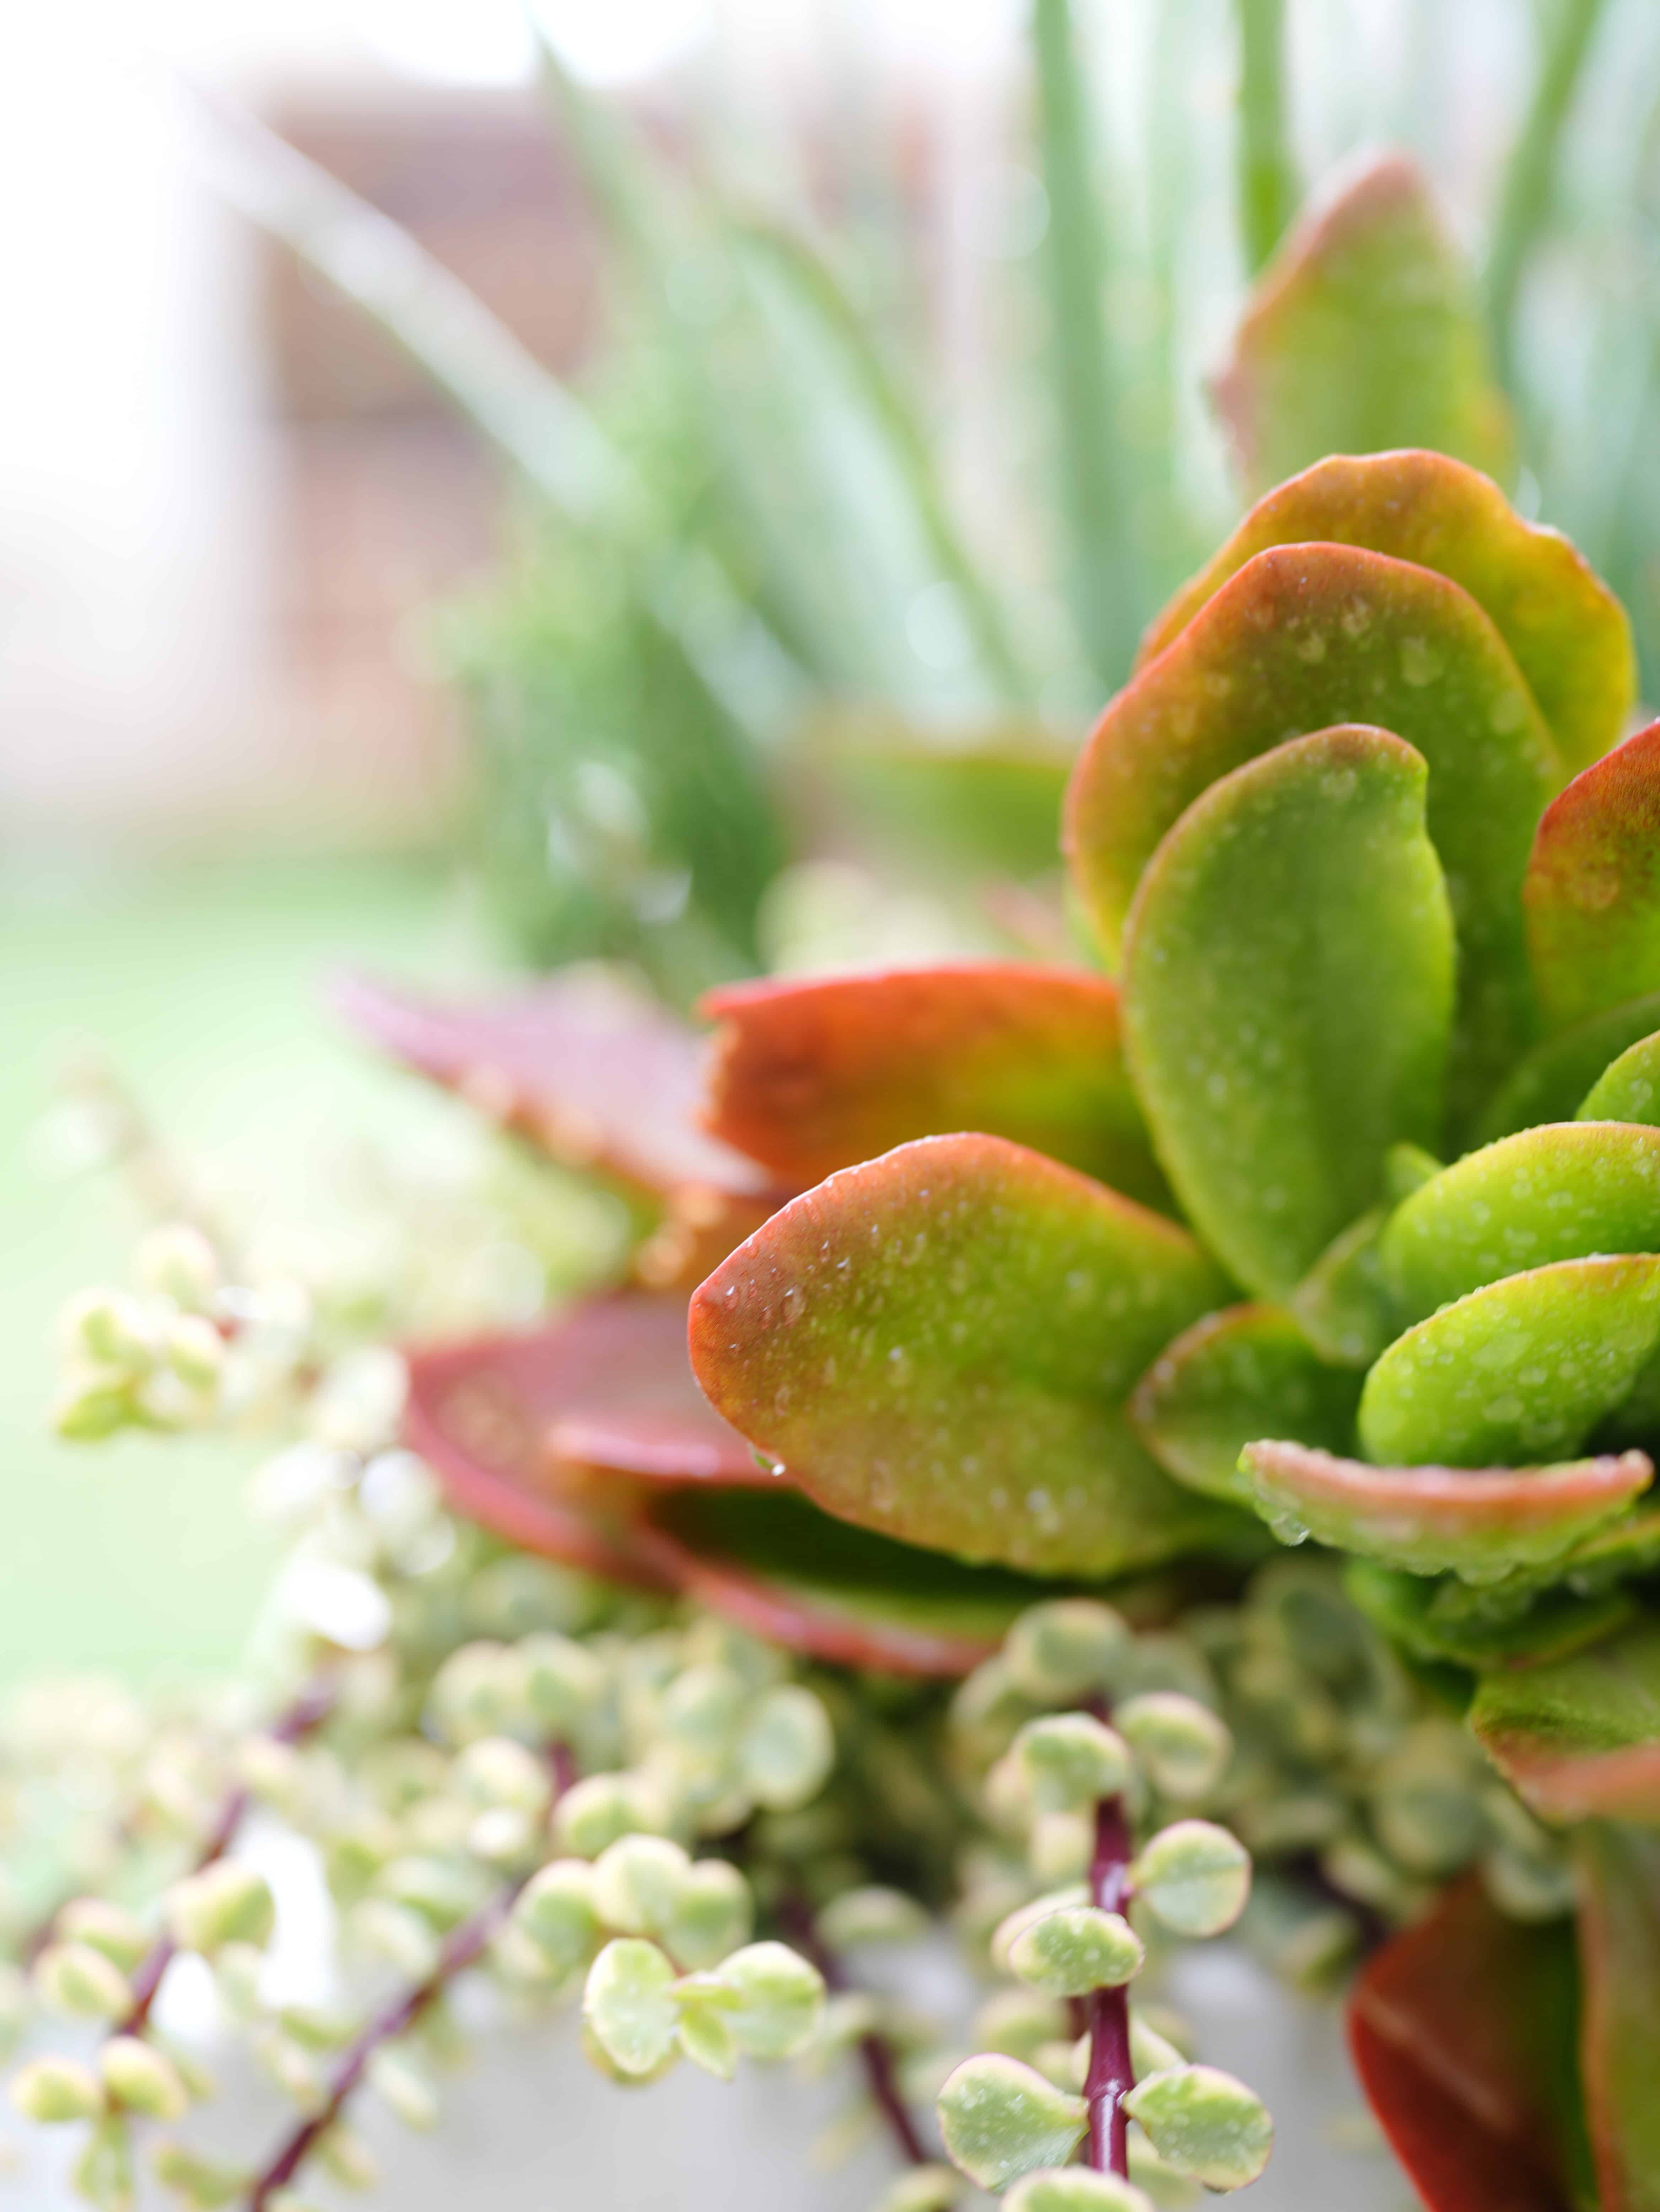
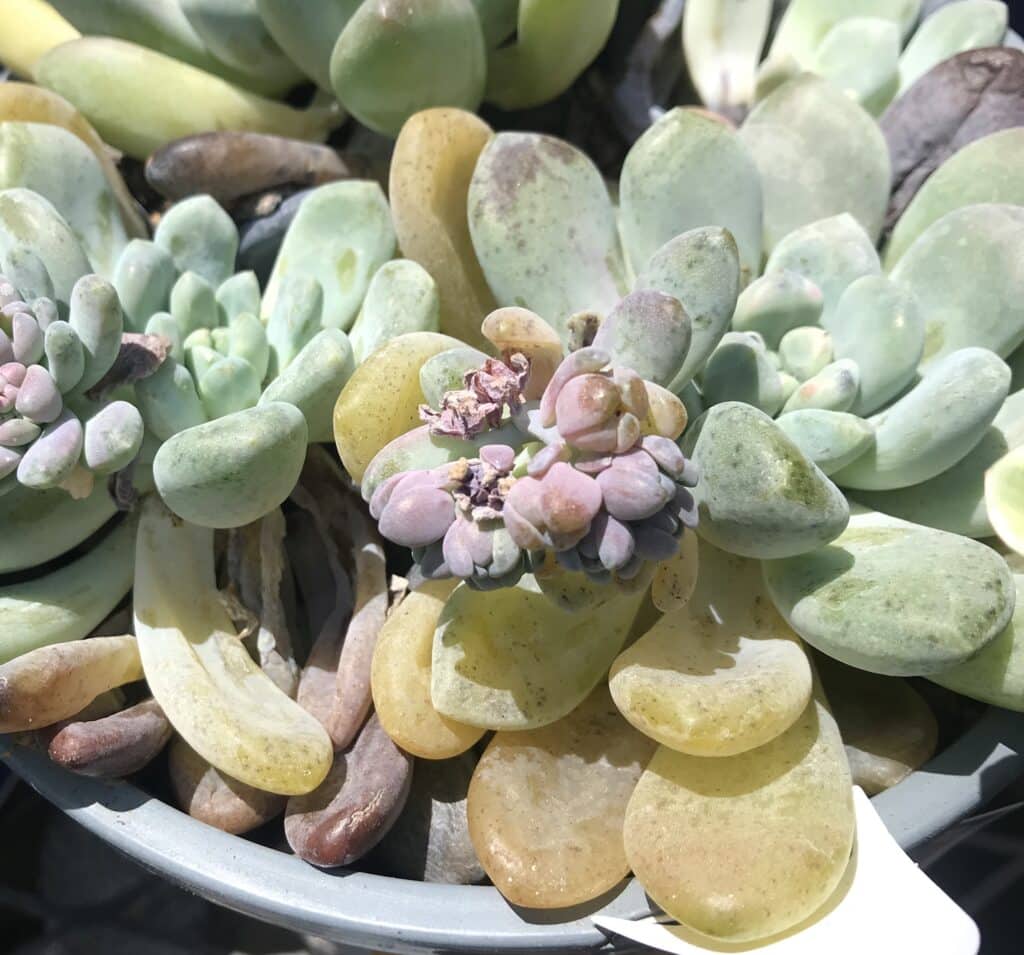
Some stress is normal and even beneficial—it can bring out deeper colors in the leaves. But it’s important to know the difference between healthy stress and trouble.
Normal winter stress:
- Slightly shriveled leaves (due to less watering)
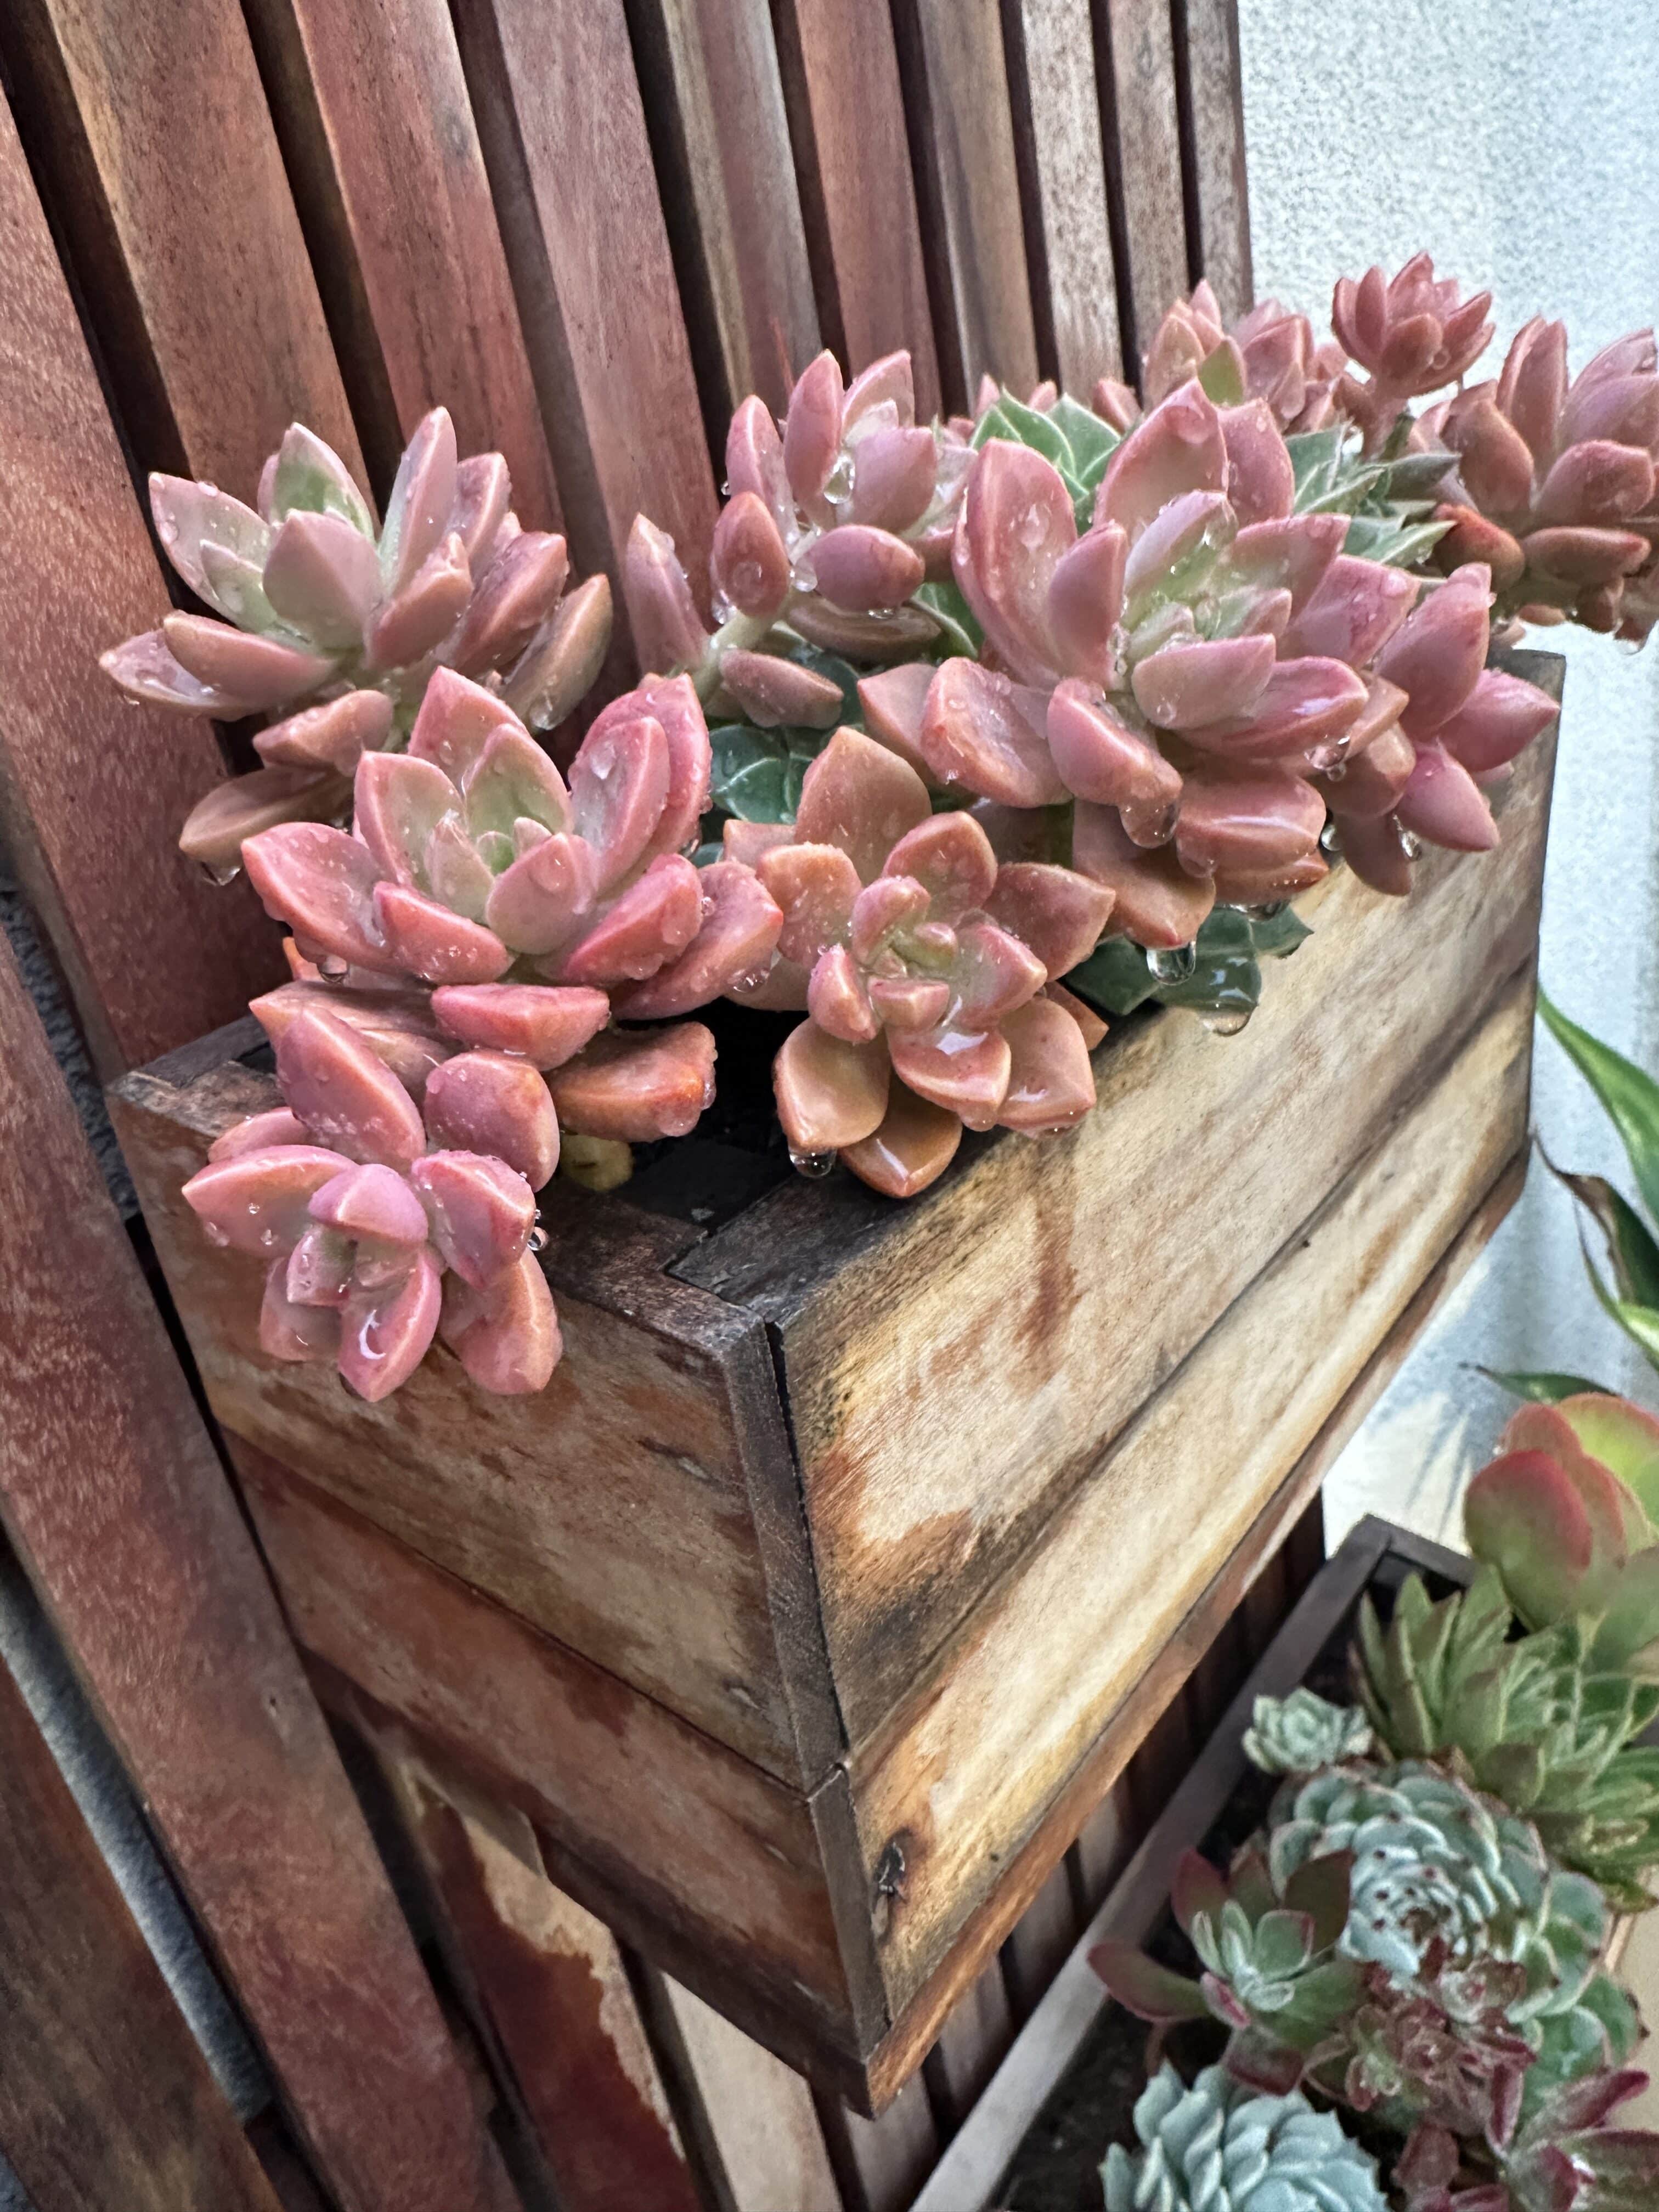
- Color changes (reds, purples, or pinks)
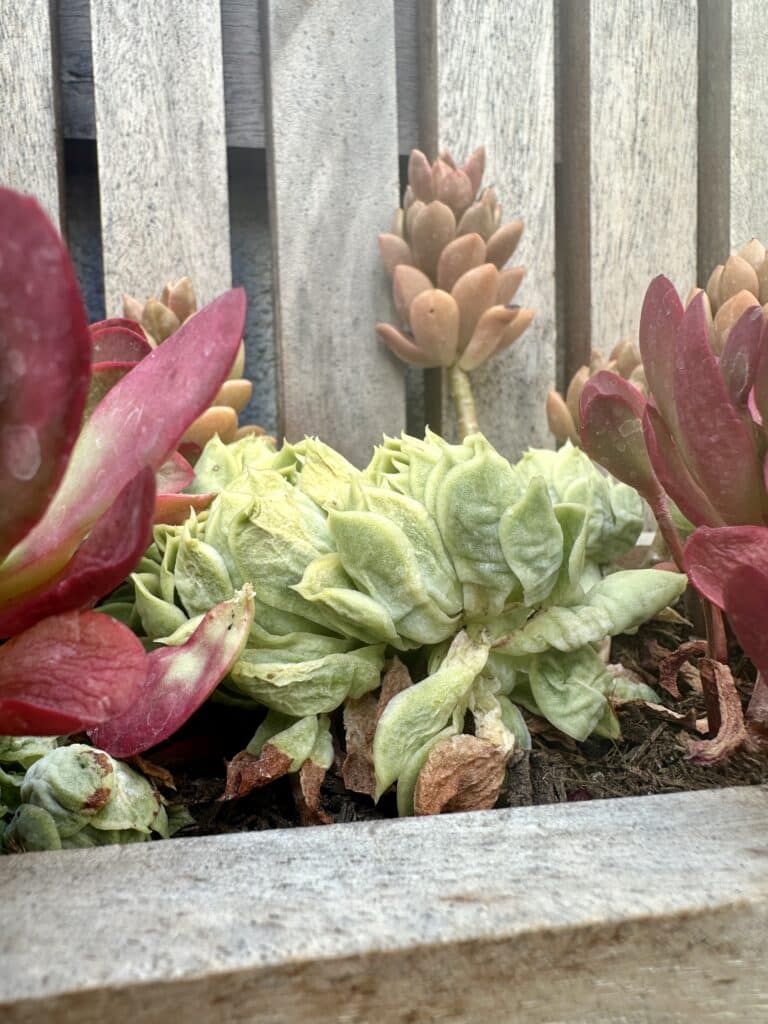
Warning signs:
- Mushy or dark spots (frost damage or overwatering)
- Pale, stretched-out growth (too little light)
- Crispy or brown leaves (too close to heaters or vents)
Adjust water, light, or temperature accordingly and your succulents will bounce back quickly.
Step 9: Get Ready for Spring
As the days start to lengthen and temperatures warm up, your succulents will begin to wake from dormancy. This is your cue to start transitioning them back outdoors.
Reintroduce sunlight gradually to avoid sunburn—place them outside for a few hours each day, increasing time over a week or two.
Refresh their soil if it’s compacted or depleted.
Resume light watering and fertilizing once you see new growth.
By the time spring arrives, your succulents will be strong, healthy, and ready to thrive again in full sun.
Caring for succulents in cold weather doesn’t have to be complicated.
With a few simple adjustments—like bringing tender varieties indoors, cutting back on watering, and protecting outdoor plants from frost—you can keep your succulents looking beautiful year after year.
These resilient plants might love the sun, but with a little seasonal care, they’ll handle winter like pros.
When the warm days return, you’ll be rewarded with healthy, colorful, and thriving succulents ready to take on a brand-new season.