How to Help Your Real Pumpkins Last All Season
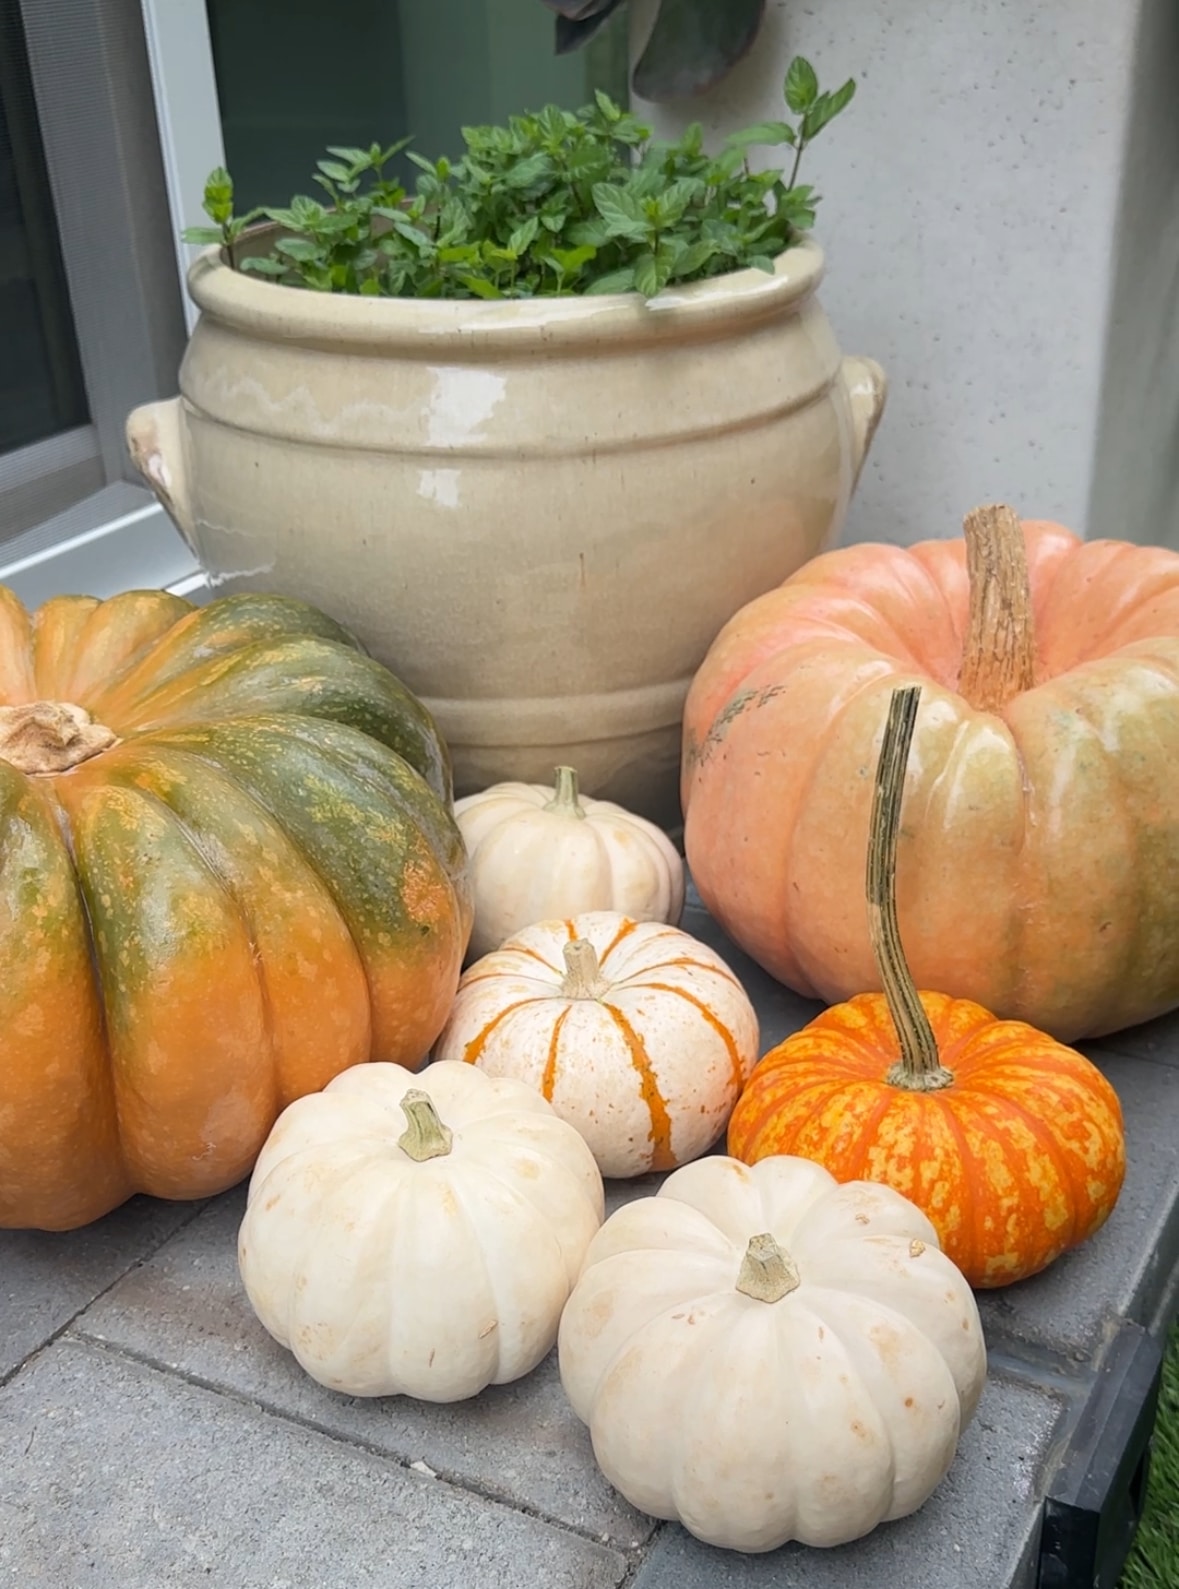
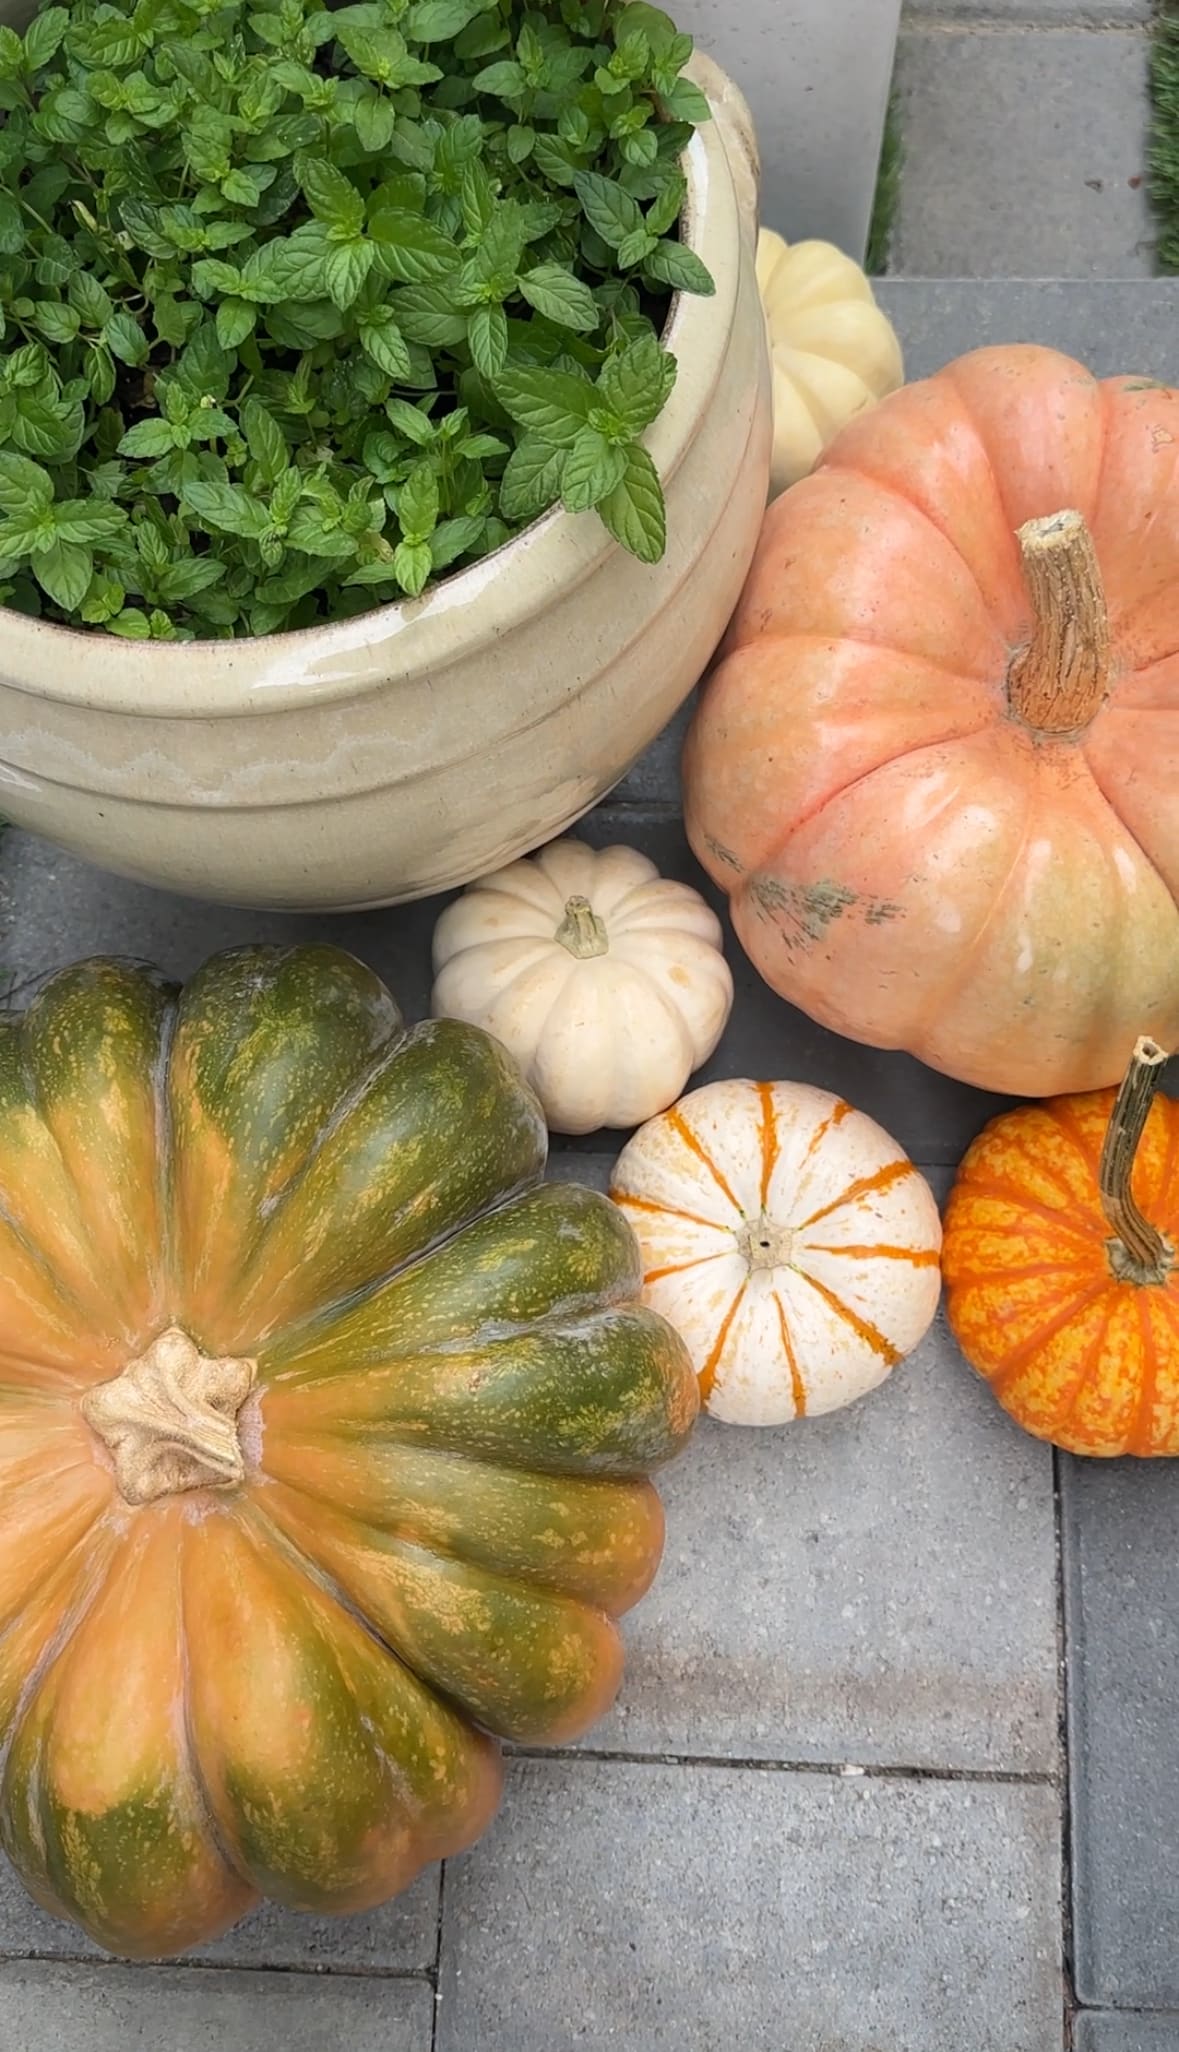
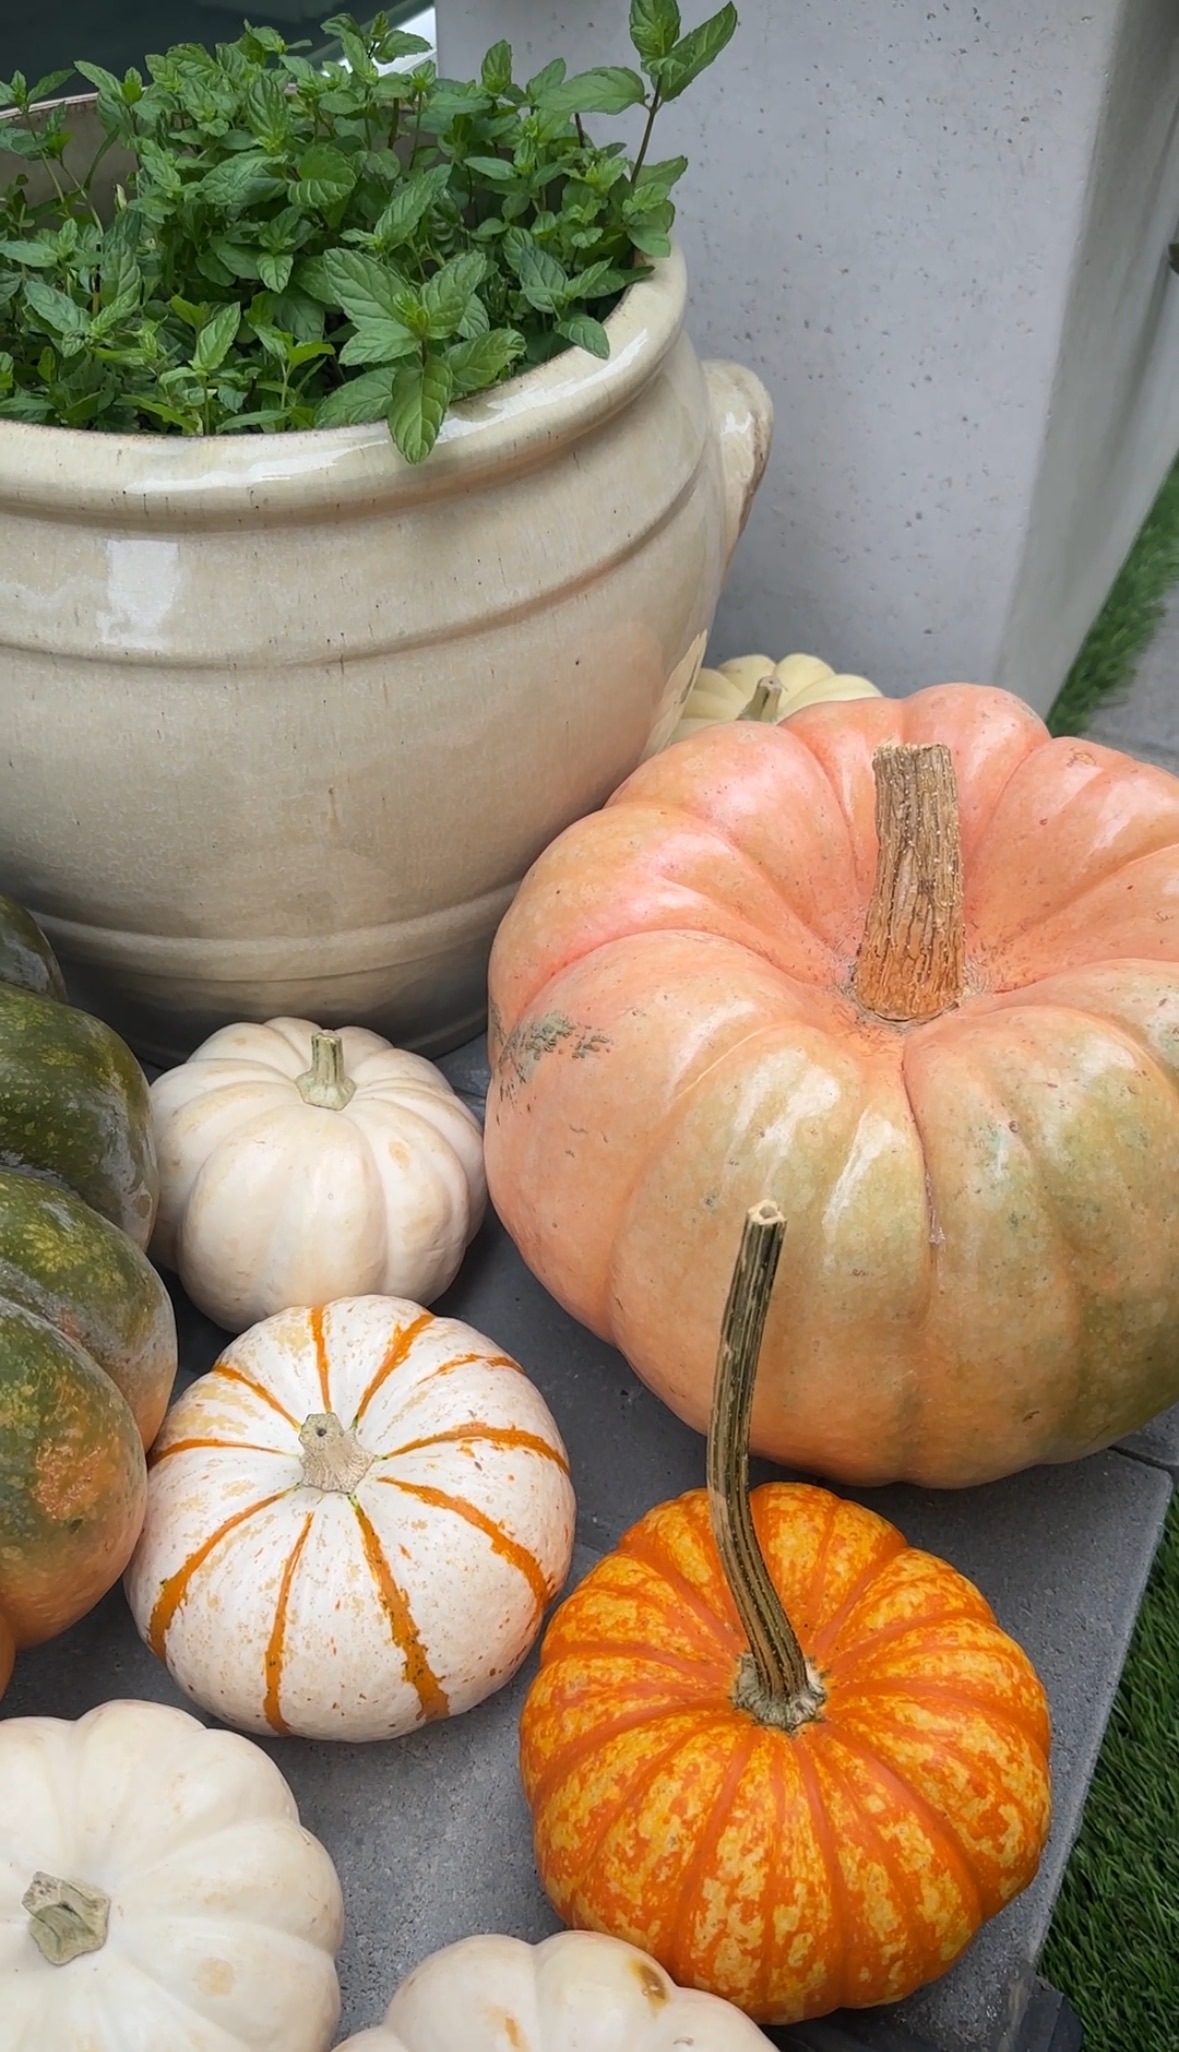
There’s something magical about decorating with real pumpkins in the fall. The mix of colors, shapes, and textures instantly makes any space feel festive and cozy.
Whether you stack them by your front door, place them on your dining table, or tuck mini pumpkins along your shelves, they bring that unmistakable touch of autumn charm that faux pumpkins can’t quite capture.
But if you’ve ever excitedly bought pumpkins in early October only to find them soft, moldy, or wrinkled a week later, you know the heartbreak.
Real pumpkins don’t always last long—especially if they’re sitting outside where they’re exposed to sunlight, rain, and fluctuating temperatures. The good news?
With just a few simple steps, you can help your pumpkins stay firm, fresh, and beautiful all season long—from the first chill of October straight through Thanksgiving.
This is the exact method I use every fall, and it’s surprisingly easy. All you need are a few household items, ten minutes of your time, and a little TLC.
Why Pumpkins Rot So Quickly
Pumpkins are mostly water—around 90%—which means they’re naturally prone to softening, molding, and breaking down once they’re removed from the vine.
Add in dirt, bacteria, and warm weather, and you’ve got the perfect recipe for decay.
If your pumpkins sit directly on damp concrete or soil, or if they’re exposed to moisture from sprinklers or morning dew, the process speeds up even more.
And once mold takes hold on one pumpkin, it spreads to the rest of your display like wildfire.
Luckily, you can interrupt this whole process with a few simple preservation steps.
By cleaning and sealing your pumpkins properly, you’ll protect them from bacteria and lock in their natural moisture—helping them last weeks longer than untreated ones.
What You’ll Need

You don’t need any special chemicals or expensive products. Everything you need is likely already in your home:
- White vinegar
- Water
- A towel or paper towels
- A bowl or spray bottle
- Vaseline or Aquaphor
- Optional: gloves or a small soft brush for cleaning
That’s it. No bleach, no harsh cleaning agents—just gentle ingredients that are safe for your pumpkins, your porch, and the environment.
Step 1: Wipe Away Dirt and Debris
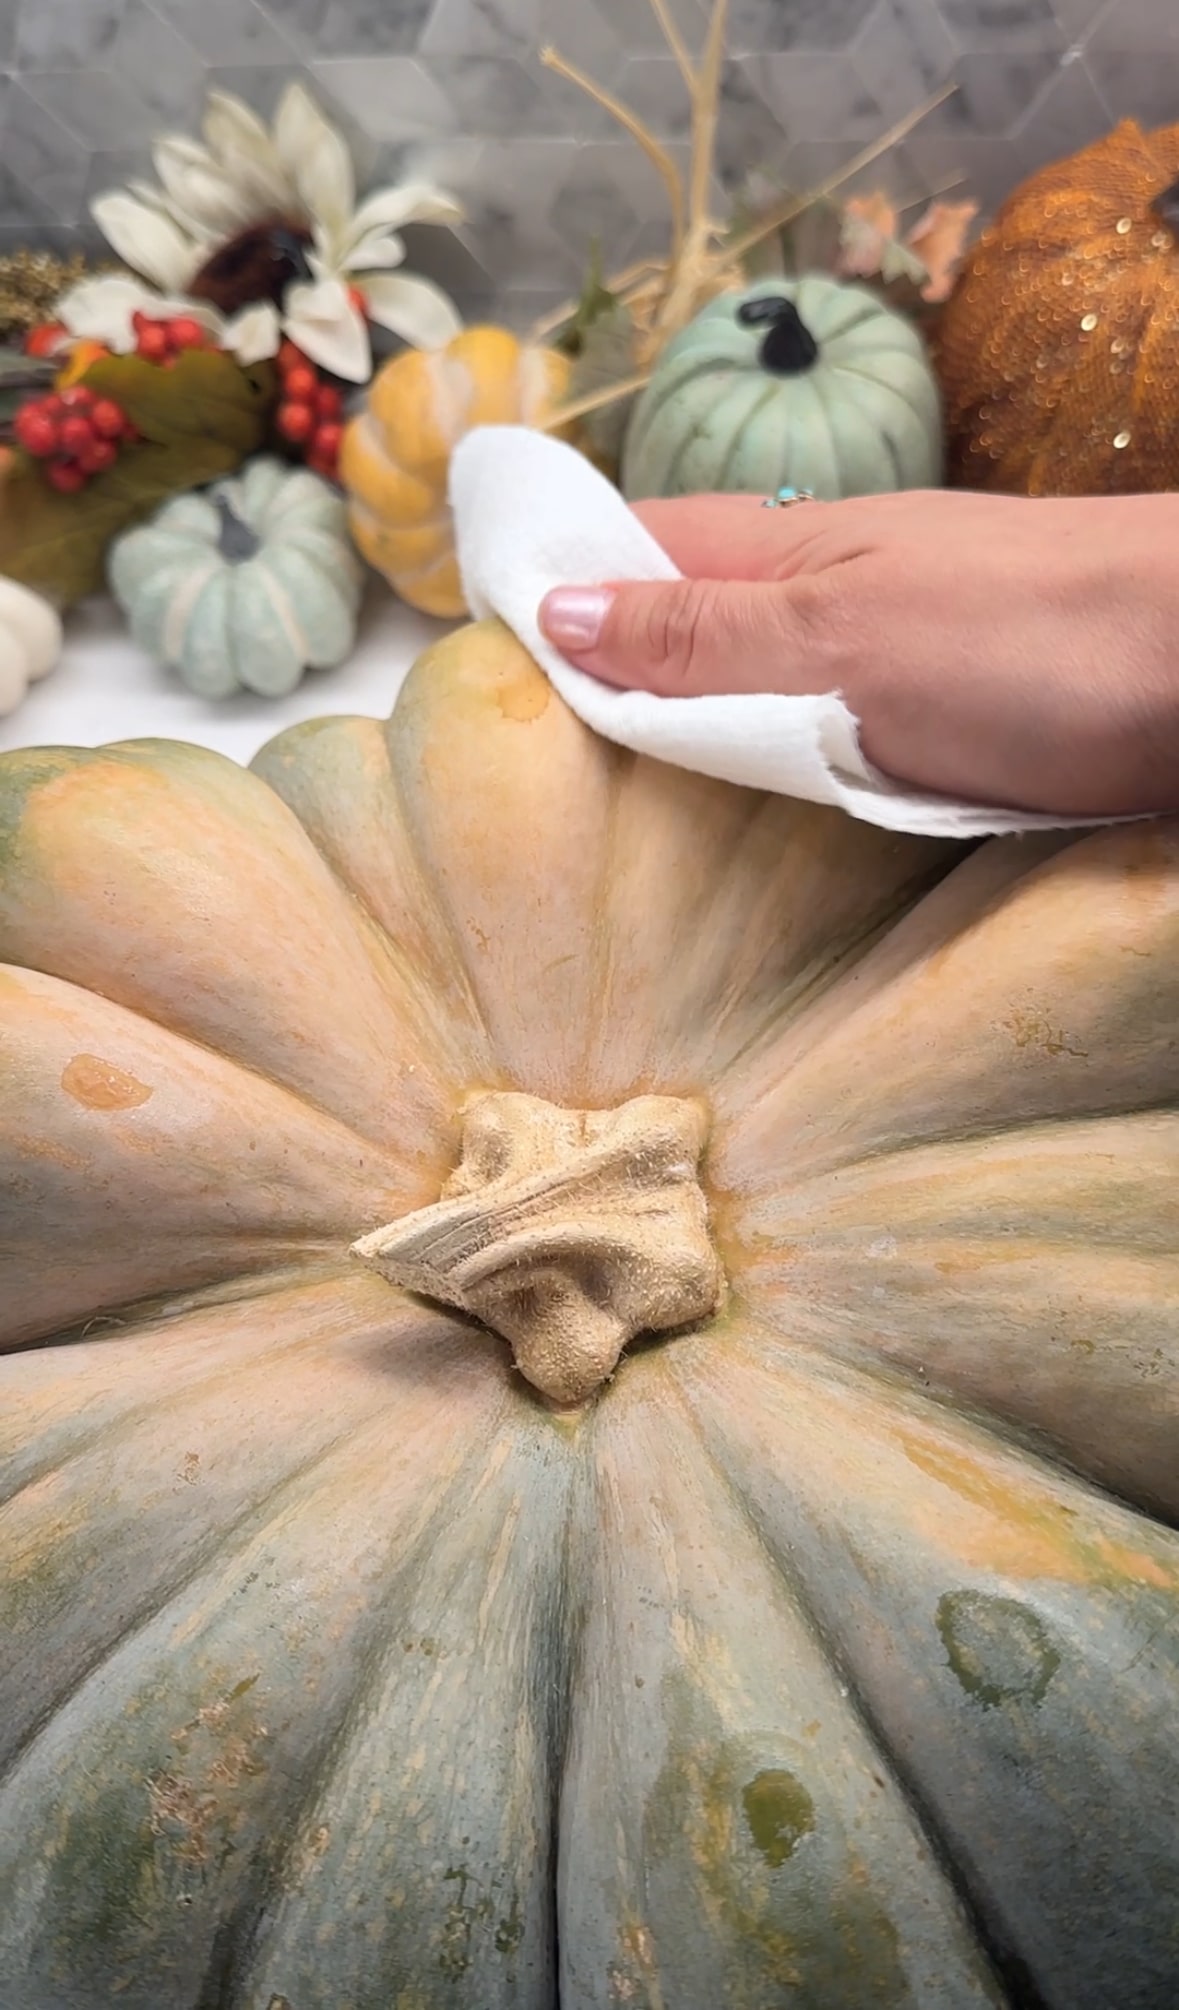
Before you apply anything to your pumpkins, give them a quick clean. Wipe away any dirt, dust, or residue using a damp towel or paper towel. You can also use a soft brush to get into any crevices around the stem or ridges.
Cleaning is important because dirt and bacteria can break down the pumpkin’s skin faster. Think of it like washing fruit before you eat it—you’re removing anything that could cause spoilage.
Take your time here, especially with pumpkins that have been sitting outside at the store or pumpkin patch. The cleaner the surface, the better your results will be later.
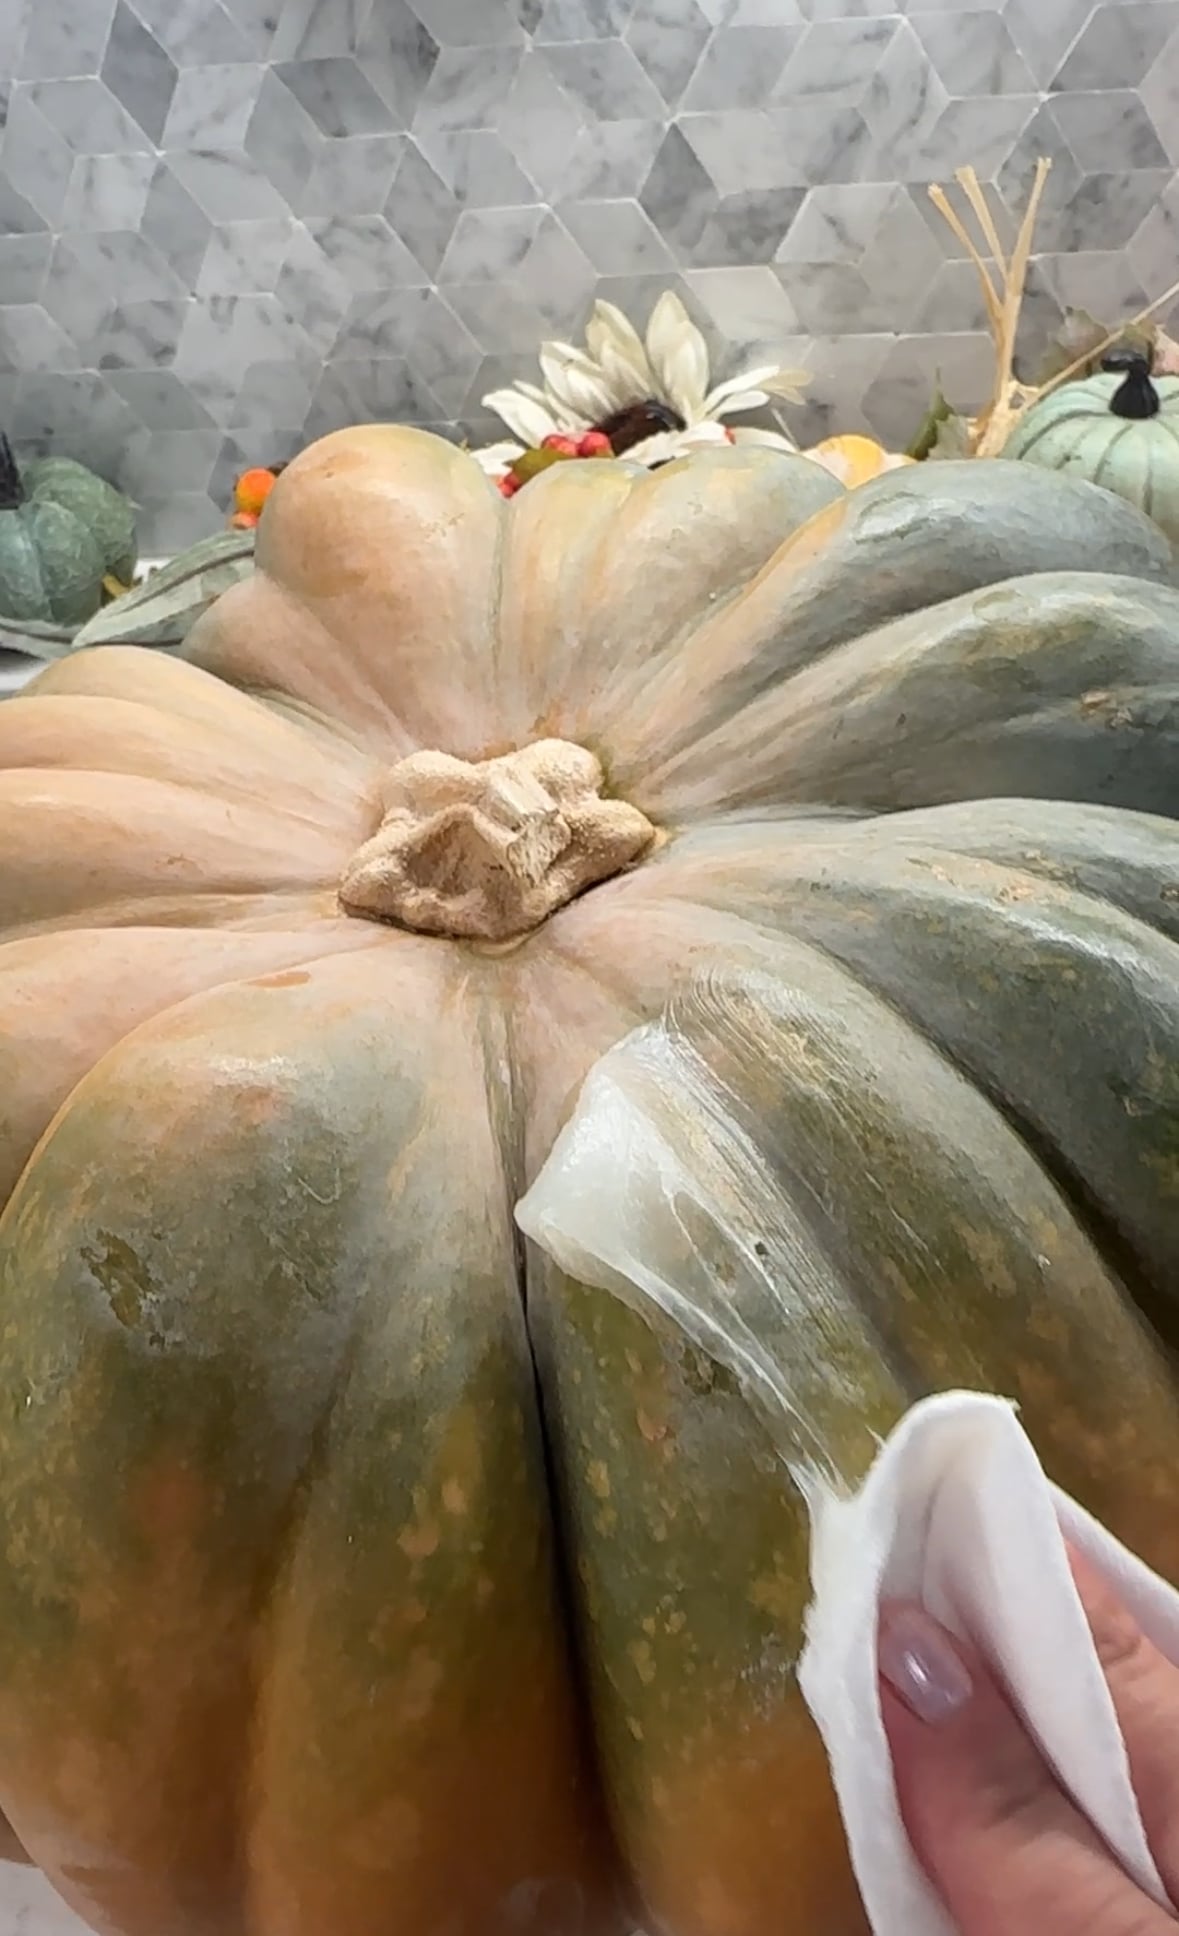
Step 2: Mix a Vinegar and Water Solution

Next, it’s time to disinfect. Fill a small bowl or spray bottle with a solution of one part white vinegar to three parts water. You can either spray the pumpkins generously or drench a towel and wipe them down.
Vinegar is a natural antibacterial and antifungal, which means it kills off the bacteria and mold spores that cause rot.
Unlike bleach (which some people use), vinegar is non-toxic, won’t damage the pumpkin’s color, and is safe to use around kids and pets.
Be sure to cover the entire pumpkin—from stem to base—including the underside if possible. You can even give them a gentle rinse afterward, though I usually just let the vinegar solution sit and dry naturally.
Step 3: Let the Pumpkins Fully Dry
After cleaning, let your pumpkins dry completely before applying any kind of sealant. This step is essential. If moisture gets trapped under the next layer, it can encourage mold growth instead of preventing it.
Set your pumpkins on a towel and allow them to air dry for at least 30–60 minutes.
If you’re working outside, choose a shady spot away from direct sunlight to prevent premature softening from the heat.
Once they feel completely dry to the touch—no damp spots, no condensation—you’re ready for the fun part.
Step 4: Seal the Skin
Here’s the secret step that makes all the difference: sealing the pumpkin’s skin. Using a small amount of Vaseline or Aquaphor, gently rub a thin layer all over the surface of each pumpkin.
The idea is to create a protective barrier that locks in the pumpkin’s natural moisture while keeping bacteria and air out.
You don’t need a thick coat—a light, even layer works best. I usually scoop a little product onto a paper towel or clean cloth and buff it in until there’s a slight sheen.
Not only does this step help your pumpkins last longer, but it also gives them a beautiful, subtle shine that makes them look freshly picked.
Step 5: Display Wisely
Once your pumpkins are clean, sealed, and dry, placement is key. Even preserved pumpkins can struggle if they’re sitting in harsh conditions.
- Keep them out of direct sunlight whenever possible. Too much heat will soften them.
- Avoid damp surfaces—if your pumpkins are outside, place them on a doormat, straw, or wooden tray instead of bare concrete.
- Rotate them occasionally so one side doesn’t get flat or moldy.
- Bring them indoors if your area experiences heavy rain or frost.
For indoor displays, a cool, dry spot is ideal—think entry tables, kitchen counters, or near your fireplace (but not too close to the heat).
How Long Do They Last?
When treated and cared for this way, your pumpkins can last up to four to six weeks, sometimes even longer depending on your climate.
That means you can decorate in early October and still have beautiful pumpkins for your Thanksgiving tablescape.
Of course, nature has a mind of its own—temperature swings and humidity can still have an effect—but this simple method dramatically extends their lifespan compared to untreated pumpkins.
Frequently Asked Questions
Can I use bleach instead of vinegar?
Technically, yes—but I prefer not to. Bleach can alter the pumpkin’s color and isn’t environmentally friendly. Vinegar does the same job in a safer, gentler way.
Do I have to use Vaseline?
You can use Aquaphor, coconut oil, or even olive oil in a pinch. The key is creating a barrier that keeps air out and moisture in.
Can I use this method on carved pumpkins?
It’s best for uncarved decorative pumpkins. Once a pumpkin is cut, bacteria multiply quickly, and no amount of sealing can make it last as long.
A Simple Fall Ritual
There’s something so satisfying about this little seasonal ritual. I usually do it right after a pumpkin patch trip, when the house smells like cinnamon and my porch is covered in leaves.
It only takes a few minutes, but it means my pumpkins stay picture-perfect all season long.
Every time I walk up the front steps and see those bright orange and white pumpkins still looking fresh in November, I feel a little proud.
It’s one of those small seasonal tasks that pays off big.
So before you arrange your pumpkins this year, give them a quick spa treatment—wipe, disinfect, dry, and seal. You’ll get weeks of extra beauty and skip the mushy mess that usually shows up too soon.
With a few everyday items and a short bit of prep, you can help your real pumpkins last from the first chilly days of October straight through Thanksgiving.
No chemicals, no hassle—just a simple, natural way to preserve one of fall’s prettiest traditions.
If you’d like to see the full process in action, watch my short video on Instagram @natalielindahome where I show each step. And if you try this method, tag me—I love seeing how you decorate your home for the season!
Here’s to fresh, firm, and beautiful pumpkins that bring your home to life all season long. 🎃🍂