The Cutest Mummy Rice Krispies Treats for Halloween
These mummy Rice Krispie treats are the kind of easy Halloween dessert that looks adorable on a party table without requiring any complicated decorating. I used Rice Krispie treats, melted white chocolate, and candy eyeballs to turn a simple classic into a festive little mummy.
The best part is that they are supposed to look a little imperfect. The white chocolate drizzle becomes the mummy’s wrapped bandages, so there is no need to worry about precise lines or professional piping skills. A few messy swipes of chocolate and two candy eyes are all it takes.
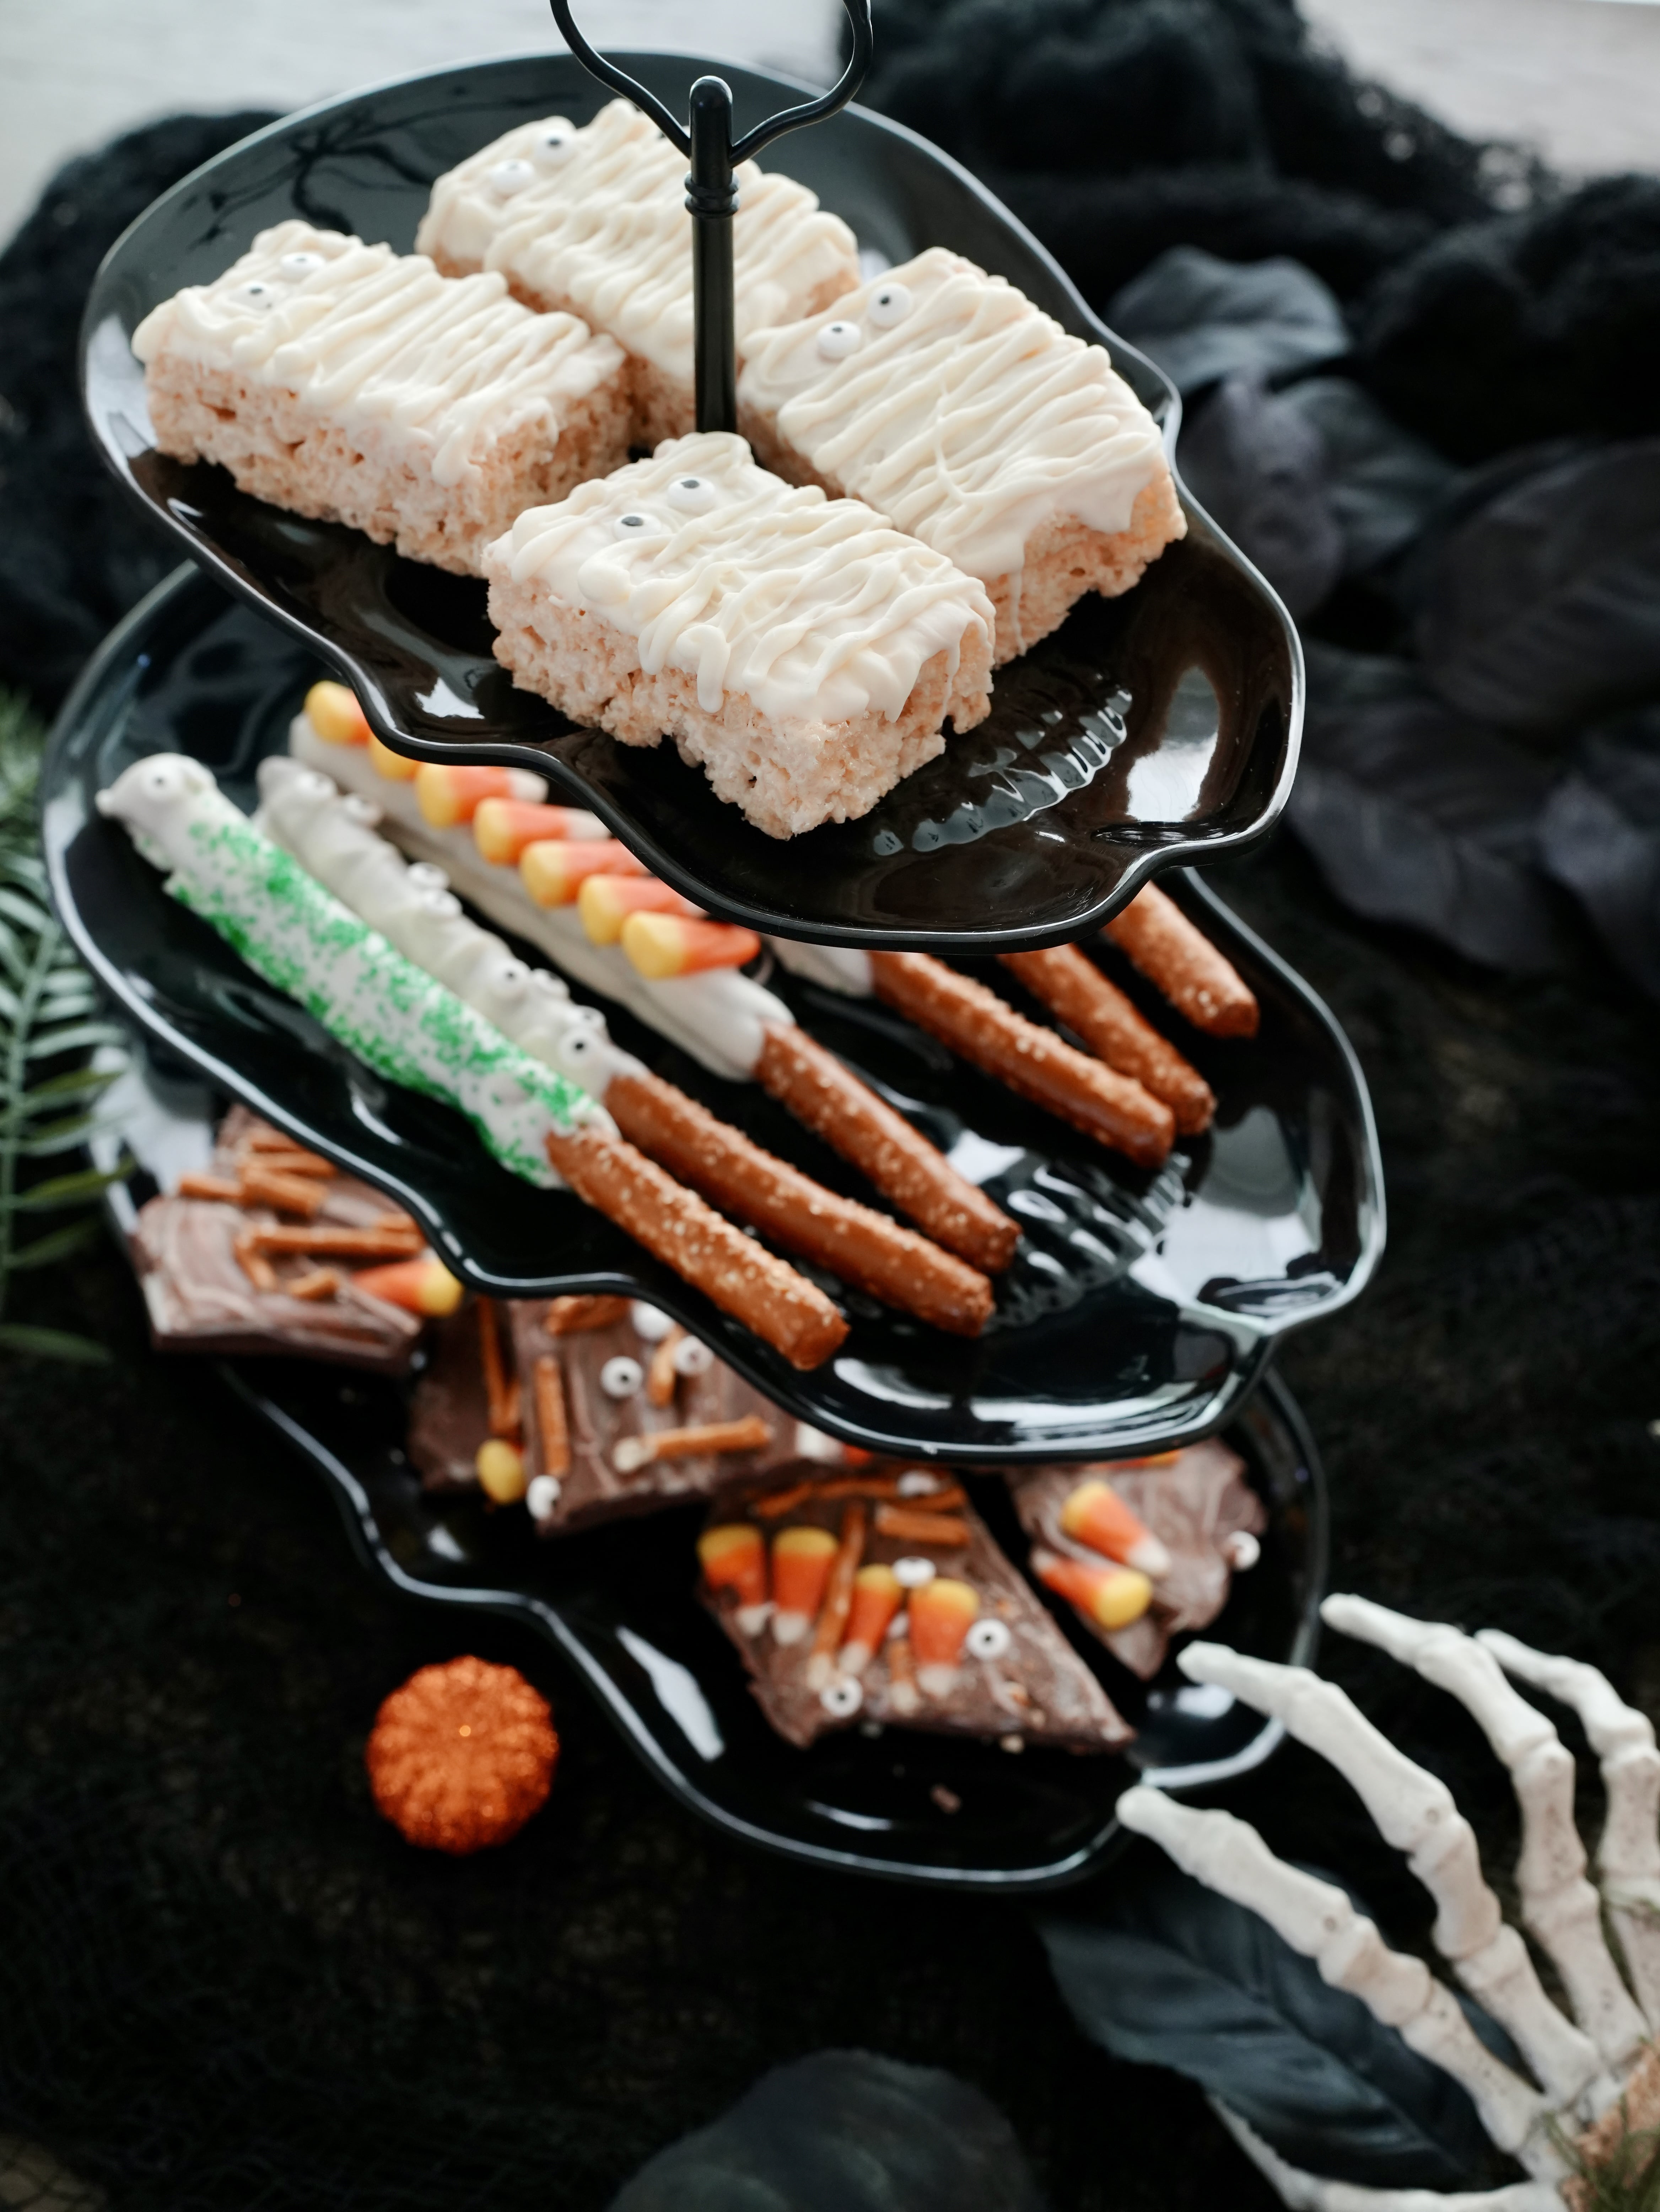
Make these for a Halloween party, a school celebration, a spooky movie night, or as part of a larger Halloween dessert board filled with cookies, candy, popcorn, and other easy treats.
Why You’ll Love These Mummy Treats
There are plenty of Halloween desserts that look fun but take far more time than I want to spend in the kitchen during a busy season. These are easy, no-bake, and use just a few simple ingredients.
They are also easy to adapt depending on how many people you are serving. You can make a small batch with a box of store-bought Rice Krispie treats for a family movie night, or make a larger batch for a Halloween party. They are individually portioned, easy for little hands to pick up, and look especially cute arranged together on a tray.
Ingredients
- 8 Rice Krispie treats, homemade or store-bought
- 1 cup white chocolate chips, white candy melts, or white melting wafers
- 1 teaspoon coconut oil or shortening, optional
- 16 candy eyeballs
Supplies You’ll Need
- Parchment paper
- Baking sheet, tray, or large plate
- Microwave-safe bowl
- Spoon, fork, or piping bag
- Zip-top bag, optional
How to Make Mummy Rice Krispie Treats
Start by lining a baking sheet or large plate with parchment paper. Place the Rice Krispie treats on the parchment, leaving a little room between each one so you can decorate them easily.
Add the white chocolate, candy melts, or melting wafers to a microwave-safe bowl. Microwave in short 15- to 20-second intervals, stirring well after each interval. Continue until the chocolate is fully melted and smooth. White chocolate can seize or scorch easily, so short bursts and plenty of stirring are important.
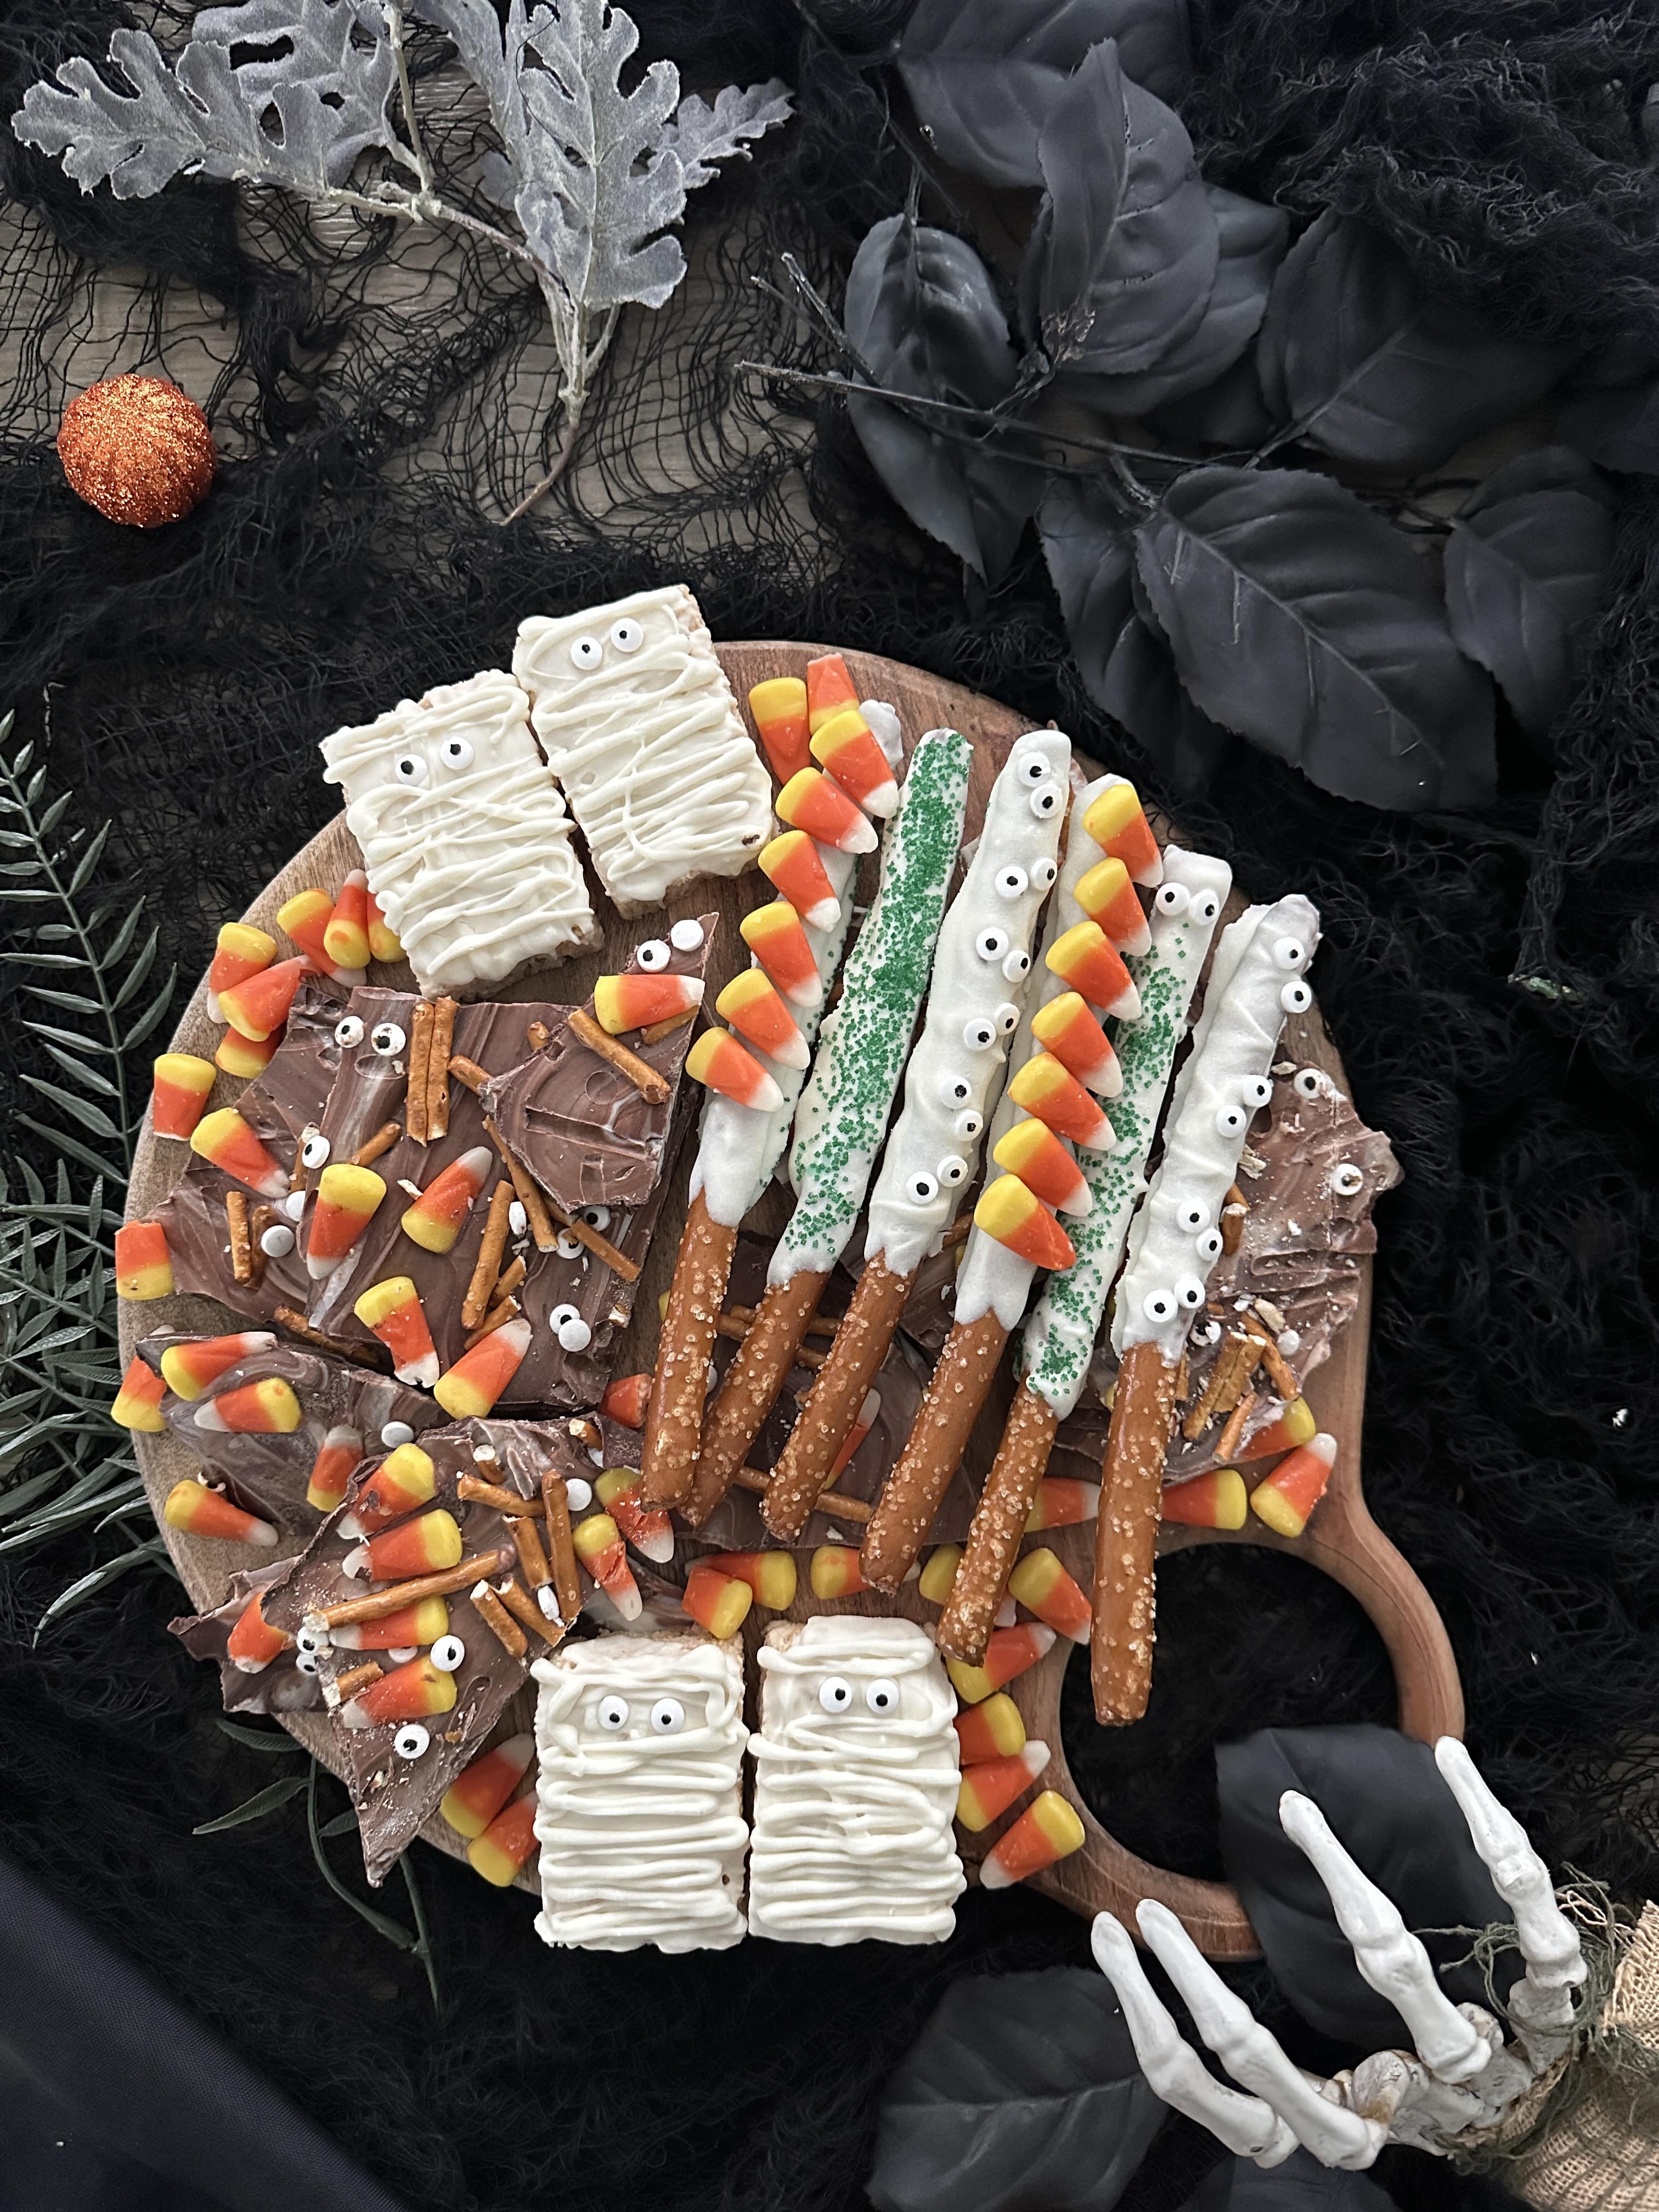
If the melted chocolate seems too thick to drizzle, stir in a very small amount of coconut oil or shortening. This helps loosen it slightly and makes it easier to create those loose mummy-bandage lines.
Next, place two candy eyeballs near the top of each Rice Krispie treat. If they are not sticking well, use a tiny dab of melted chocolate underneath each eye as glue. I like placing the eyes a little unevenly because it gives every mummy its own funny personality.
Once the eyes are in place, use a spoon, fork, or piping bag to drizzle the white chocolate back and forth across each bar. Do not cover the eyes completely—leave a small open area around them so they look like they are peeking through the bandages.
Let the chocolate set completely before moving or serving the treats. If you are short on time, place the tray in the refrigerator for about 10 minutes. Once firm, they are ready to add to your Halloween dessert table.
Tips for the Cutest Mummy Rice Krispie Treats
The key is not trying to make them too perfect. Thick, thin, crooked, and overlapping lines all help the treats look more like wrapped little mummies. If your drizzle is not perfectly even, that is actually a good thing.
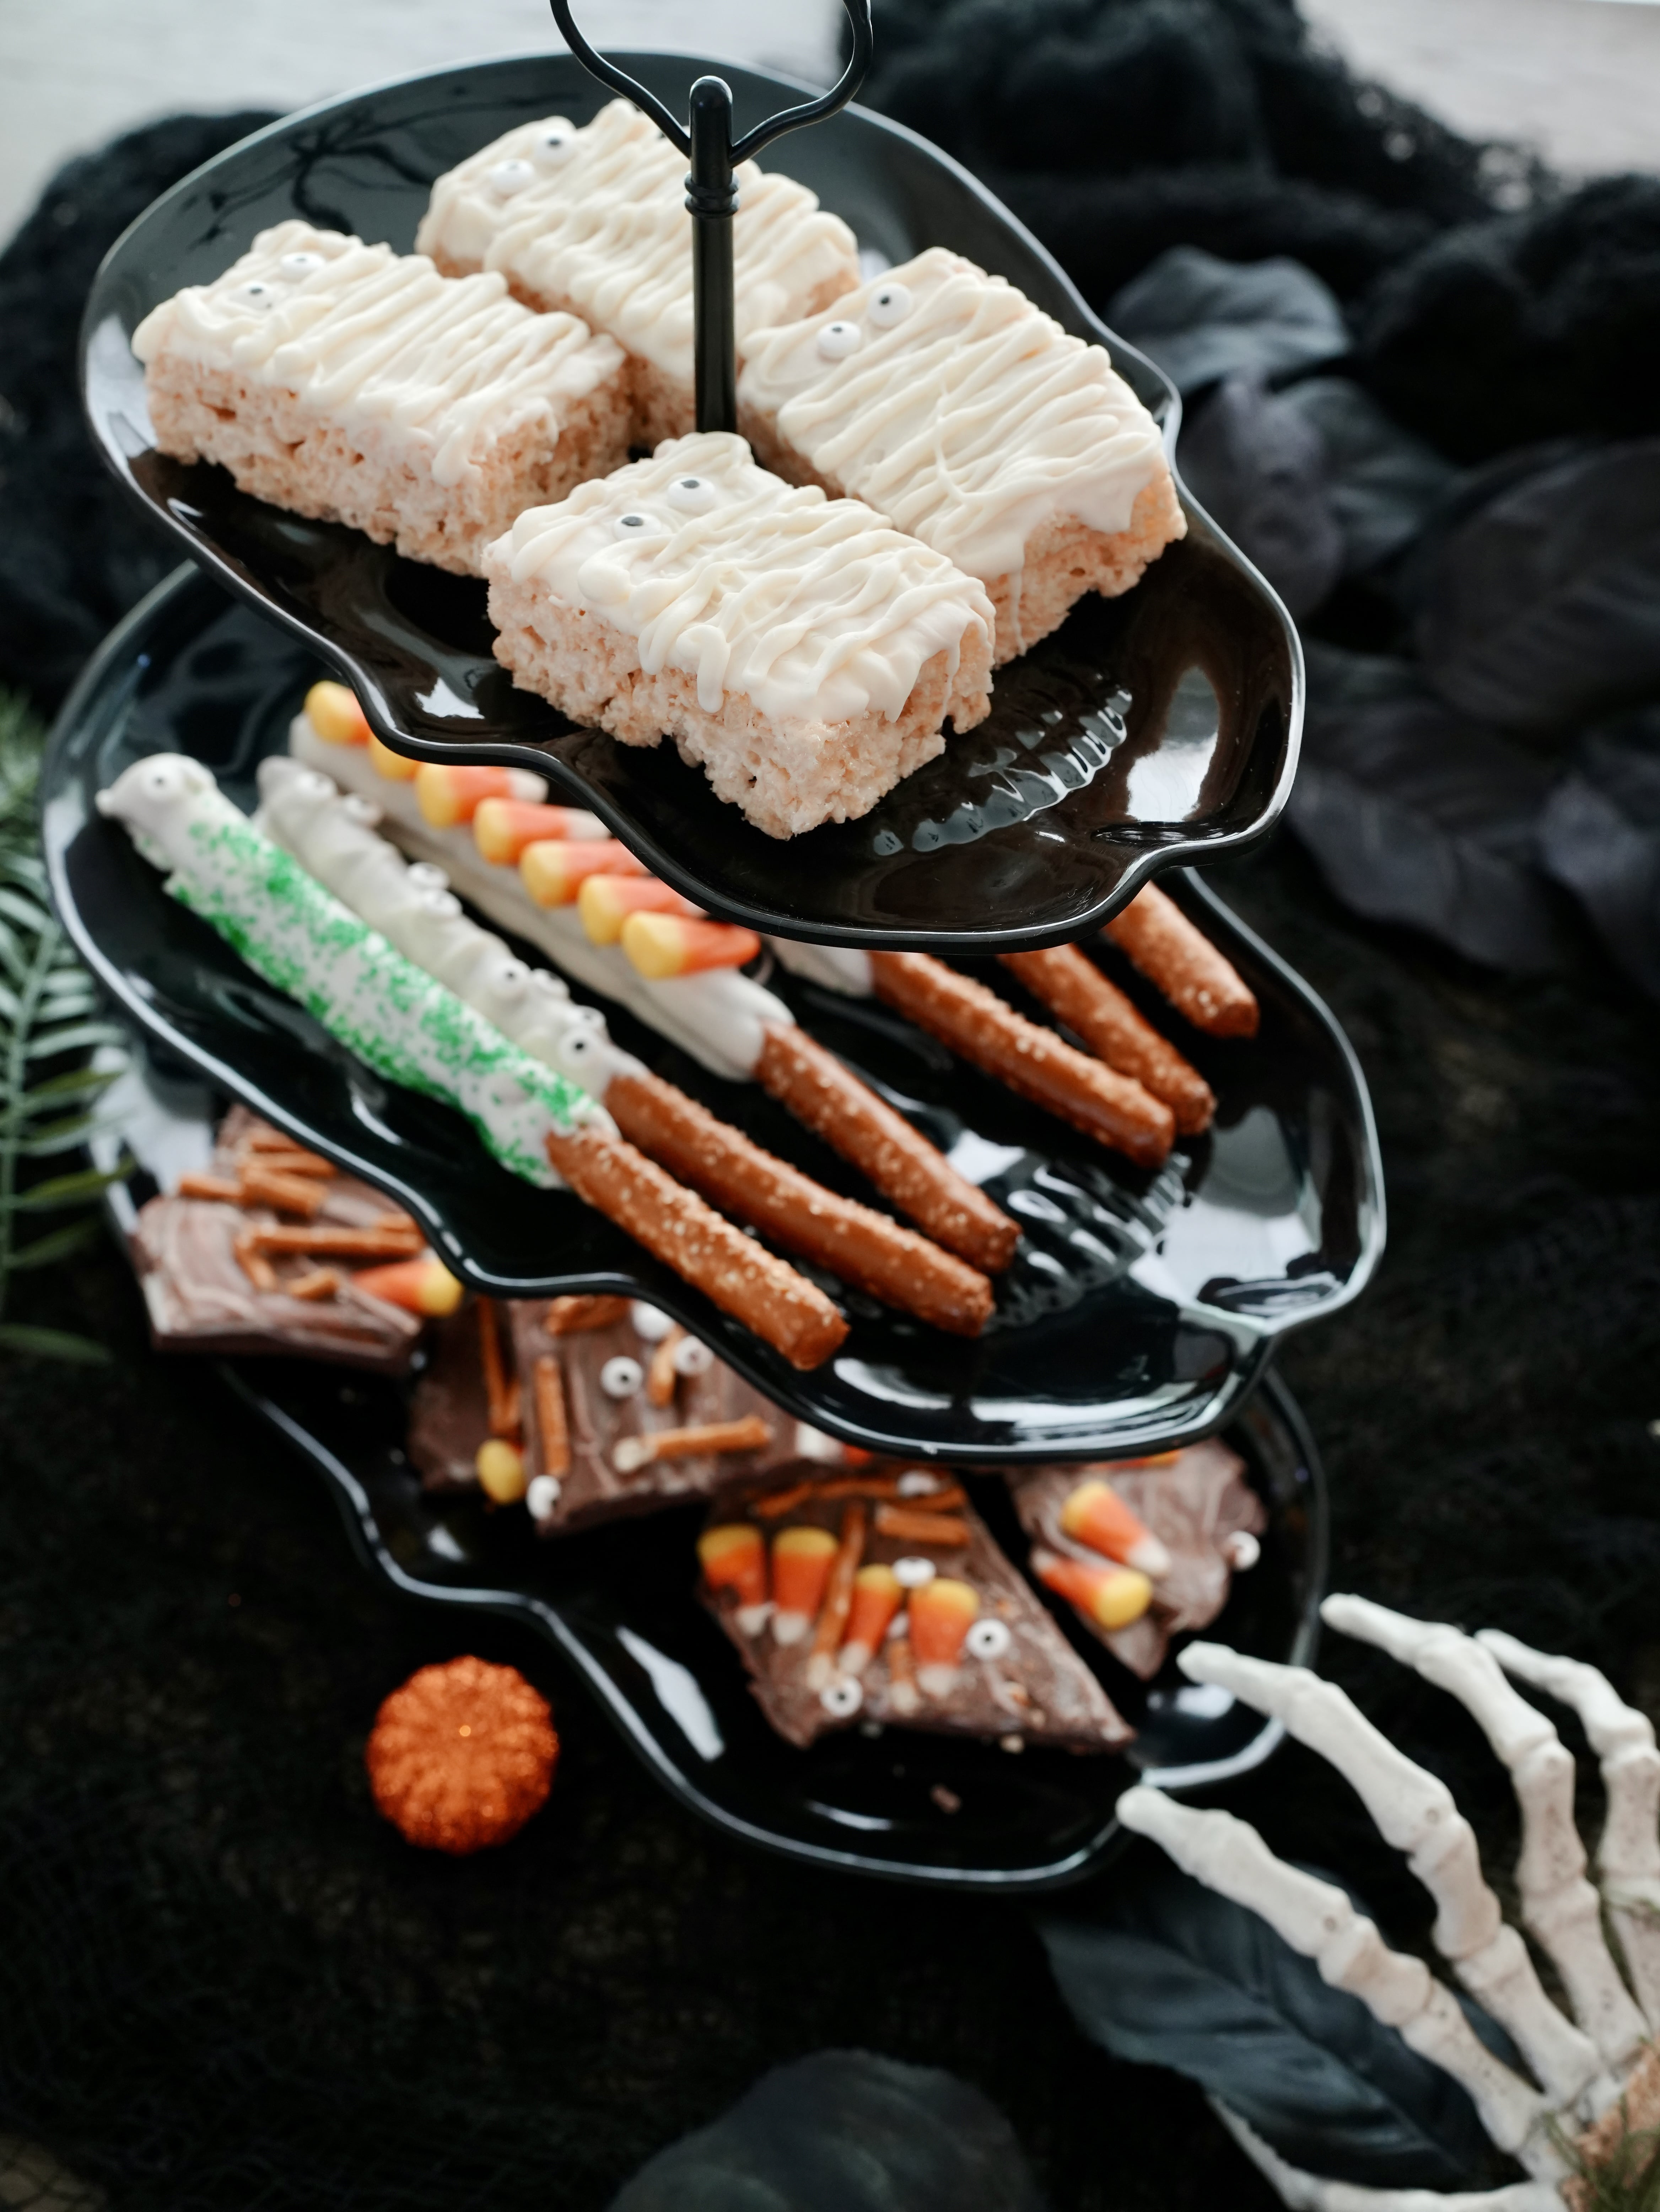
A spoon is the easiest tool and creates thicker, rustic-looking bands. If you want more defined, thin lines, transfer the melted chocolate to a small piping bag or a zip-top bag with one tiny corner snipped off. Just make sure the opening is very small so the chocolate does not pour out too quickly.
If you are making homemade Rice Krispie treats, let them cool and firm up before decorating. Warm treats can be soft and sticky, which makes it harder to place the candy eyes and drizzle the chocolate cleanly. Store-bought bars are a great shortcut here because they are already evenly sized and ready to decorate.
You can also cut large homemade treats into smaller rectangles if you want mini mummy bites for a dessert board. Smaller versions are especially nice when guests will be sampling several different Halloween sweets.
How to Add Them to a Halloween Dessert Board
These mummy Rice Krispie treats are perfect for making a Halloween dessert board feel more special. They add height, texture, and a handmade element among packaged candy and cookies, without needing a lot of extra work.
Start with a large black serving board, wood board, or white platter. Arrange the mummy treats in a small group near the center or along one edge. Because the white chocolate stands out against darker treats, they look especially good next to chocolate brownies, Oreos, chocolate-covered pretzels, or dark Halloween cookies.
Fill in the rest of the board with a mix of easy Halloween sweets, such as:
- Candy corn or candy pumpkins
- Orange and black M&M’s
- Chocolate-covered pretzels
- Mini cupcakes with Halloween sprinkles
- Halloween sandwich cookies
- Caramel popcorn
- Gummy worms
- Fresh blackberries, grapes, or orange slices for a little color
For a more elevated look, use small bowls to hold loose candy and tuck the mummy treats around them. You can also add a few faux spiders, mini plastic skeletons, black paper bats, or a small “Trick or Treat” sign around the board. Just keep non-food decorations away from anything guests will eat.
If you are serving the treats at a children’s party, keep the board simple and easy to reach. For an adult Halloween party, pair them with darker chocolate desserts, dramatic black serving pieces, and a few moody candlesticks to fit a more classic spooky theme.
More Ways to Serve Mummy Treats at a Halloween Party
A dessert board is one option, but these are also cute displayed on their own. Arrange them upright on a cake stand or large platter for an easy centerpiece on a Halloween dessert table. You can layer black-and-white striped napkins underneath to make the mummy design stand out even more.
For party favors, wrap each finished treat in a clear cellophane bag and tie it with black, orange, or striped ribbon. Add a small tag that says “Mummy’s Treat” or “Have a Spooktacular Halloween.” They would be especially sweet to send home with party guests or bring to a classroom celebration.
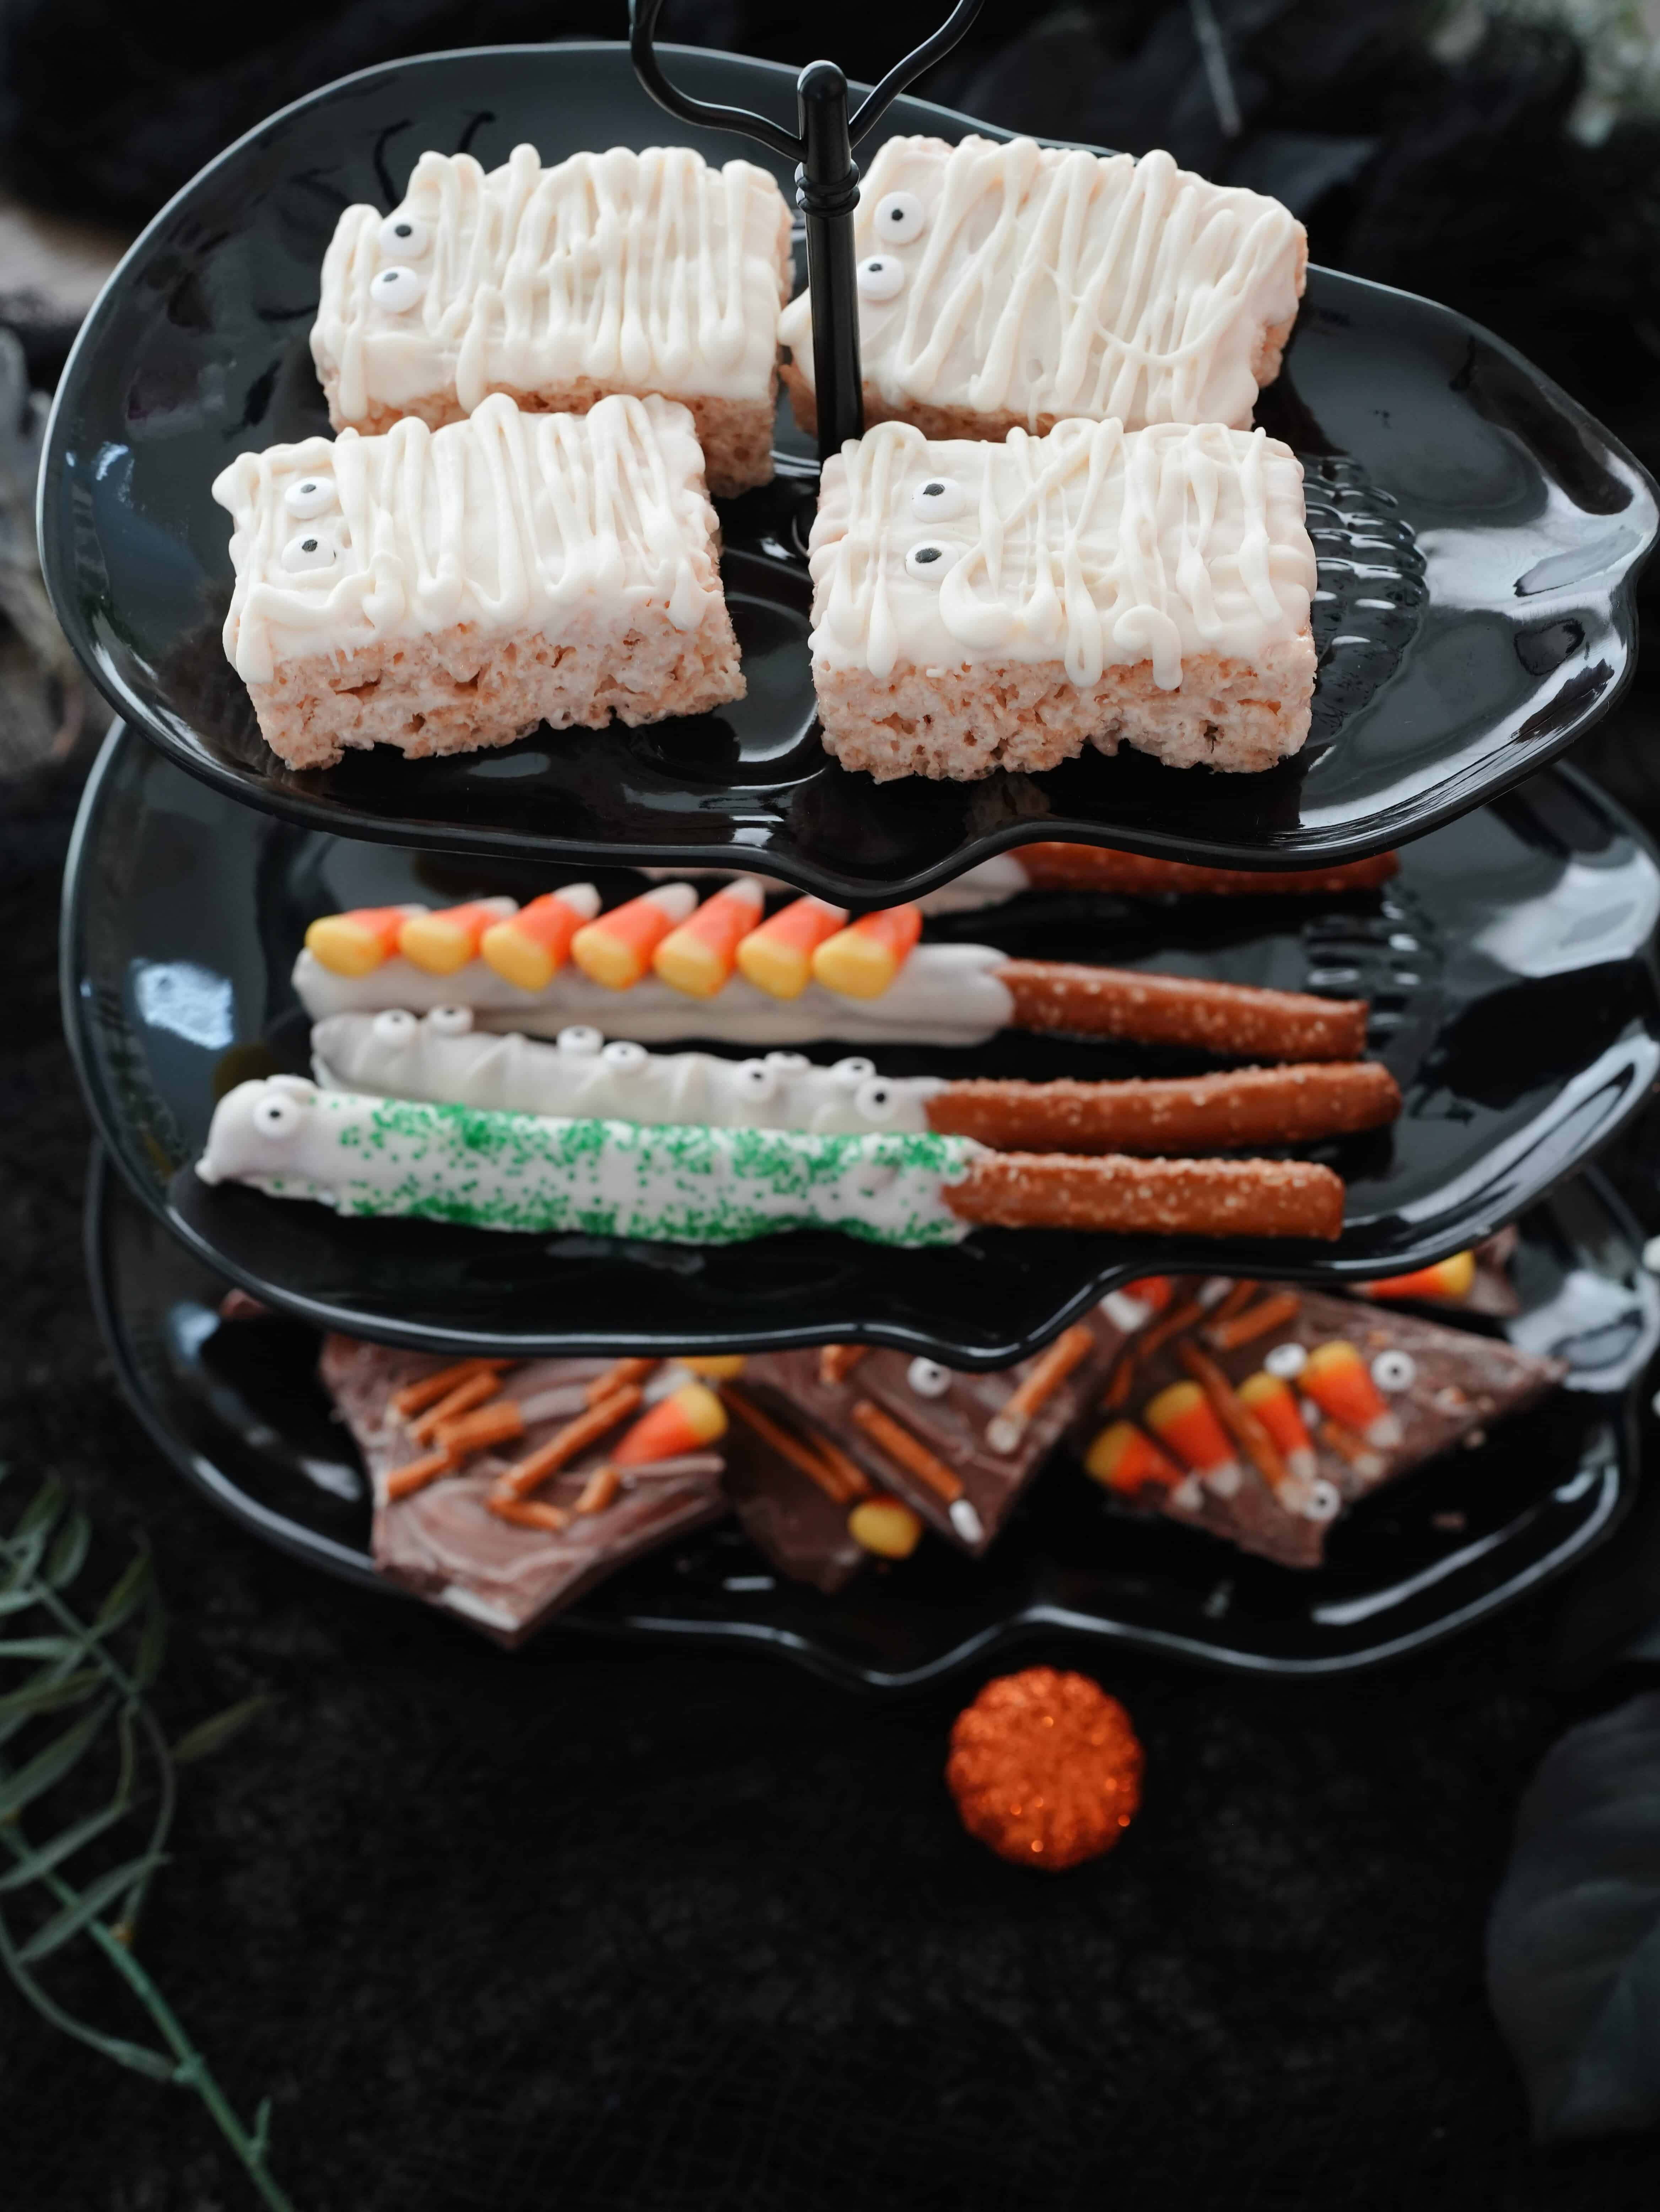
You can also turn them into mummy pops by gently inserting a sturdy lollipop stick into the bottom of each Rice Krispie treat before decorating. Display the finished pops in a vase, jar, or foam block covered with Halloween paper. This makes them feel a little more playful and gives guests an easy, mess-free way to grab one.
Variations
This mummy design works with so many other desserts if you want to create a full matching Halloween spread. Try it with brownie squares, chocolate cookies, pretzel rods, marshmallows, or chocolate-dipped strawberries.
For a darker mummy look, use chocolate Rice Krispie treats or dip regular treats partly in milk chocolate before adding the white chocolate bandages. The contrast makes the eyes and white drizzle stand out even more.
You can also use different-sized candy eyes. A mix of large and small eyes gives each mummy a slightly goofy, playful expression.
How to Store Mummy Rice Krispie Treats
Store finished mummy treats in an airtight container at room temperature for up to 2 to 3 days. Keep them in a cool, dry place so the chocolate stays firm. If your kitchen is especially warm, you can refrigerate them, but let them sit at room temperature for a few minutes before serving so the Rice Krispie treats are not too hard.
These easy mummy Rice Krispie treats are festive, simple, and just cute enough to make any Halloween gathering feel a little more fun. Whether you place them on a dramatic dessert board or serve them on a simple party platter, they are an easy way to bring a playful Halloween touch to the table.