Transform Your Home for the Holidays: Easy Decor Tips for Your Christmas Tree, Dining Table, and Entryway Table
The holiday season is here, and it’s time to turn your home into a festive wonderland! If you’re feeling taxed by the idea – don’t worry, I’m here to help!
I typically start decorating our home for Christmas in November because, what can I say, we like to enjoy our Christmas decorations for more than one month.
And you must admit that Christmas decorating is usually quite time-consuming and work-intensive.
Whether this is your first year decorating your home or you’re simply looking to refresh your style, this guide covers three key areas to focus on: your main Christmas tree, your dining table, and your entryway.
I’ll share my best tips on getting started, choosing a theme, and throwing things together so they look cohesive and well-intentioned.
Let’s dive into these simple yet stunning decorating ideas!
1. Decorating Your Christmas Tree
Choosing a Theme or Color Scheme Goes a Long Way
Your Christmas tree is the centerpiece of holiday decor; choosing a theme or color scheme can pull everything together beautifully.
Whether you love the classic red and green palette, the elegance of metallics, the cozy charm of a rustic theme, or the nostalgia of a 90s Christmas, this is your time to let your style shine through!
Strolling through stores to see their new selections and shopping for new accessories to complement what you already have is incredibly enjoyable, but don’t forget about personal touches!
You can mix in family heirloom ornaments or handcrafted decorations you’ve collected over the decades.
Or if you’ve been gifted ornaments through the years, why not throw them into the mix?
If you’re worried they won’t mesh well with everything else, you can always place them where they’re slightly hidden or where only you know where you’ve put them.
This way, they can still participate in the festivities in a small but meaningful way.
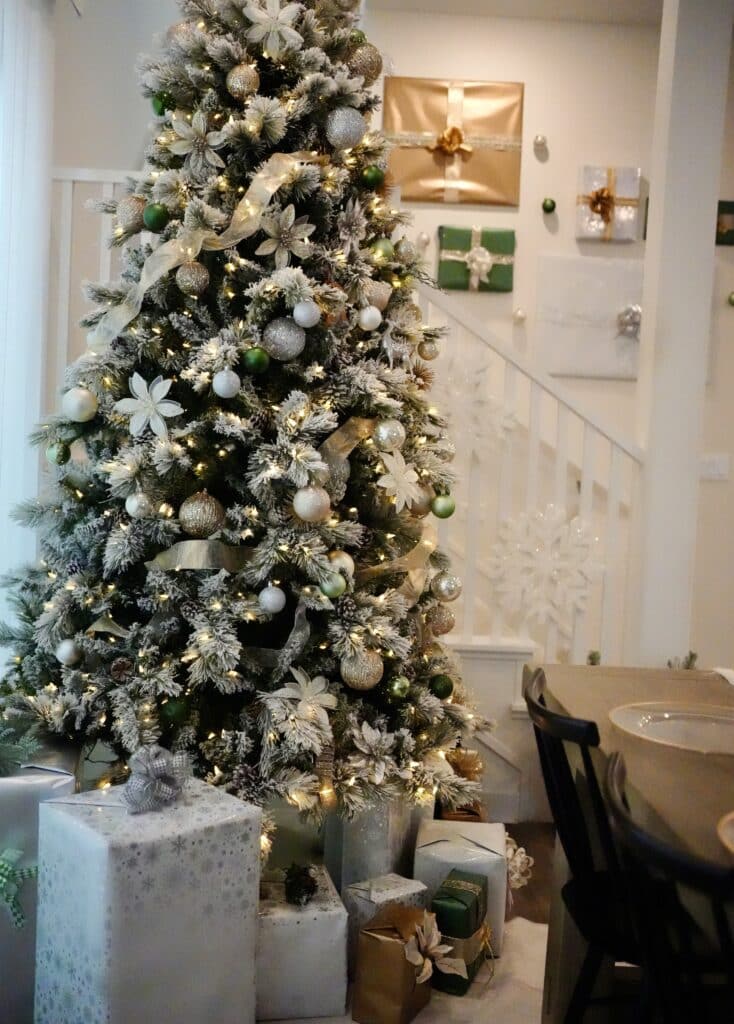
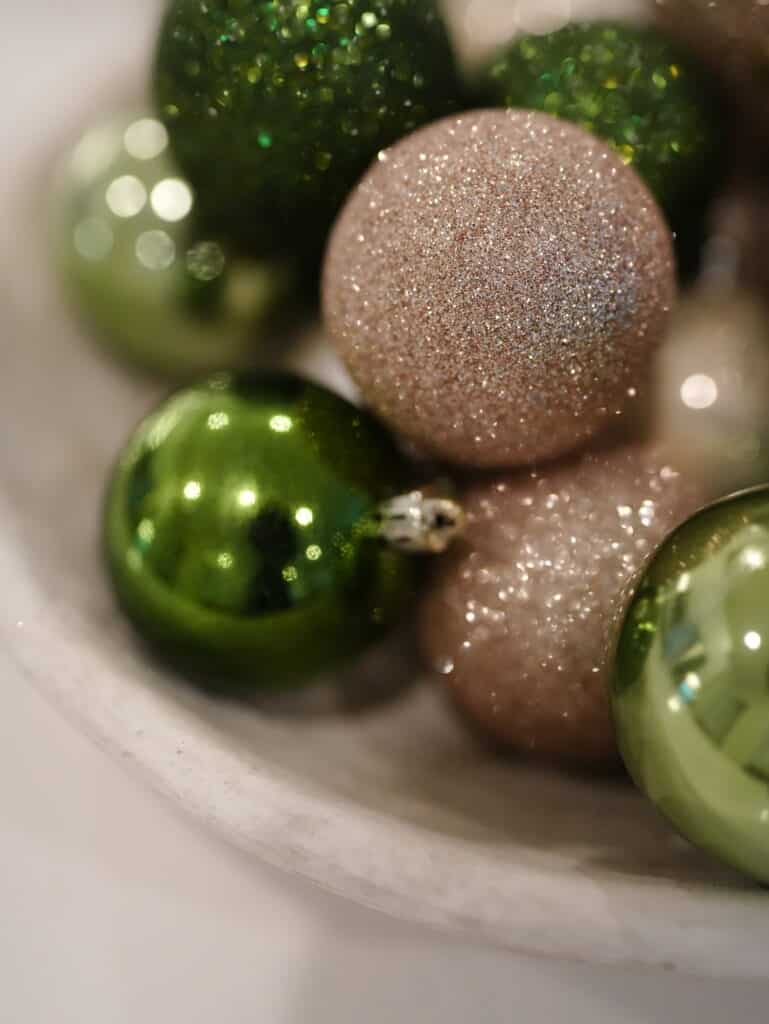
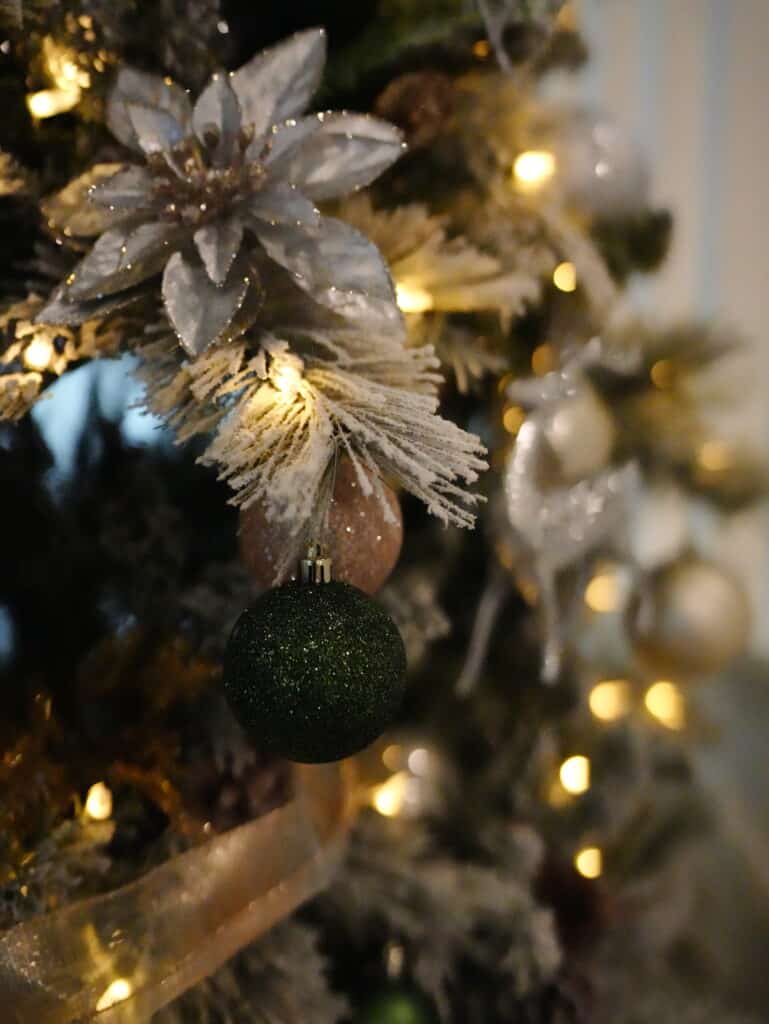
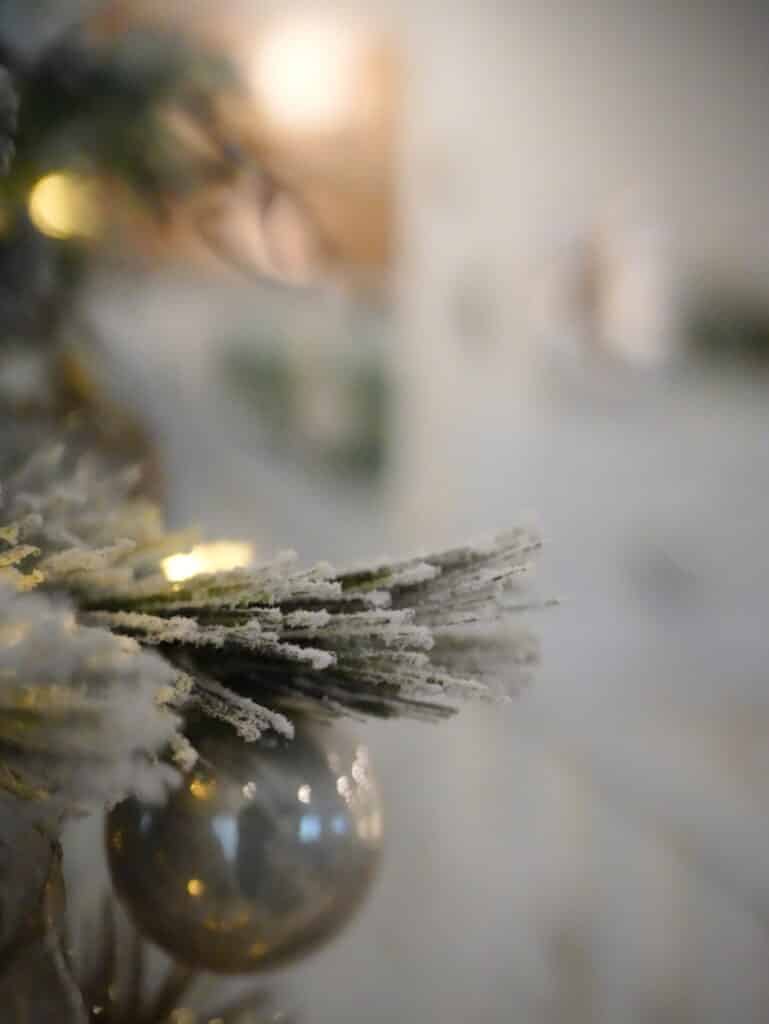
This year, I’m going all in with my Winter Wonderland + greenery theme by decorating my flocked Christmas tree with ornaments and ribbon in shades of light champagne, gold, and silver mixed with different shades of green.
I love it! It goes so well with the interior of our house, and as plant lovers, the color green just seems so fitting for us.
Layering Your Decorations
Let’s keep things manageable by doing things in order. When it comes to Christmas tree decorating, it’s all about layering.
First up: lights. If your tree isn’t pre-lit, try wrapping lights of your choice evenly around it, working from the base to the top. Opt for warm white lights for a traditional glow or multicolored ones for a playful vibe.
Next, garlands. Ribbon, bead strings, or natural elements like orange garland or popcorn strands are beautiful options. Spiral them loosely around the tree or create vertical streams for a modern look.
I find it much easier to add ribbon before I hang any ornaments. Sometimes, once I’m done placing the ornaments, I go back in and fix or move any ribbon I think looks uneven or out of place.
Do your best, but know that you can always fix things to your liking; nothing has to be permanent on your Christmas tree!
Finish with ornaments. Here’s a helpful tip: Place larger ornaments deep inside the tree to add depth and cover any bare spots or holes between branches.
Then, add smaller ones on the outer branches.
I also like to add medium-sized ornaments for variety. They cover bare spots and add dimension to the tree.
Finishing Touches
Top off your tree with something special: a star, angel, or unique topper that fits your theme.
This part is always challenging for me: I still haven’t found the perfect tree topper! I’m still on the hunt.
I’ve purchased a few, but the fit is just not right. Hopefully, you have better luck.
A tree skirt or collar at the base adds the perfect finishing touch while concealing the stand.
2. Setting a Christmas Dining Table
Creating the Base Layer
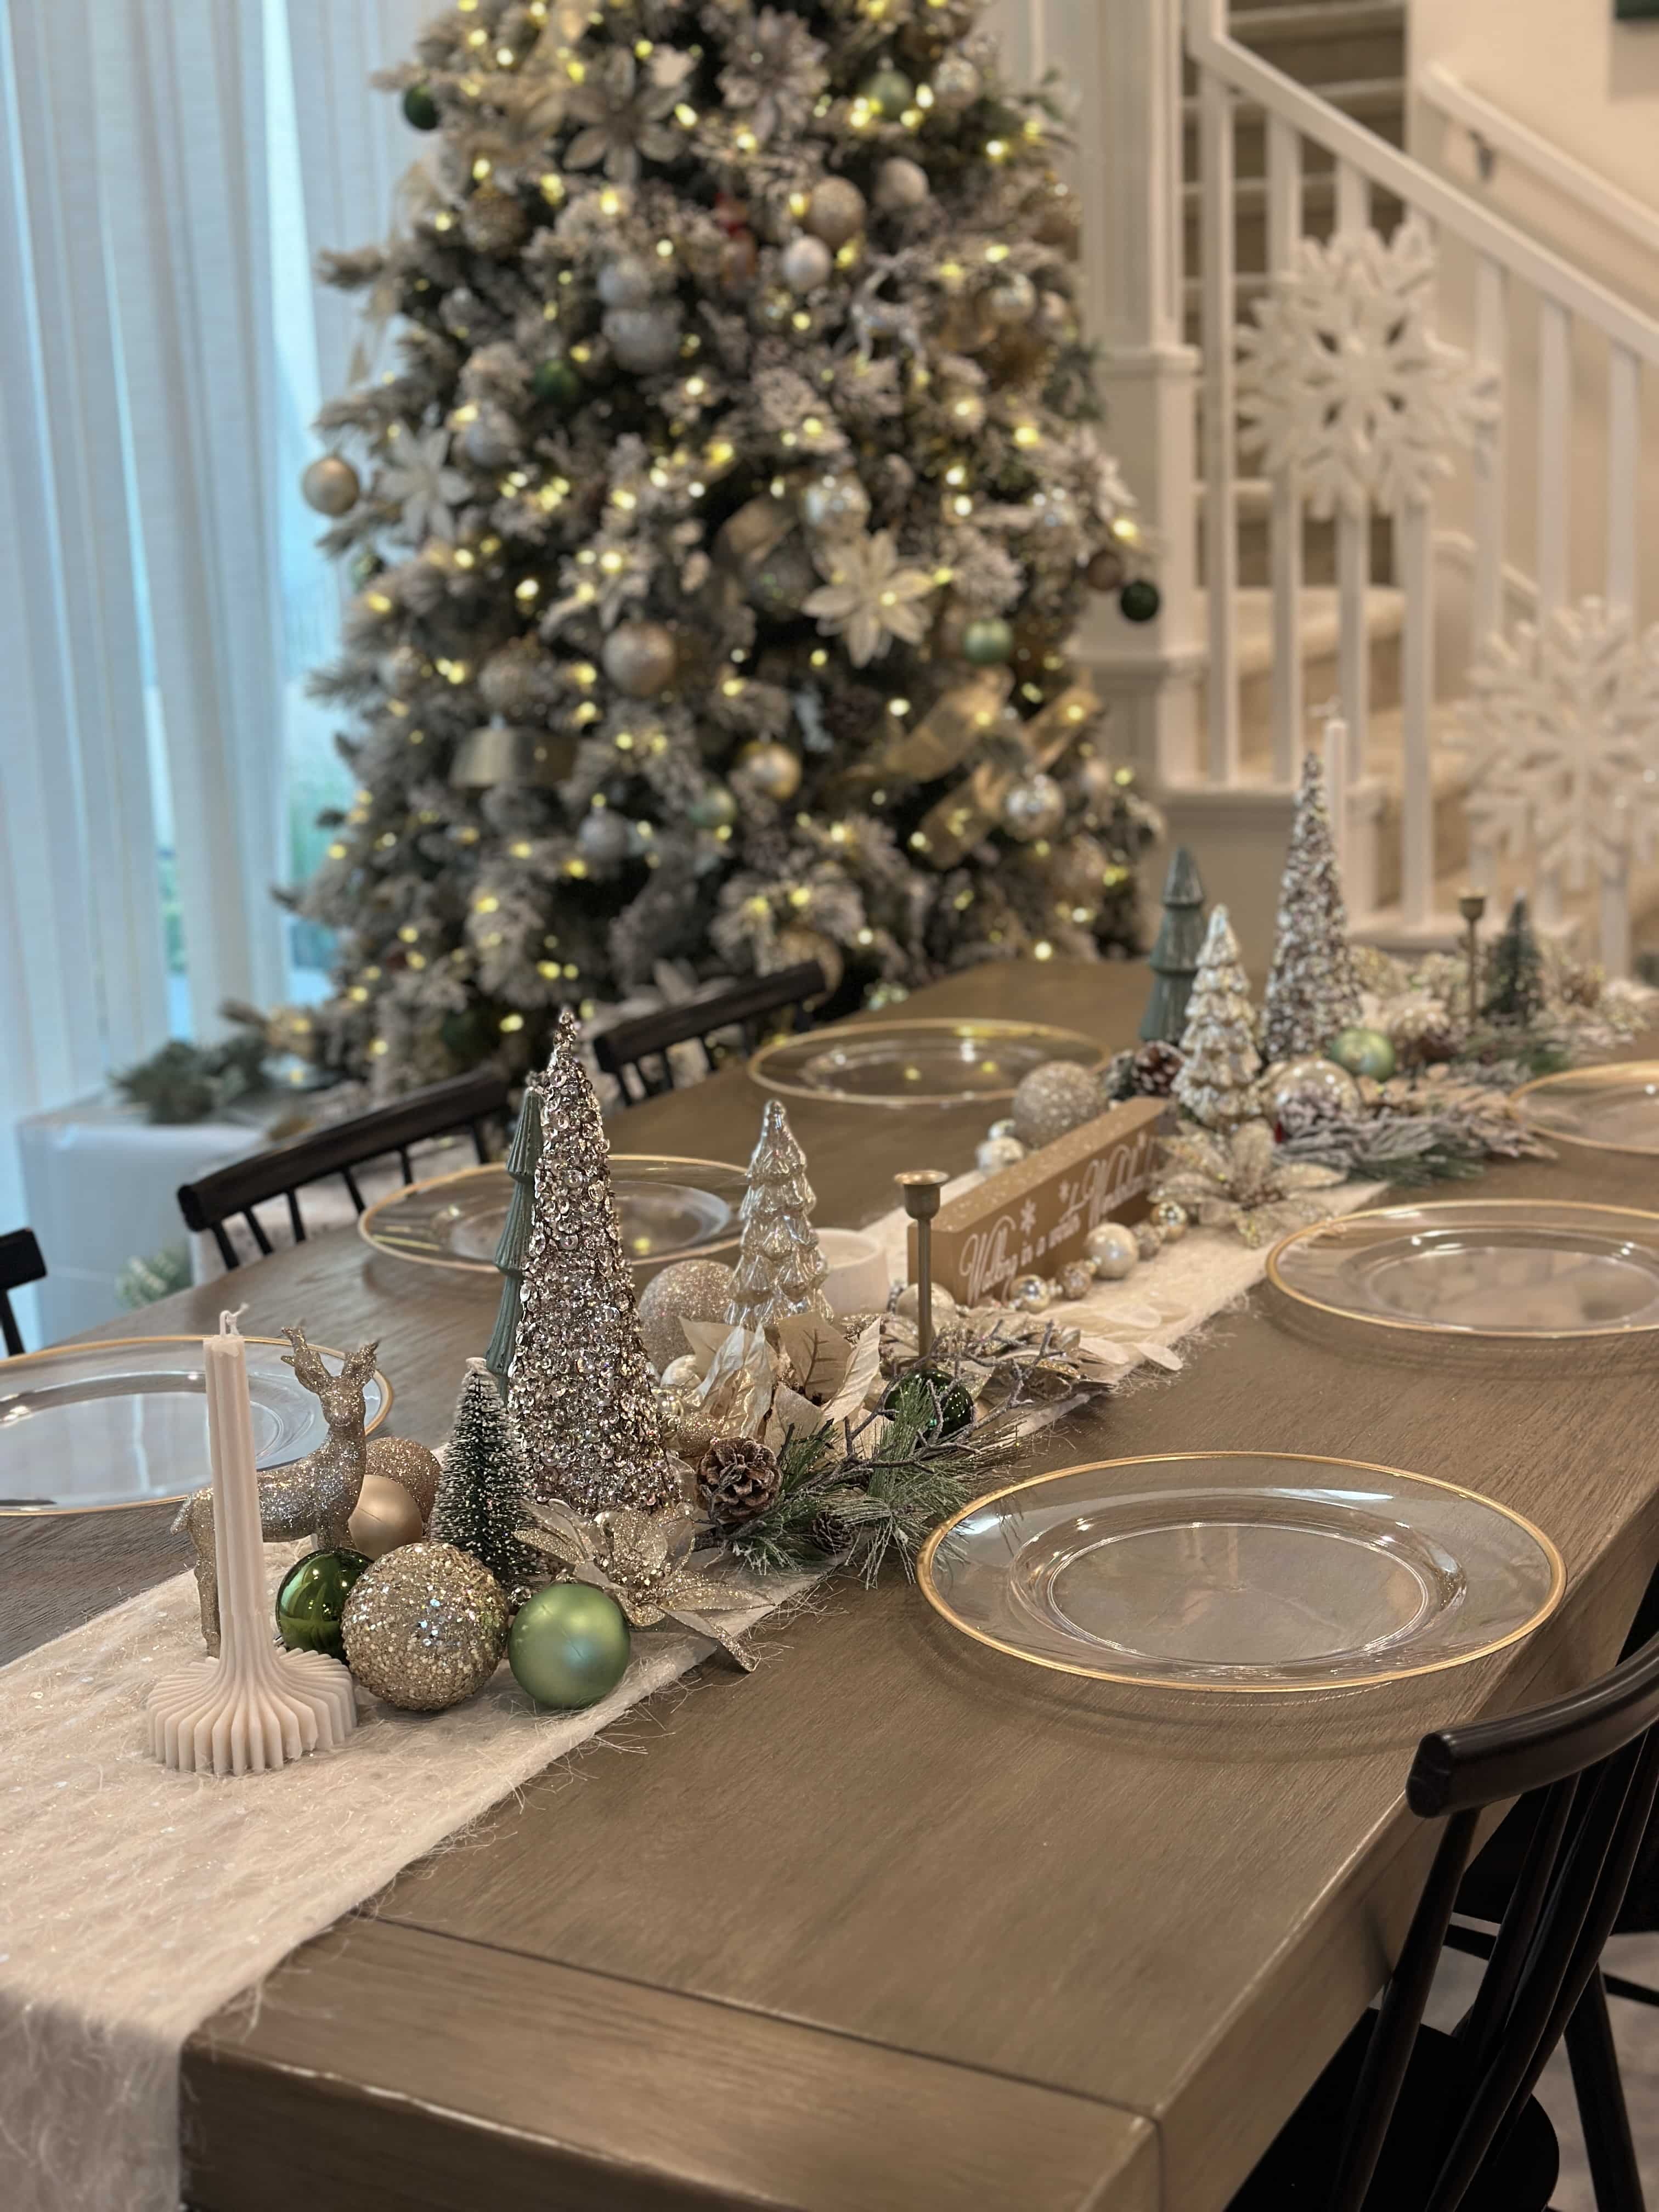
Start with a festive or neutral runner that complements your tree’s theme. A classic plaid runner or a shimmering metallic cloth can set the tone.
I used an off-white runner with sparkles and a fun texture. The neutral shade allows for all the accessories to stand out.
Once your table runner is placed in the middle of the table, it’s time to layer on charger plates, coordinating cloth napkins, and napkin rings.
You can even try layering garland in place of a runner.
I’ve chosen to skip the napkins and napkin rings until we have company over. Why? My toddler would rip them off the table in two seconds—they don’t stand a chance!
He loves playing with the charger plates, too, but they add so much to the table’s design that I leave them there and put them back in place if he moves them around.
Designing the Centerpiece
The centerpiece is the star of your dining table. But it doesn’t have to be just one large item in the center of your table, especially if you’re working with a long rectangular table.
My favorite way to design a tablescape is to decorate almost the entire length of the table runner.
This way, everyone gets something beautiful to look at, and the dining area feels more complete.
Mix and layer festive branches or flower picks, candles, and ornaments for a lush and generous display.
The greenery doesn’t have to be fresh; it can be artificial!
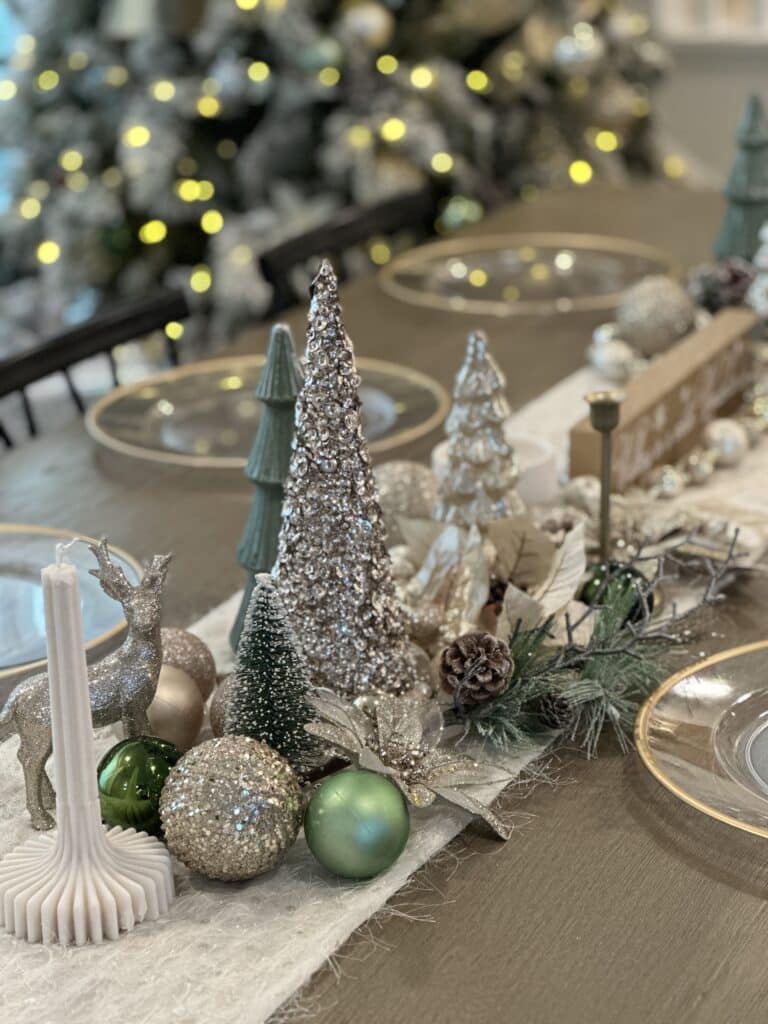
I’ve done that this year. I mix old and new artificial Christmas decorations that match my color scheme.
Next, layer in more materials! I incorporated pinecones, reindeer or nutcrackers, and mini Christmas trees, as I did below.
For minimalists, a simple garland with sleek candlesticks running down the table’s length can be stunning, too.
Adding Personal Touches
Add thoughtful details to make your table memorable. This next part can make it extra special for your guests.
If you’re an avid gardener, use fresh herbs in your decor! Tie a sprig of rosemary, sage, or theme on top of your cloth napkins for a touch of fragrant nature.
Or, for another natural and fragrant element, use a cinnamon stick around your cloth napkins. If that’s not your style, you can opt for mini ornaments or festive tags as place cards.
Use your imagination and have a little fun with this!
3. Decorating Your Entryway Table
Setting the Stage
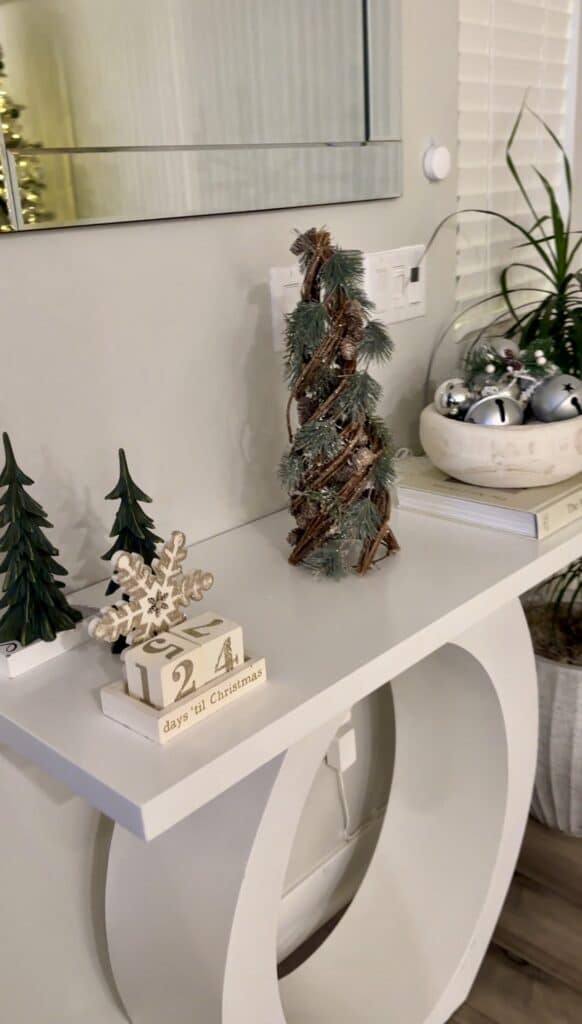
Welcome guests with a festive first impression! Start with a statement piece like a small tabletop Christmas tree, a glowing lantern, or a holiday sign.
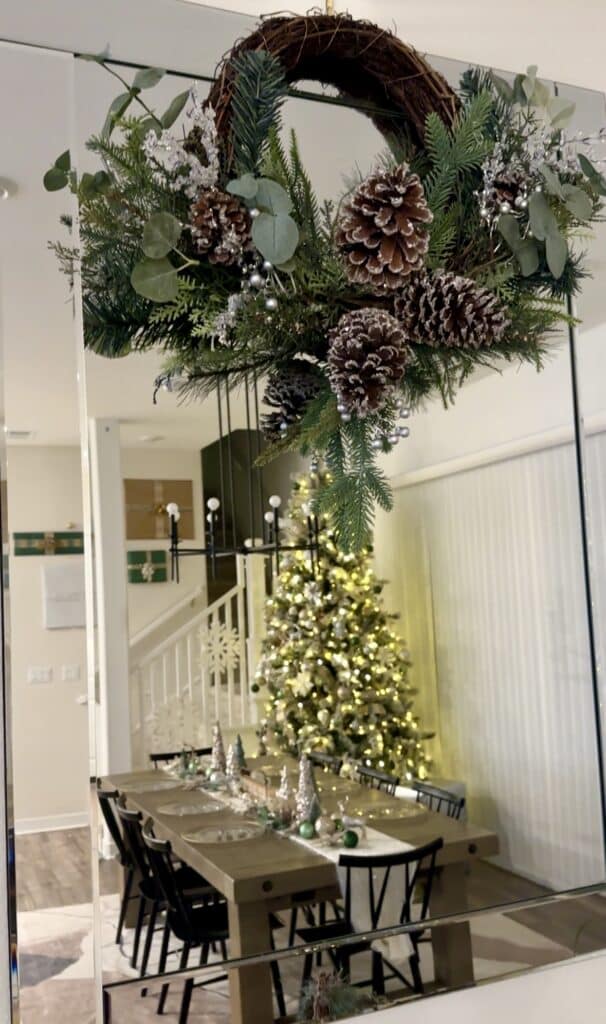
If you have a mirror in your entryway, it’s the perfect place to hand a small wreath or festive bells.
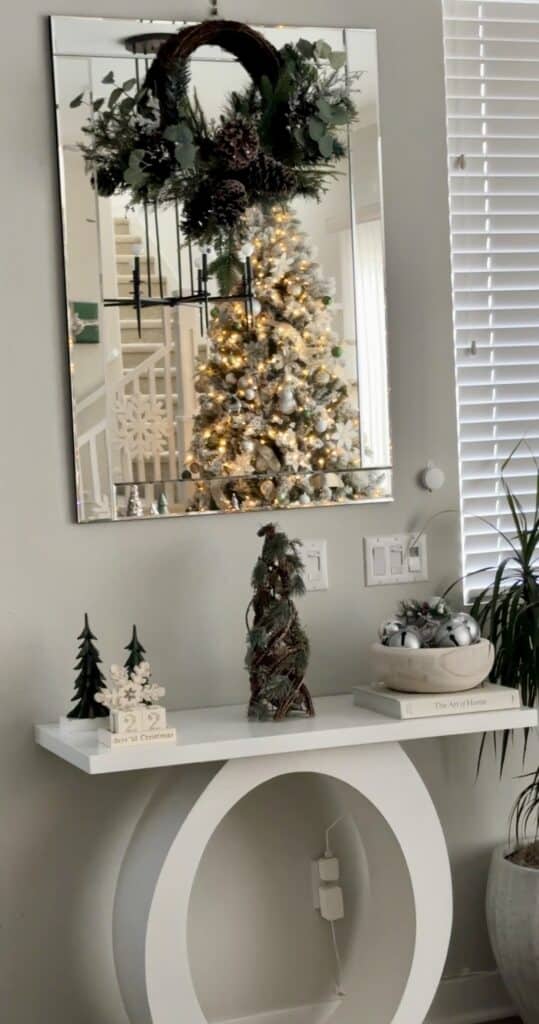
Aim to use varying heights to make your table a sight to see. You can use mini trees of different sizes, a small Santa Claus or Nutcracker figurine, or candles and candlesticks.
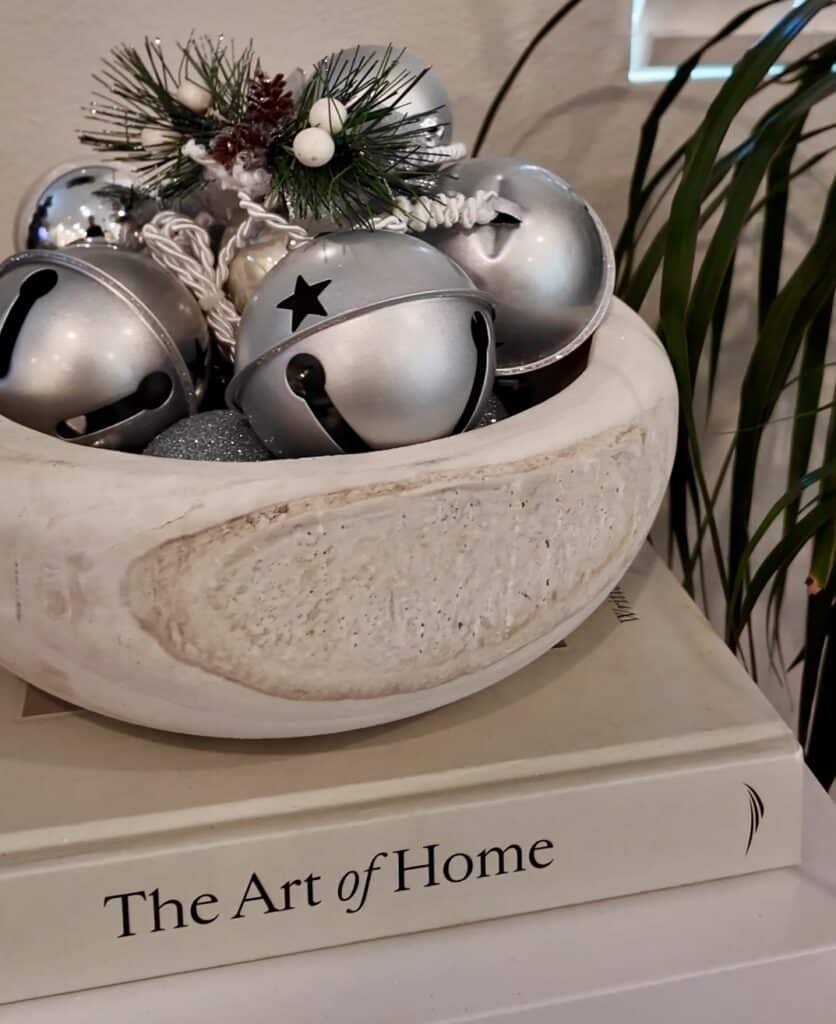
For my table, I chose to fill a blow with ornaments then placed a mini tree in the middle of the table to swerve as the focal point.
Beside the bowl, I added smaller trees plus my Countdown to the Christmas calendar.
Incorporating Seasonal Greenery
Add life to your entryway with garlands or wreaths. Drape greenery over the table and enhance it with fairy lights or small ornaments.
For an extra-special touch, use fresh greenery for a natural fragrance.
Adding Final Touches
Swap out everyday decor for holiday-specific items.
Replace a regular photo frame with a Christmas-themed one or fill a decorative bowl with ornaments or candy canes.
A scented candle or bowl of treats adds a welcoming, cozy vibe that’s hard to resist.
With these tips, your Christmas tree, dining table, and entryway table will be ready to impress family and friends. Don’t be afraid to mix and match ideas to create a holiday look that’s uniquely yours.
Share your decorated spaces with me on social media @natalielindahome—we’d love to see how you bring these ideas to life!
Here’s to a beautifully decorated home and a joyful holiday season!