Learn How to Start Seeds Indoors so You Can Save Money On Your Garden
Learning how to start seeds indoors is an excellent way to get a head start on the growing season.
When the weather outside is still freezing during January and February across many parts of the country, sowing seeds directly into the ground won’t reap the results you’re looking for.
Not only will it be a hassle to garden in cold weather, your seeds simply won’t be able to survive freezing temperatures.
But what if I crave a garden full of bright color and beautiful blooms come Spring and Summer? What can I do to speed up the growing process?
What you can do is start your seeds indoors before you’re zone’s first frost date! It’s a simple, easy, and inexpensive process!
(This post may contain affiliate links).
Why You Should Start Seeds Indoors during Winter and Early Spring
Starting your seeds weeks before your zone’s first frost date will ensure you’ll be ready to plant seedlings into the ground when the weather warms up.
This means you won’t be starting from scratch by the time the official start of Spring rolls around.
Plus, starting seeds is an excellent money-saver. Purchasing individual seedlings and small plants from a garden nursery can cost far more than a couple of packets of seeds.
Let’s say you want to grow a cutting garden full of begonias, pansies, and zinnias. You’d need to purchase several small plants to fill your containers or an area of your yard.
Annual flowers sell for around $4+ for a small container. Are you calculating the cost in your head right now? It adds up!
You could either pay that price for small plants OR you could pay for a few inexpensive seed packets and prepare for spring in advance.
Which would you rather do? I’m all for saving money where I can when it comes to my garden, so seed starting is something I enjoy doing.
It ’s worth mentioning that if you want to grow your vegetables, fruits, and herbs, then starting from seed is a definite must!
You’ll have a plethora of varieties to choose from if you grow your produce from seed, and we all know there’s nothing like the taste of home-grown tomatoes, strawberries, and basil.
I want to talk about one more positive thing about starting seeds indoors: it gives you the opportunity to do some gardening during the “off” season.
If you’re stuck indoors because the weather makes it too uncomfortable to be outdoors in your garden, then bring your gardening indoors!
Starting seeds can extend your gardening hobby out a few more months of the year – and THAT is reason enough to start looking at seed catalogues.
Now that we’ve covered why it’s smart to start your plants from seeds, let’s get into the process of how to start seeds indoors.
Tips for Starting Seeds Indoors
1. Choose Your Flowers, Vegetables, Fruits, and Herbs Wisely
Late Winter is an excellent time to start planning your garden. Around this time, seed companies release their seed catalogues for the year, and it’s really fun to choose seeds that grow well in your hardiness zone.
If you don’t know your plant hardiness zone yet, you can check it by going to the USDA plant hardiness zone map and typing in your zip code.
Always make sure your seeds are appropriate for your zone because doing so will give you the best results. Otherwise, you’ll be left with ill-performing plants.
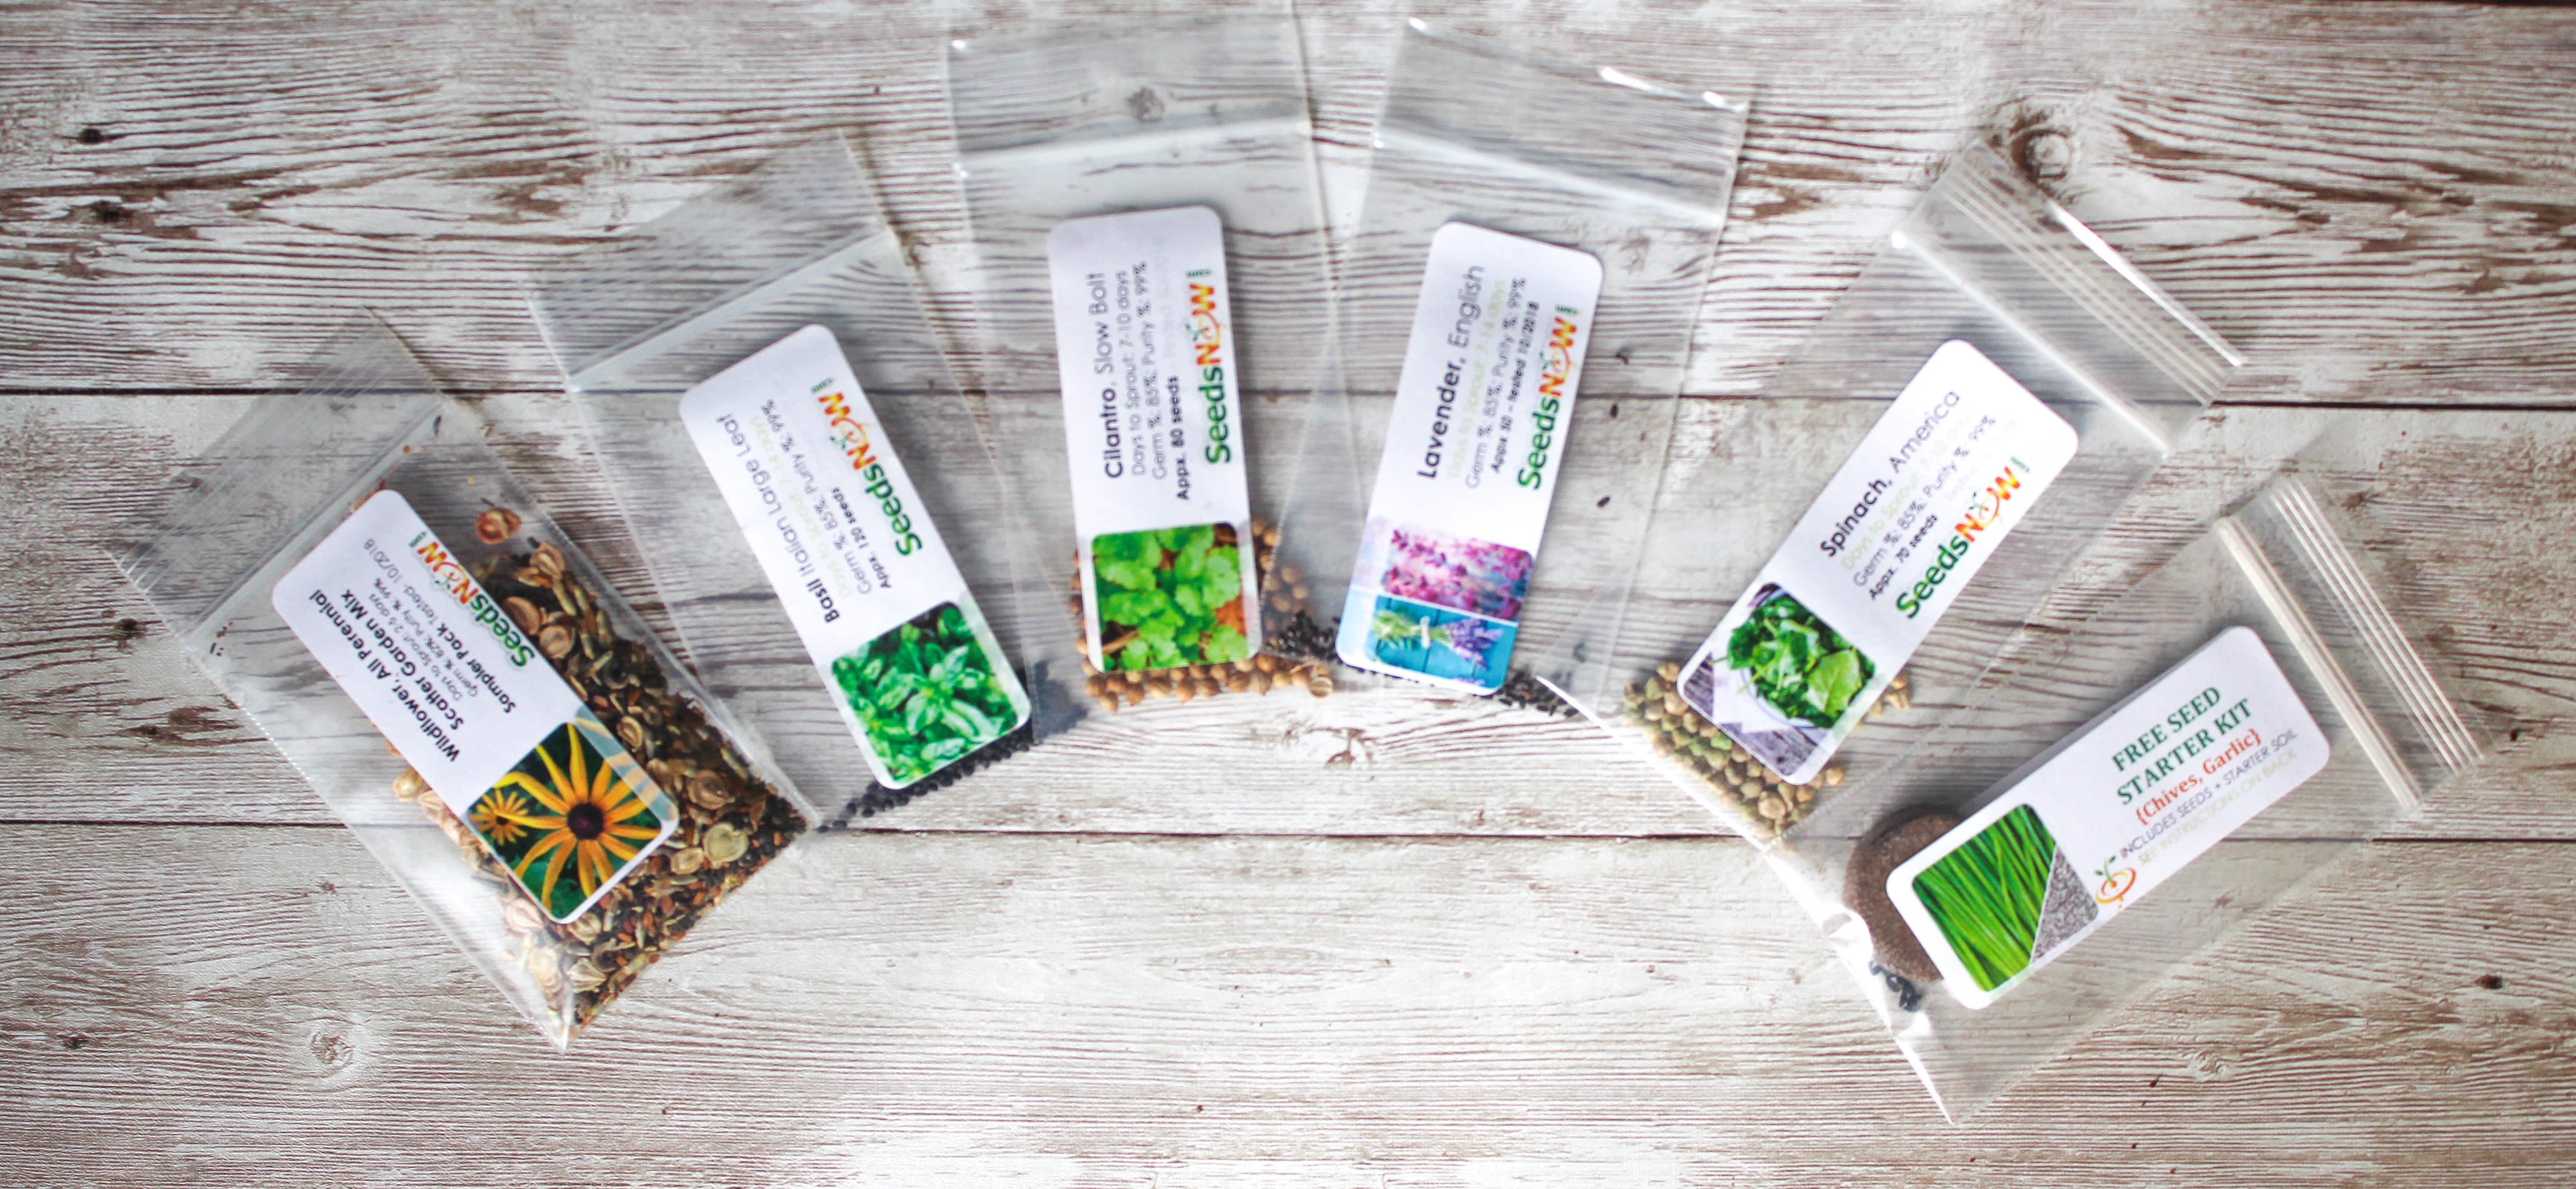
If you’re growing vegetables, fruits, herbs, I recommend SeedsNow. They offer organic, heirloom seeds and they have a wide selection plus excellent germination rates.
2. Use Seed Starting Mix or a Seed Starting Kits
Using regular potting soil isn’t ideal for starting seeds because it’s not well-draining enough and it might also contain plant diseases that seeds won’t be able to withstand.
This is why you should always use seed starting mix for starting seeds indoors.
Seed starting mix actually doesn’t contain any soil; it contains particles that create an ideal, sterile environment for seeds and also provides good drainage yet good water retention, and good air circulation.
You can either purchase seed starting mix or a seed starting kit that comes with expanding soil pellets.
I’m a big fan of seed starting kits because it comes with everything you need (minus the seeds) and it makes my life a lot easier.
3. Use Seed Cells or Containers to Plant Seeds
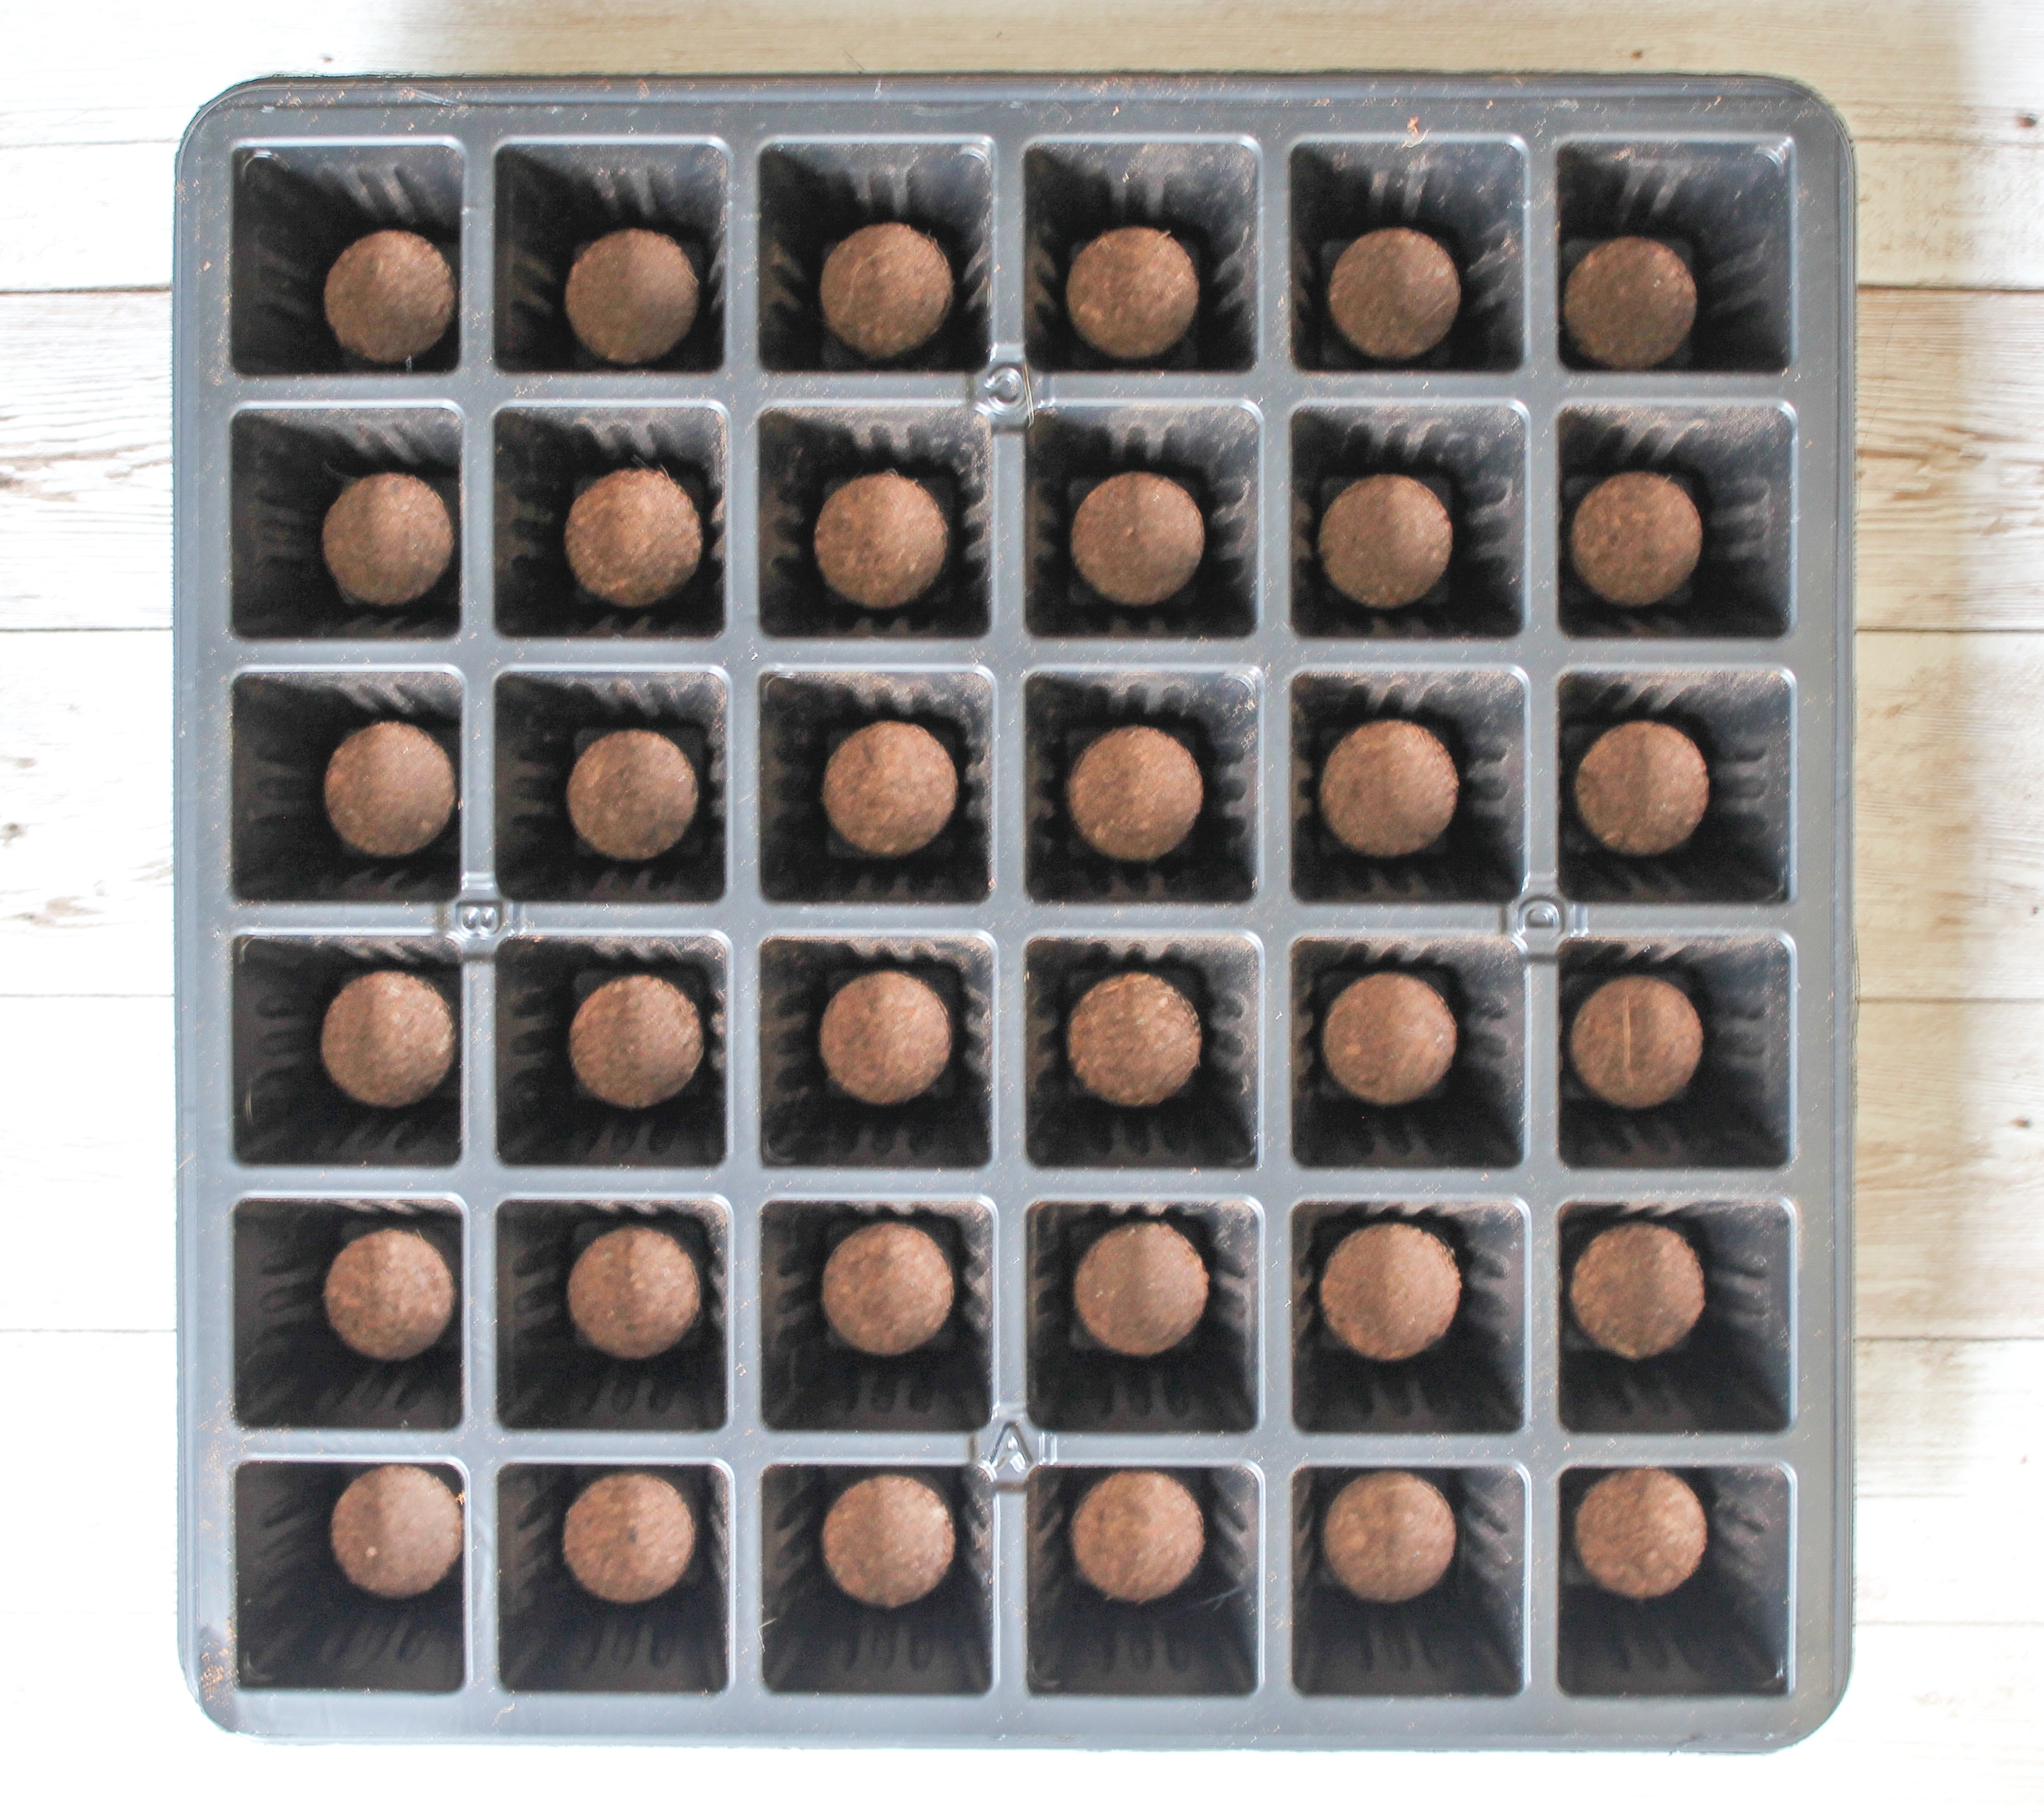
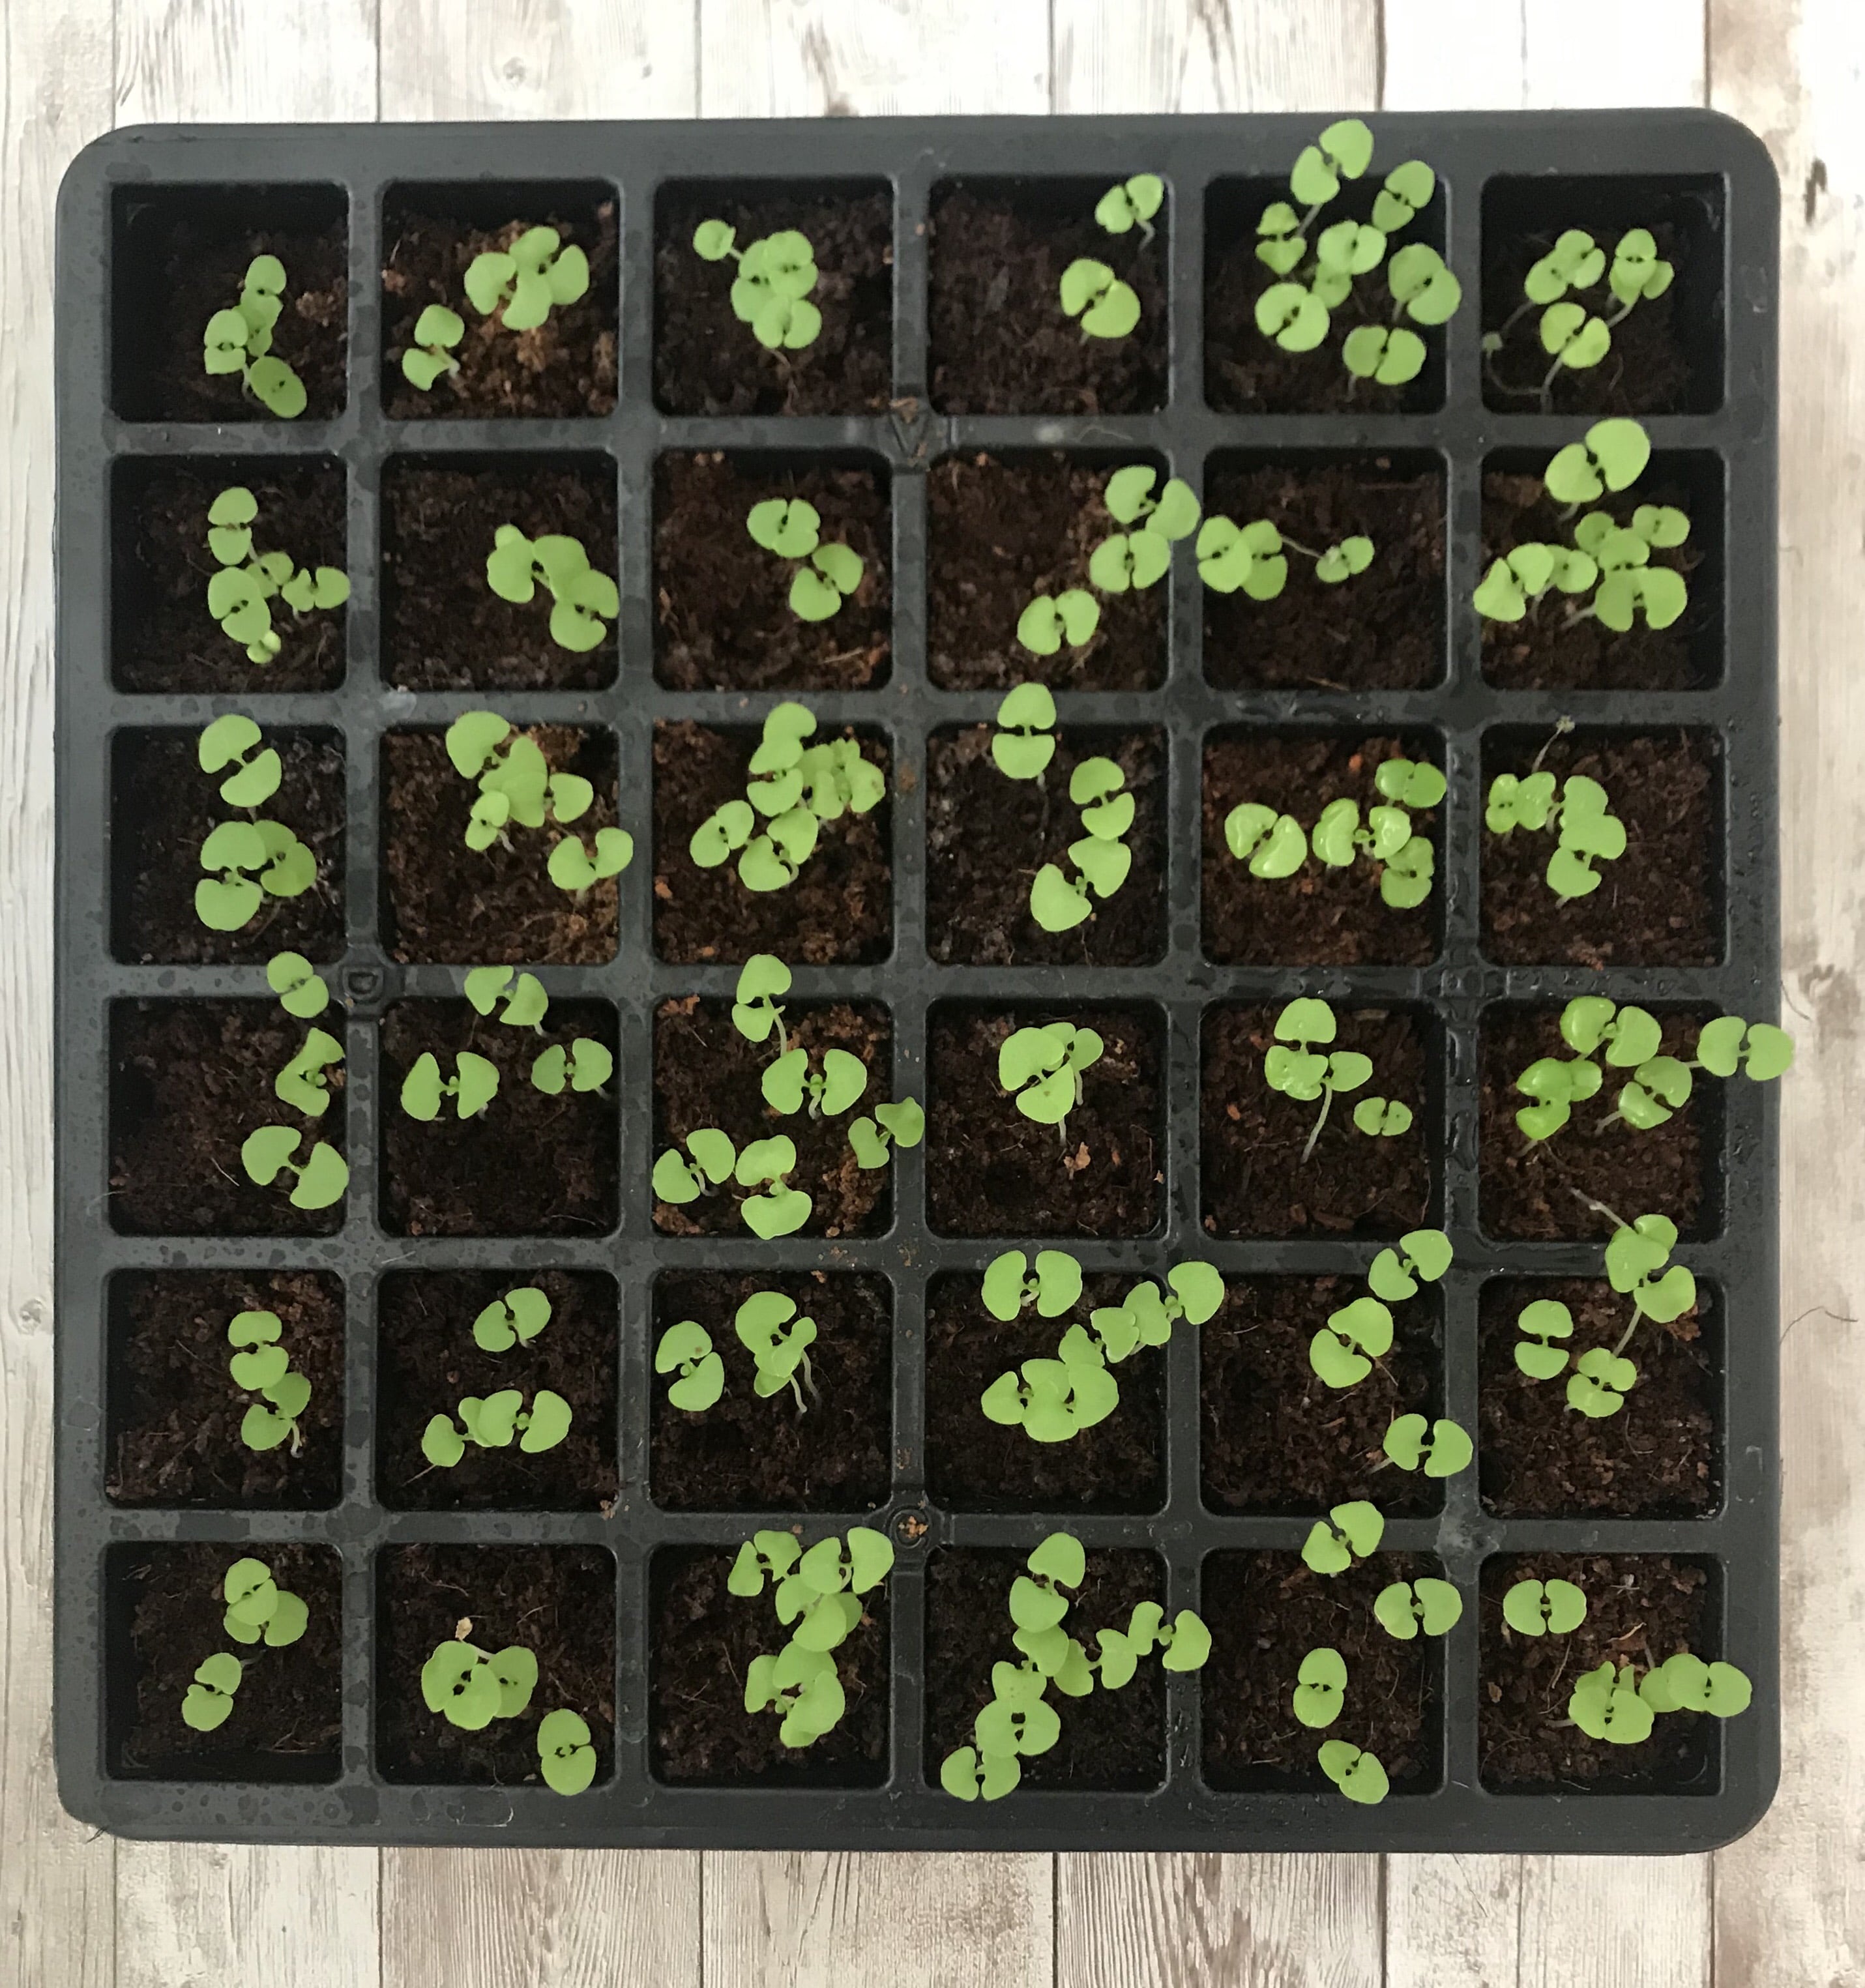
You can plant your seeds in various ways. I personally use 36 or 72 cell trays that I buy from my local garden center or online; it makes starting seeds indoors a more organized process.
However, you can use any small container, such as old kitchen containers or cups, just make sure to punch a hole through the bottom of it to ensure good drainage.
Make sure you put some type of tray under your containers, too, so it catches the water when you water your seeds. If you intend to start a high volume of seeds, then 72 cell trays may be the best way to go.
Seed starting kits are another great option. A seed starting kit usually includes cell trays, water-catching trays, soil pellets, and plastic germination domes for cover the seeds while they germinate.
These kits are inexpensive are also easy to find. I bought my 72 cell seeds starting kit for around $7.
Here’s a rundown of how to use a seed starting kit:
STEP 1
Place the soil pellets down into each cell, making sure the pellets lie flat.
STEP 2
Using warm water, pour the water into each cell. The water will make the pellets expand. In a few minutes (usually within a few seconds, actually), the pellets will start to rise and resemble soil.
STEP 3
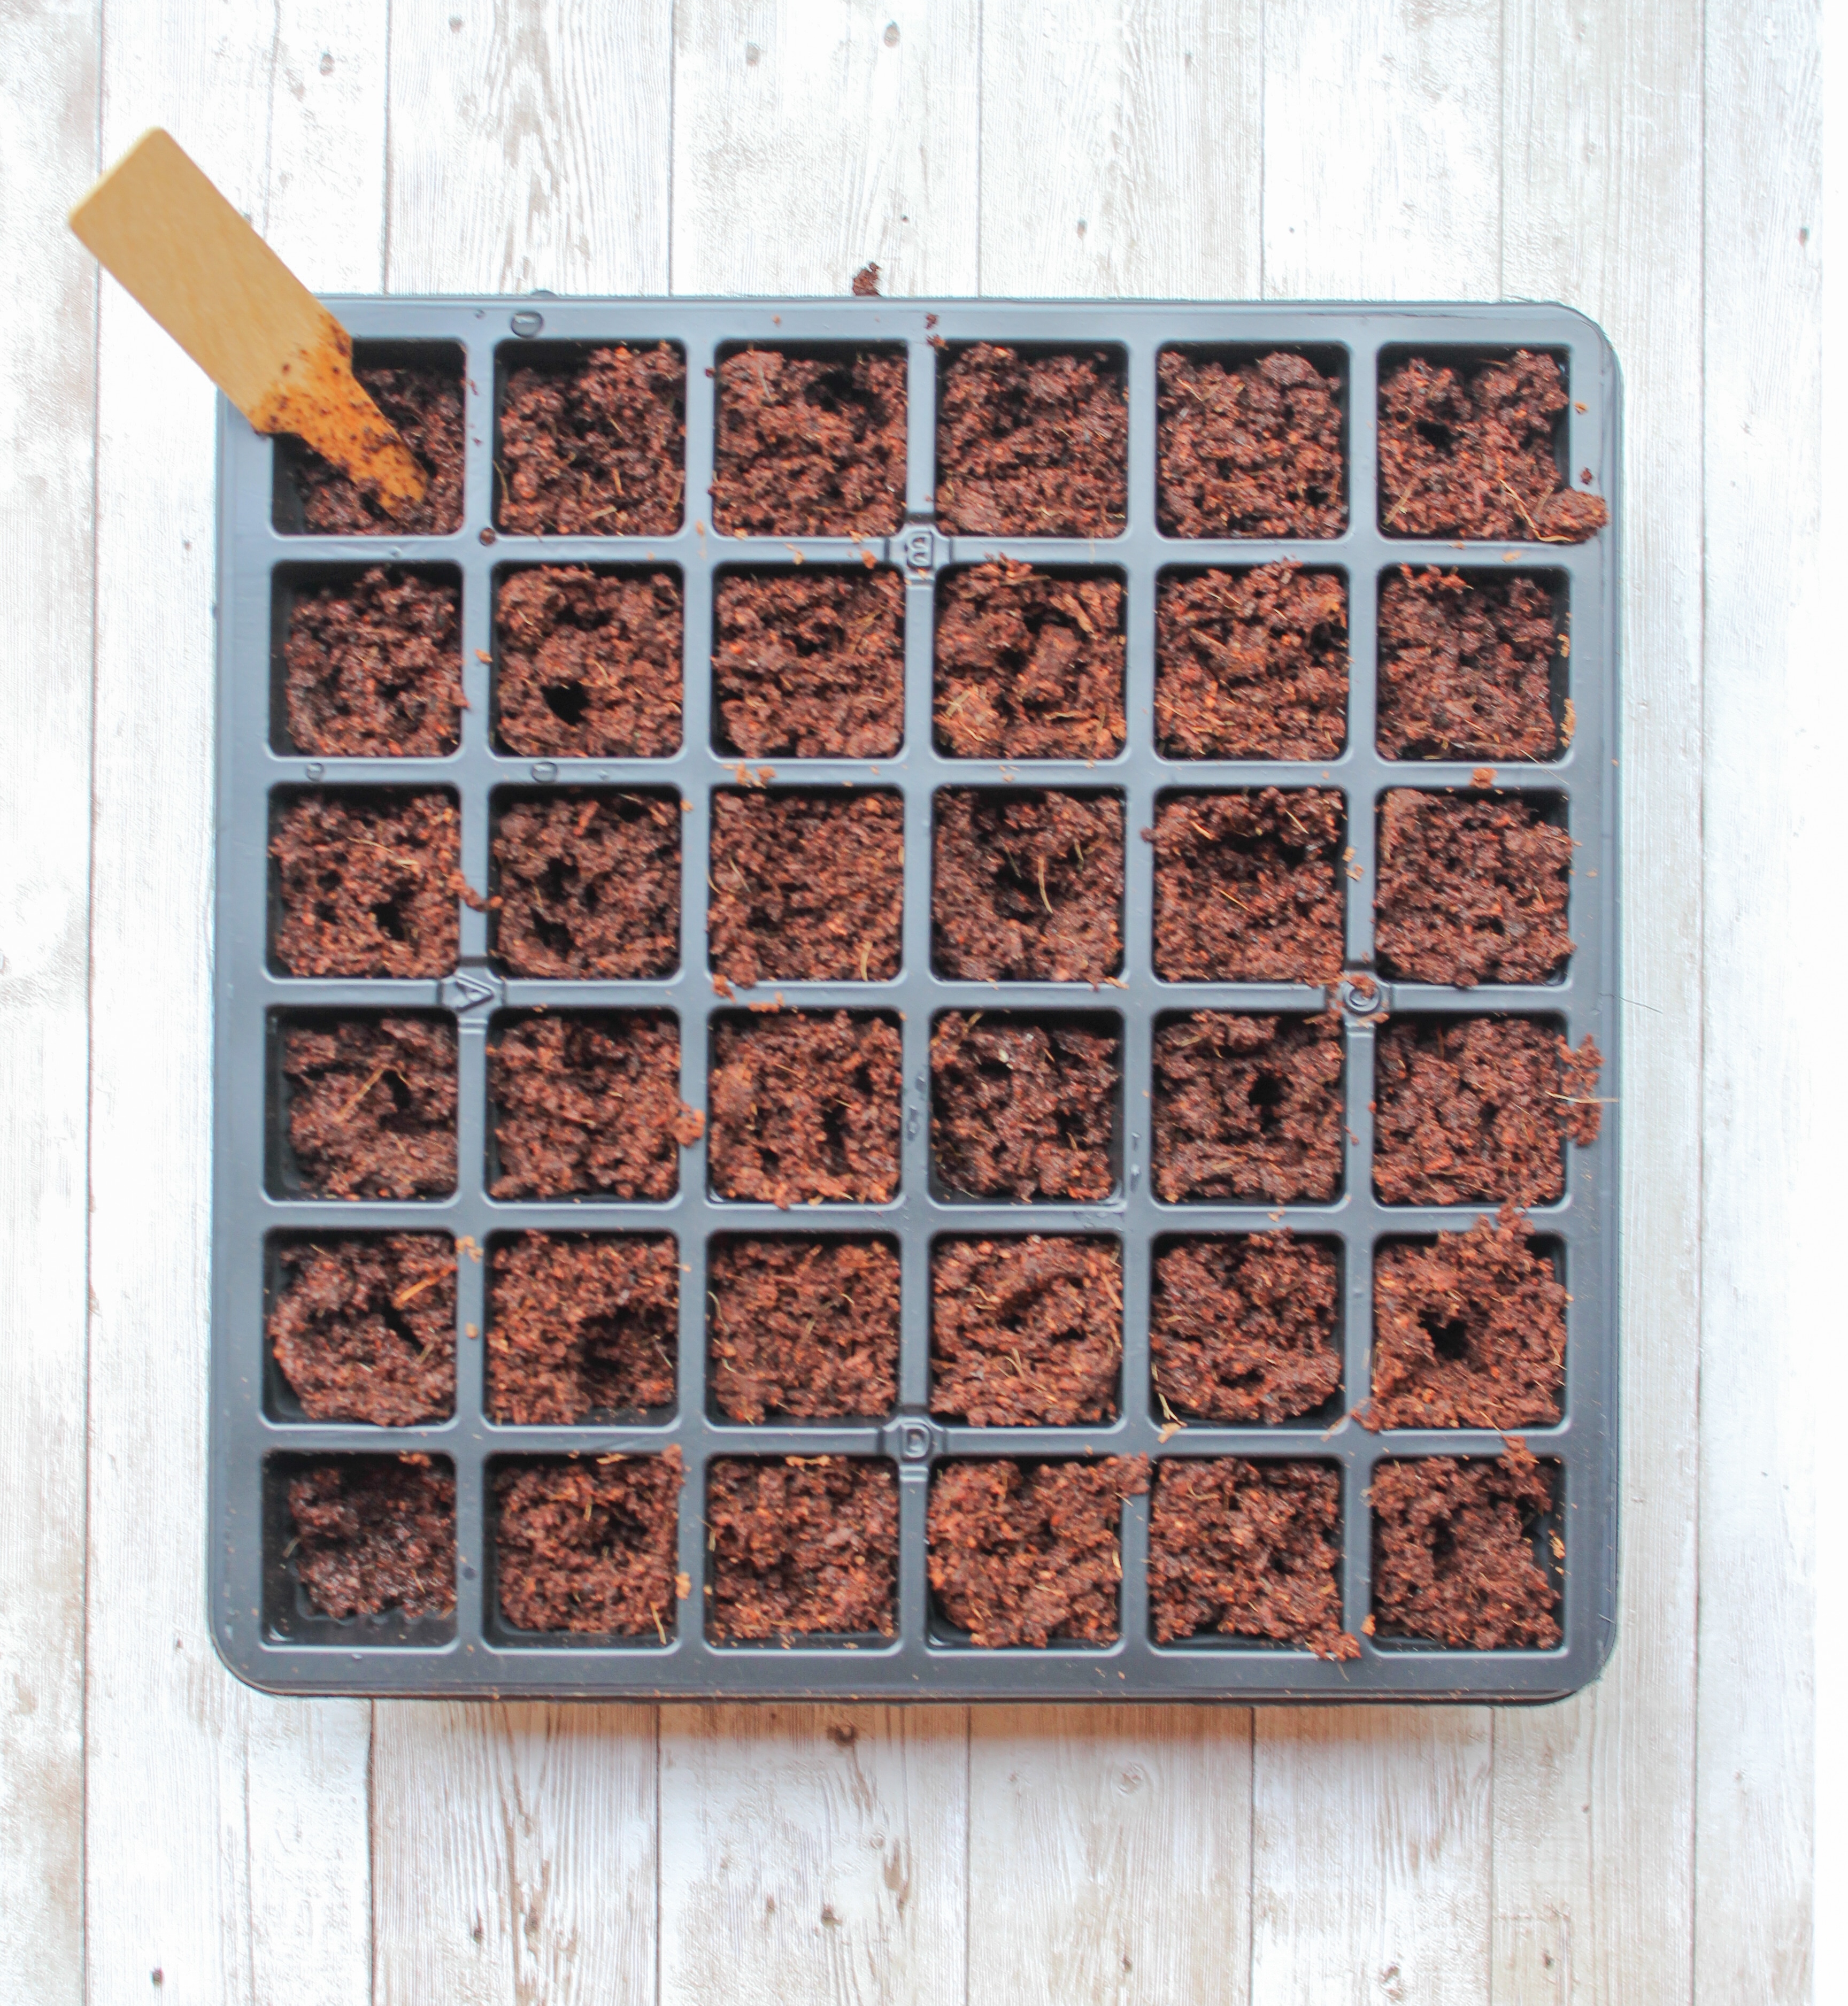
Use the provided wooden tool to quickly work the expanded soil, to break it up a little.
STEP 4
Dig a tiny hole into each cell using your fingers or tool and place seeds in each hole according to seed package instructions. Generally, you want to plant seeds as deep as they are wide.
You can also gently push the seed into the soil with your finger. You can place two or three seeds in each tray if the seeds are small, such as basil.
If you’re dealing with larger seeds, such as cucumber or pumpkin seeds, try using one seed per cell.
STEP 5.
After placing seeds in the soil, cover seeds with more seed mix.
STEP 6
Using a spray bottle, spritz water onto the soil to moisten it.
STEP 7
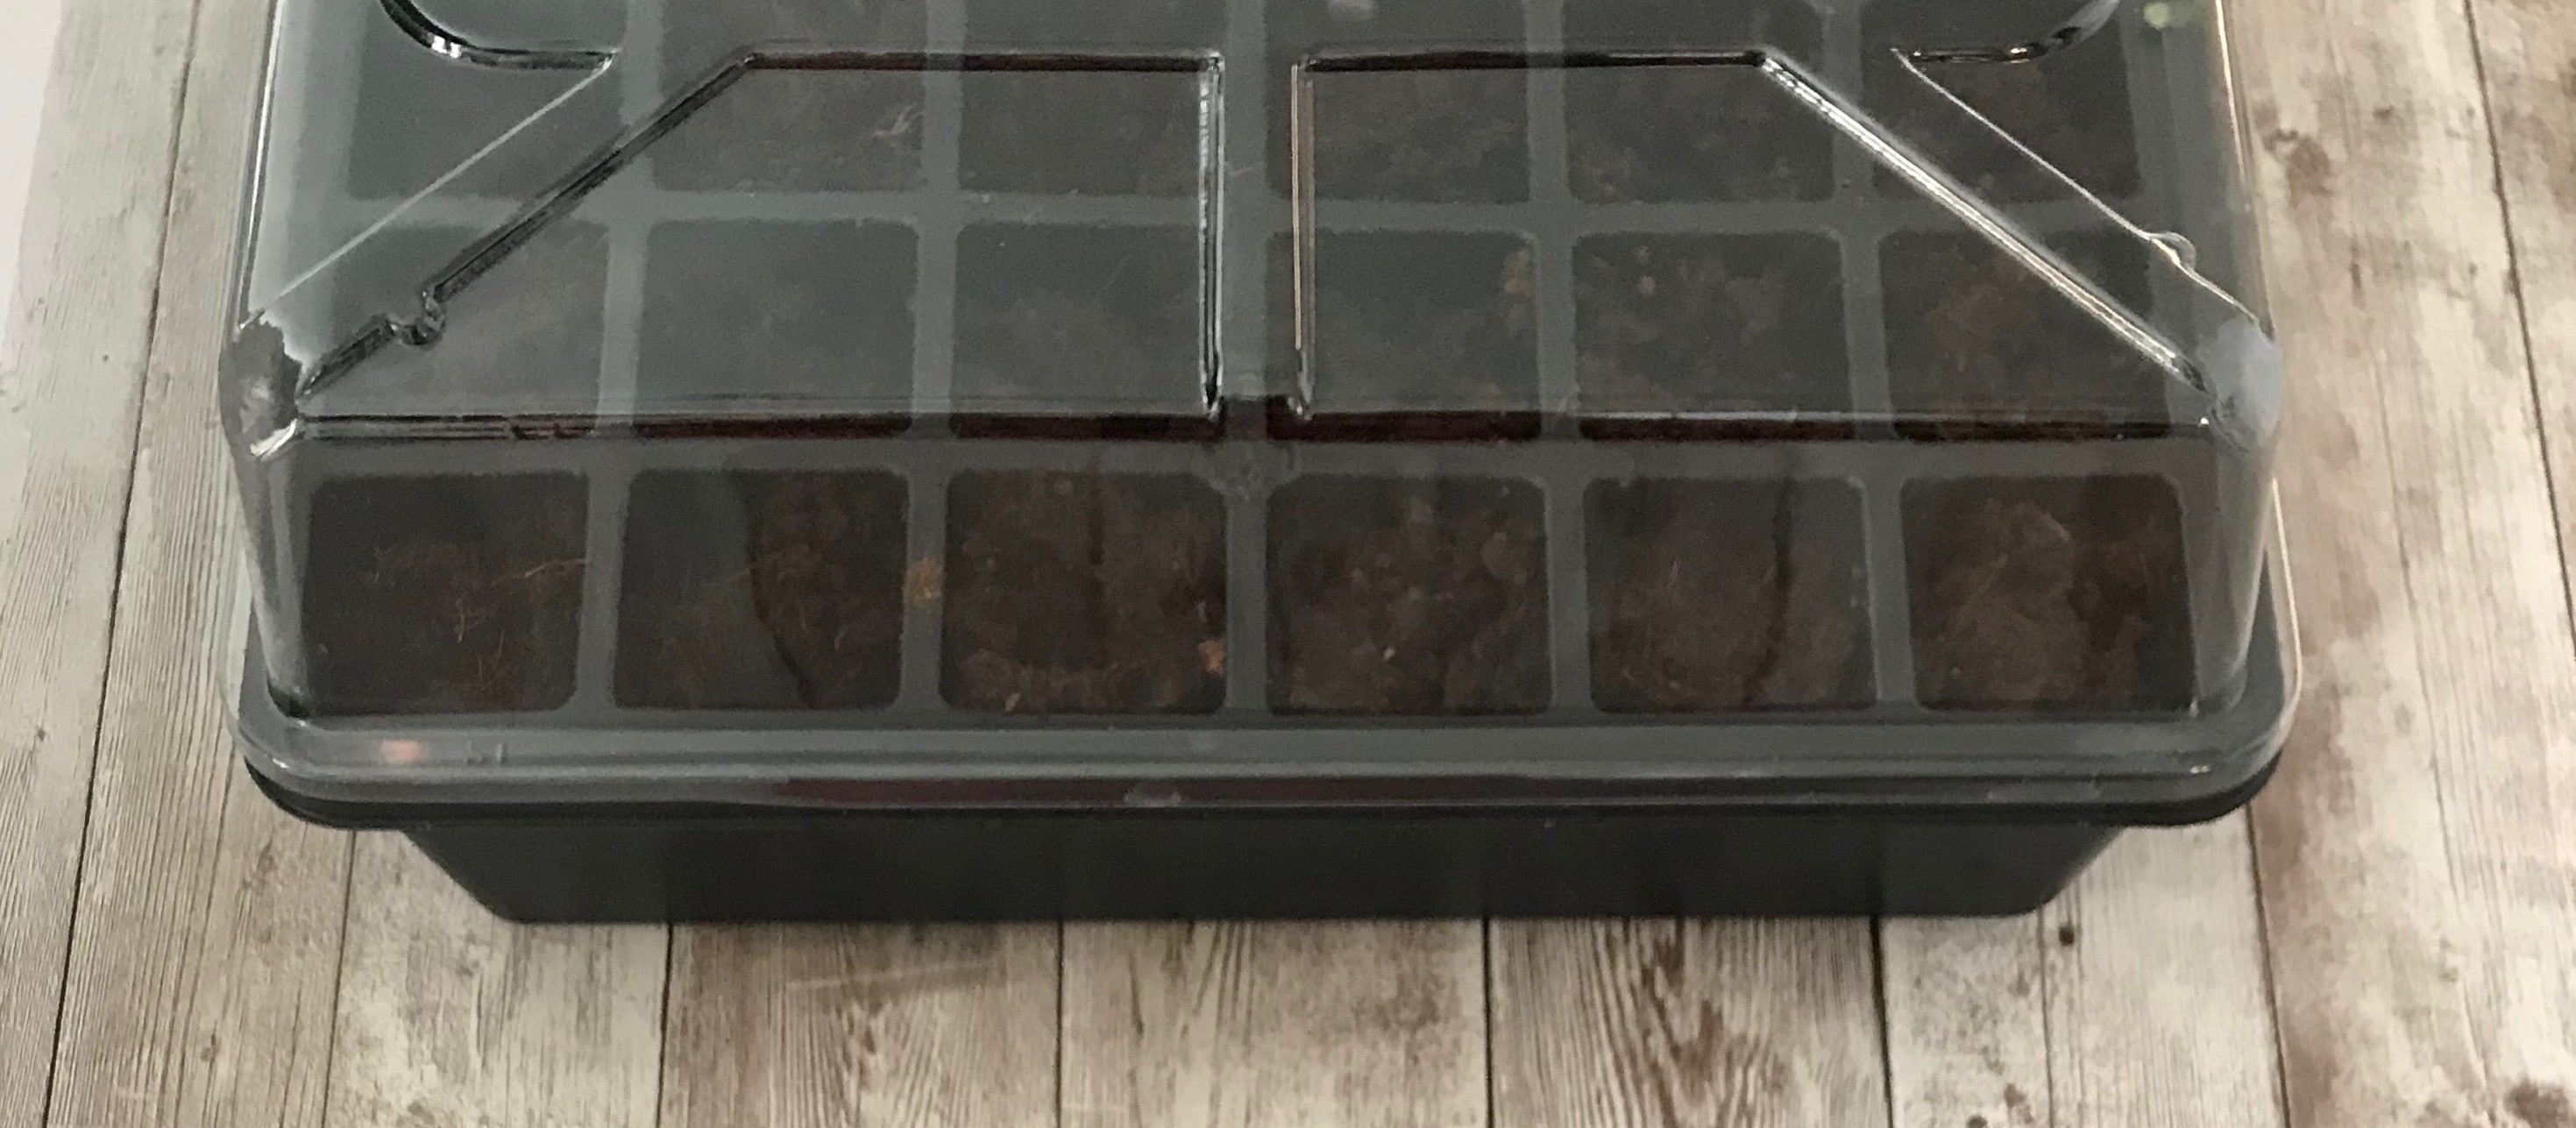
Cover your seed trays with the germination dome that came with your seed starting kit. If you’re using other containers, simply cover them with plastic wrap.
Seeds generally need to be placed in an area with a temperature between 65 and 75 degrees (Fahrenheit).
You can use a seed heating mat or try placing your seeds on top of your refrigerator or near a window.
STEP 8
Your seed packet should tell you how many days until germination. Some germinate as little as two days, whereas other take 10 to 14 days.
During this time, check on your seeds every day and make sure your seeds have the moisture they need by lightly spritzing them with a spray bottle.
You can also bottom-water your seeds.
Bottom watering means you pour water into your container’s tray so that the soil is moistened from the bottom of the pot, so as to not disturb or dislocate the seeds.
STEP 9
Once you see that your seeds are starting to sprout, take the plastic dome or plastic wrap off your trays. It’s time to place your seed trays under light so they can gain strength and keep growing.
Place them near a window or under lights. You can purchase a growing light or an inexpensive shop fluorescent light, just make sure the lights sit about 2 to 3 inches from the seed trays.
Your seeds will need several hours of light to keep sprouting; at least 12 hours of light a day.
Fertilize Seedlings
Once your seedlings have grown “true leaves”, it’s time to start fertilizing. What are “true leaves”? True leaves simply refer to leaves that have grown after the first set of sprouted leaves.
Fertilizing your seedlings can help strengthen them as they grow.
To fertilize, use an organic Liquid Seaweed Fertilizer at half strength. I apply liquid kelp fertilizer to my watering can which allows me to fertilize and water my seedlings at the same time.
Using organic fertilizer is important, especially if you’re starting vegetable, fruit, and herb seeds.
If you plan to grow an organic garden, then organic fertilizer is a must. I like to opt for seaweed and kelp fertilizers over fertilizers that were derived from animals.
Thinning Your Seedlings When Starting Seeds Indoors
In a perfect world, you’d be able to save all your seedlings and have them grow into healthy plants.
Unfortunately, when starting seeds indoors, this is never the case.
If you have more than one seedling growing in a cell, they will eventually begin to compete against each other for light, air, space, water, and nutrients.
This is why thinning seedlings is so important.
What does “thinning” mean? Thinning refers to the act of taking scissors and snipping away all but one seedling per cell or container, right above the soil; it’s an essential step to growing healthy seedlings.
The trick is to choose the healthiest-looking seedling per cell so you can leave it be and then snip off the rest. Think of it as “survival of the fittest”.
Doing this will help your healthiest seedling grow even stronger.
When you see two sets of leaves in one cell or container, you’ll know it’s time to thin your seedlings.
Try to determine which seedling looks the strongest, then cut the weaker seedlings at the base with a pair of scissors of pruners.
Transplanting Seedlings
Once your seedlings grow to be about twice as tall as their cell trays, you’ll know it’s time to transplant them to larger containers.
Transplanting your seedlings before you plant them outdoors will give them more room (and time) to grow into larger and stronger plants.
Many gardeners love using plantable pots![]() because you can plant them right into the ground when it’s time to transfer your seedling into your garden.
because you can plant them right into the ground when it’s time to transfer your seedling into your garden.
These plantable pots are inexpensive, made of coconut coir, and are a USDA-certified biobased product. They also promote good airflow, and won’t fall apart when wet.
After transplanting them into larger pots or containers, continue to care for them in the same way.
“Harden Off” Seedlings Before Transplanting
You’re almost ready to plant your seedlings into the ground, but don’t be hasty with this next step! Healthy seedlings need time to acclimate to life outdoors.
Remember, you’ve been providing your seedlings with a warm, cozy environment. It’s only natural that they’ll need time to adjust to sunlight, wind, rain, and new soil.
Hardening off your seedlings will take time and effort on your part, but it’ll be worth it when you see your plants successfully adapting to their new environment.
Here’s how to harden off your seedlings: Days before transplanting, place your seed trays outside for a few hours during the day, but make sure they’re not in full sun, rain, or in windy conditions.
Remember to bring them indoors when the sun sets. This should be a gradual process, you’ll want to start with short spurts and then slowly build up to longer periods of time.
Once the weather has warmed up, you can plant your seedlings into the ground.
This will usually be around your zone’s first frost date. Some plants can be planted outdoors earlier than others, so always check your seed packets for more information.
If your seed packets don’t have instructions, just run a quick google search to determine common planting times.
Now wasn’t that easy?! Seed starting takes time and effort but it can save you a lot of money, which is why seed starting is so popular.
If you start seeds indoors in preparation for spring, you’re going to appreciate your hard work because you’ll have plants that will grow into delicious produce and beautiful flowers! What more can a gardener ask for?
3 Comments
Comments are closed.